Adobe-AEM-Brightcove Connector: Configuration
Introduction
The Adobe-AEM-Brightcove Connector allows you to manage Brightcove Video Cloud videos and players within AEM, and easily embed videos in AEM pages.
Configuration steps
The following sections will walk you through the steps to configure the Adobe-AEM-Brightcove Connector using the classic interface. Note that before completing these steps, the connector must be installed - see Adobe-AEM-Brightcove Connector: Installation
Disable DAM transcoding
By default, when you upload video assets to the AEM DAM it will run ffmpeg in the background to transcode the video into a variety of formats. If you do not have a need for the transcoded assets in the DAM, you should turn off the transcoding to save processing time and storage:
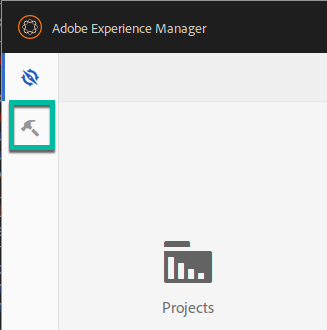
- Open the AEM tools:
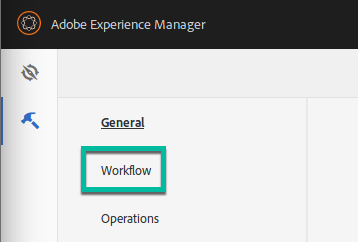
AEM Tools - Select Workflow:
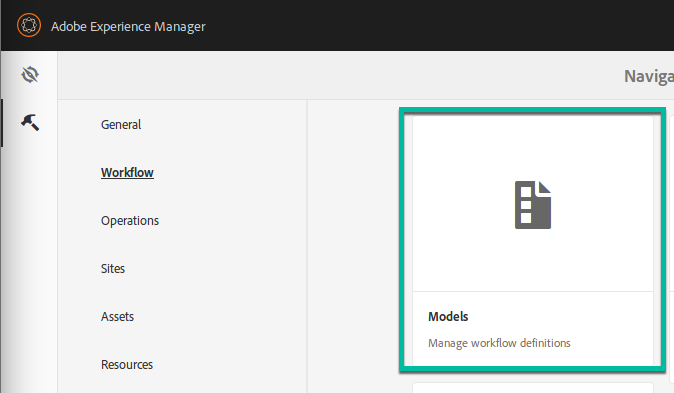
Workflow Tools - Select Models:
Models Tools - Select List View:
List View - Select DAM Update Asset:
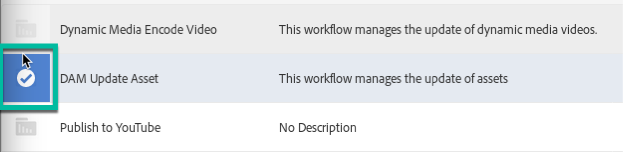
DAM Update Asset Configuration - Select Edit:
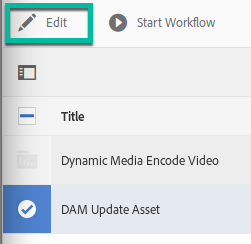
Select Edit - Double-Click FFmpeg Transcoding from the workflow to edit it:
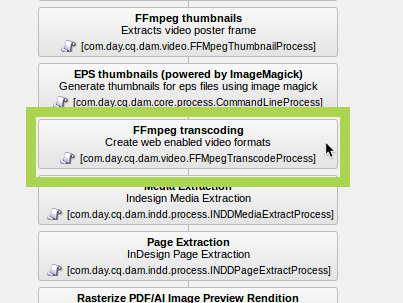
Select FFmpeg Transcoding - Select the Process tab in the Step Properties dialog:

Select Process Tab - Change the Process to No Operation:
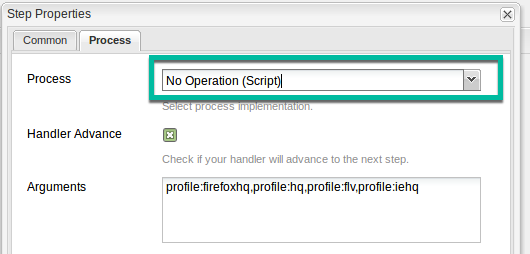
Change the Process - Change Ok to close the dialog and then save the changes
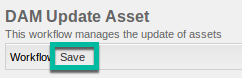
Save Changes
If you do need the locally transcoded video assets, you will need to make sure ffmpeg is installed on your AEM server:
- Verify that you have FFmpeg installed by opening a command line and typing:
ffmpeg - If the
ffmpegcommand is not found, you need to install it:
Enter account information
Now you are ready to configure the AEM-Brightcove connector with Video Cloud account information.
- Open the AEM Web Console configuration manager (http://localhost:4502/system/console/configMgr)
- Search on Brightcove Service to locate the service:
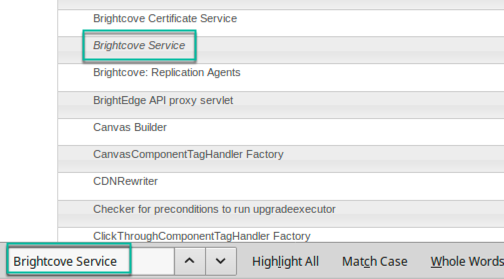
Find Brightcove Service - Click on the
+sign to add a new configuration:
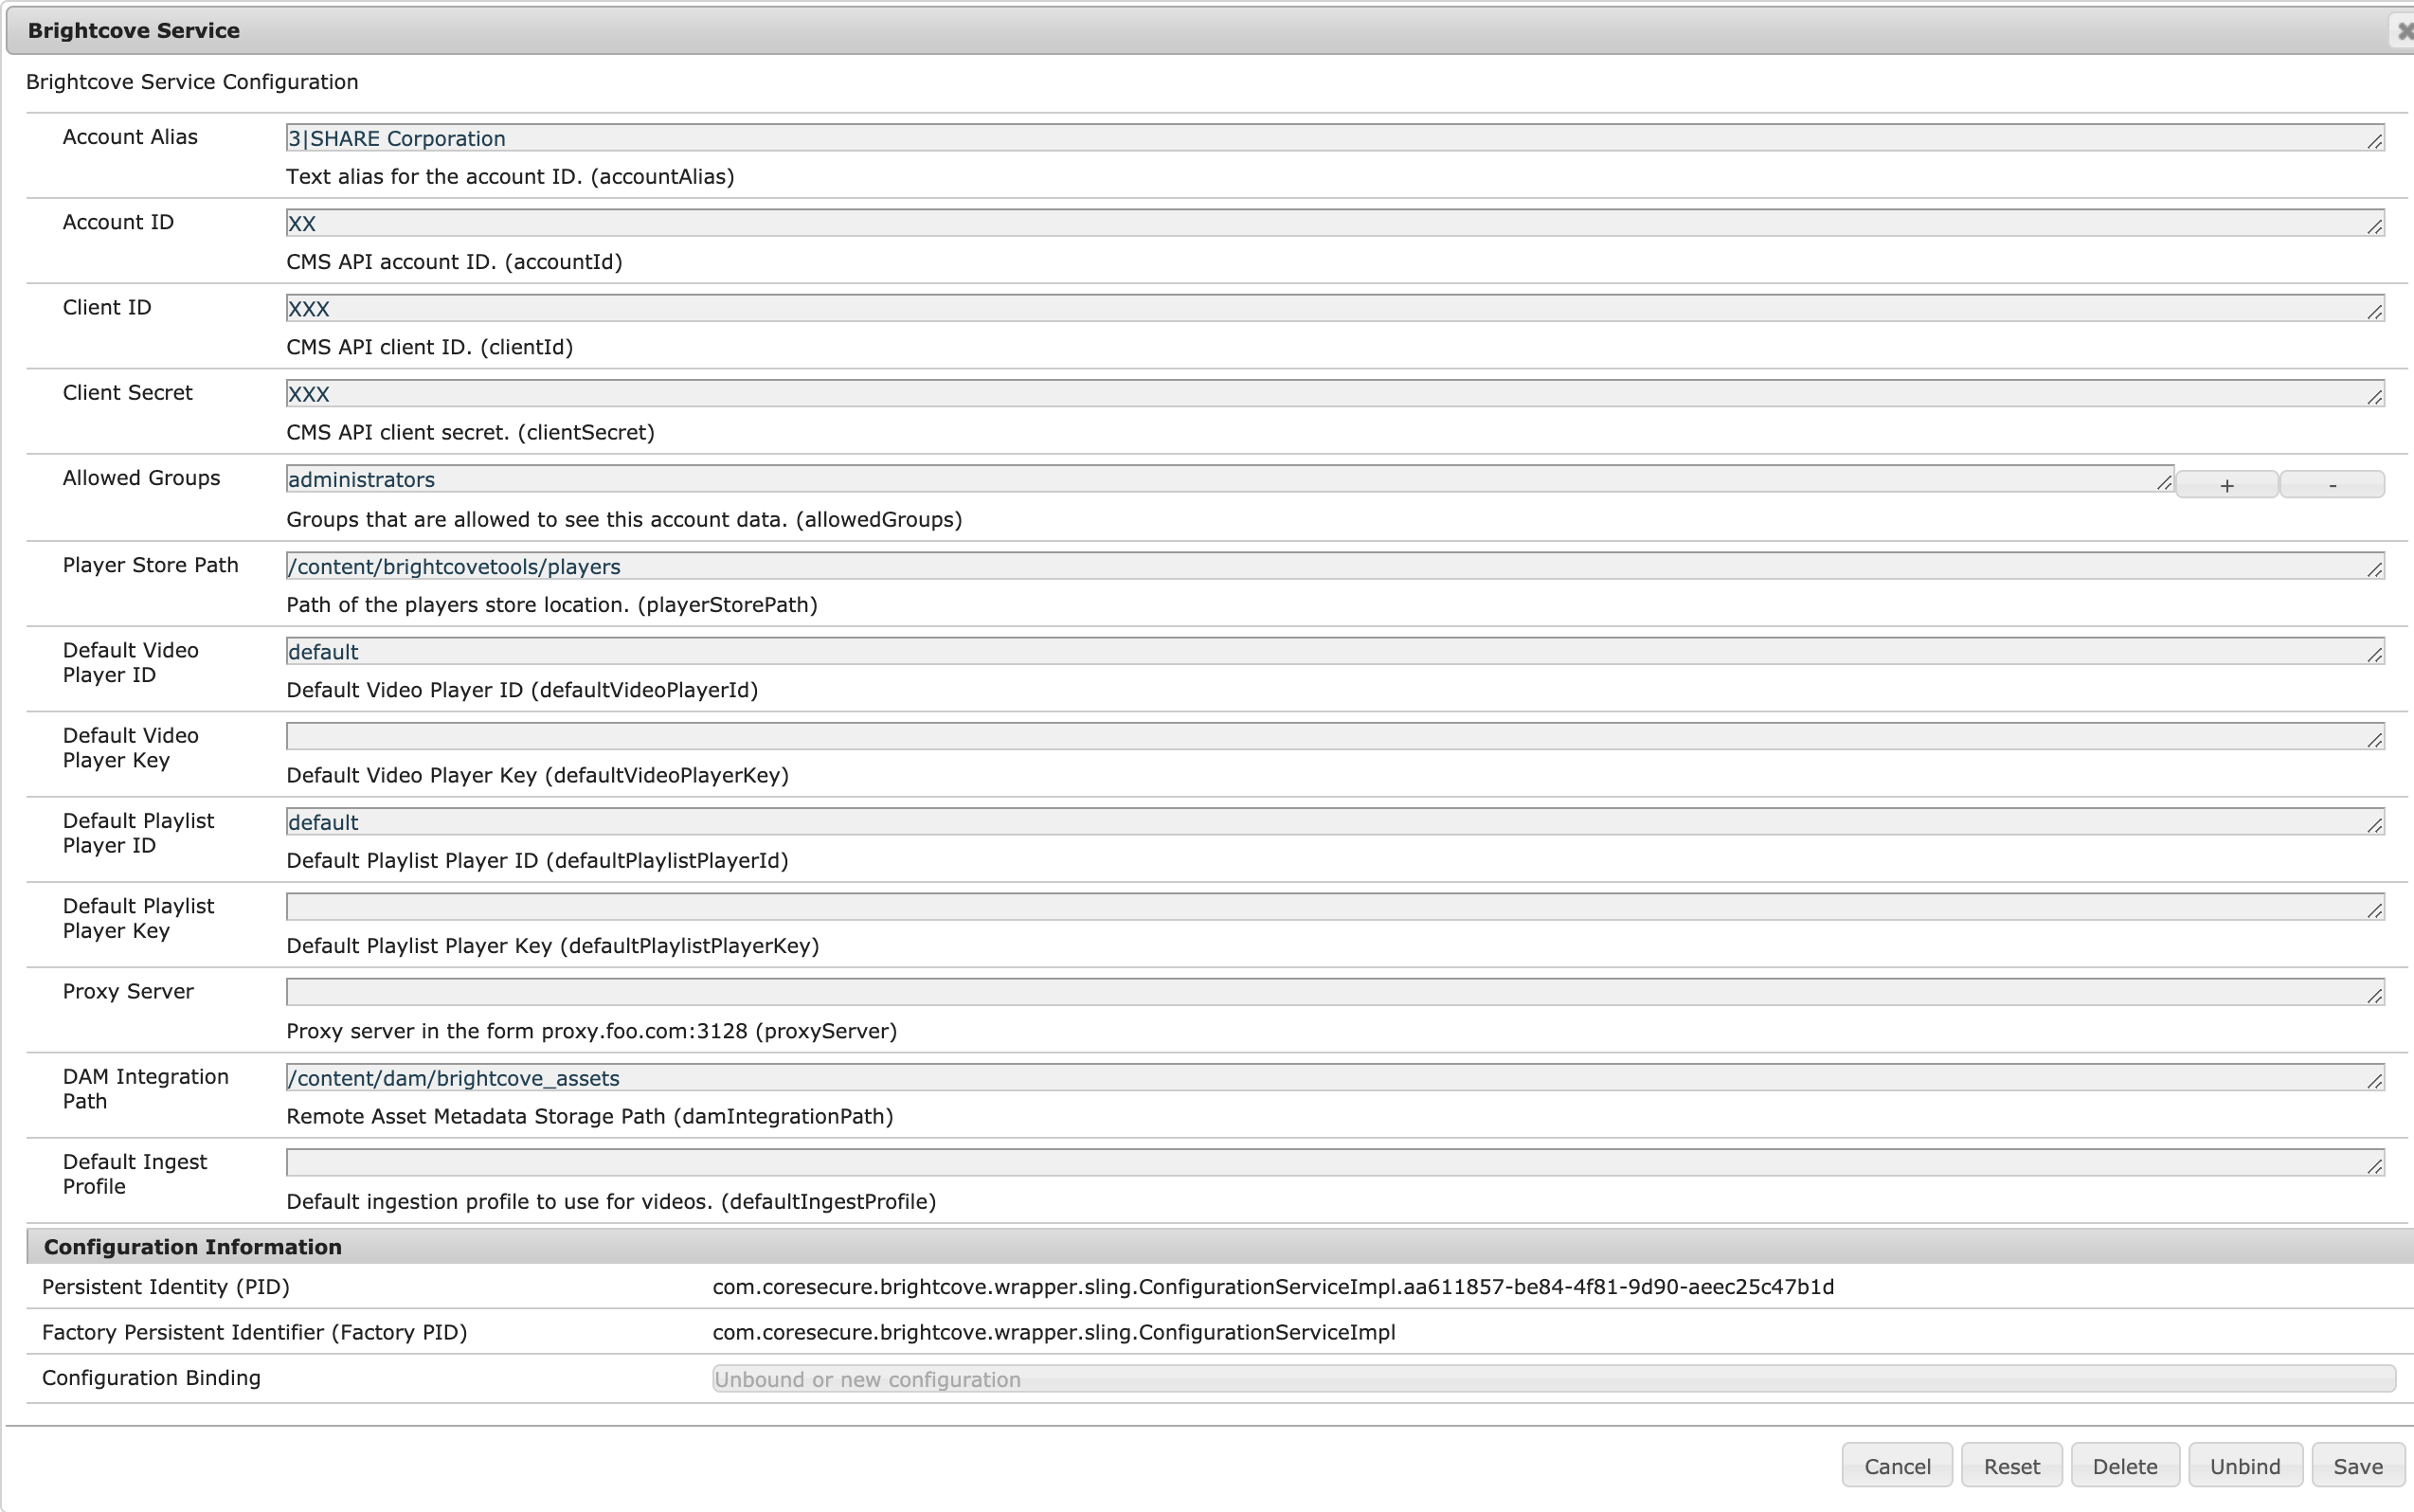
Add Configuration - In the dialog, enter values as shown below. See Managing API Authentication Credentials for instructions on getting a client id and client secret. The permissions you need here are:

Required API Permissions - Below are suggested values for the configuration form:
- Account Alias: enter a name for the account to be displayed in the Connector (required)
- Account ID: enter your Brightcove publisher ID (required)
- Client ID: enter your Brightcove client ID from the Brightcove API Authentication page (required)
- Client Secret: enter your Brightcove client Secret API (required)
- Allowed Groups: specify the group that will access the Connector (required) be sure that it is a group you are included in.
- Players Store Path: keep default value or use folder of your choice for players for this Brightcove account (required)
- Default Video Player ID: keep default value or choose another player ID (required)
- Default Video Player Key: deprecated, leave blank or use value from previous connector
- Default Playlist Player ID: enter a player ID enabled for playlists if you plan to use playlists (required)
- Default Playlist Player Key: deprecated, leave blank or use value from previous connector
- Proxy server: leave blank or enter proxy if you were previously using a proxy
- Dam Integration Path: keep default value or use folder of your choice for video assets for this Brightcove account (required)
- Ingest Profile: specify Brightcove ingest profile to be used for uploaded videos, blank value will use default profile, if blank/default is not working, ask Brightcove support to make sure a default profile is defined in the Video Cloud backend
- Below are suggested values for the configuration form:
- Test your configuration. Browse to http://localhost:4502/brightcove/admin and select the Brightcove account just added in the pull-down in the upper right corner. If no videos are displayed, it is likely due to one of the following reasons:
- Your API credentials Account ID, Client ID, and Client Secret may have been incorrectly entered in the connector configuration
- Your API credentials were not configured properly in Brightcove
- The currently logged in user is not a member of one of the Allowed Groups in the connector configuration
- Your network configuration is blocking API access to Brightcove's cloud servers. See "Debugging Network and API Connection Issues" for more information.
- If you will be using multiple Video Cloud accounts, repeat the previous steps for each account.
Set up Brightcove Players
The last configuration task is to set up Brightcove Players.
- Navigate to the Site Admin tools (http://localhost:4502/siteadmin#/content in the Classic UI or http://localhost:4502/sites.html/content in the Touch UI)
- In the top-level Websites folder, create new folder that matches the Players Store Path in the configuration. The default is a folder name in the configuration is called brightcovetools with a folder inside called players. If you are connecting to multiple Brightcove accounts, you might want to create a unique players folder for each account.
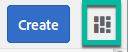
- Inside the players folder create a new Brightcove Player Page:
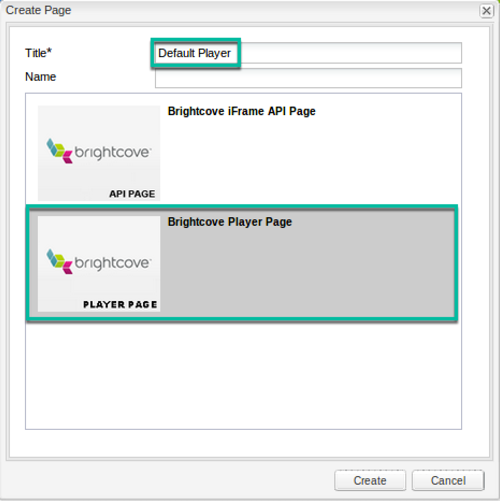
Player Page Creation - After you create the page, right-click on it and select Properties from the menu in the Classic UI; in the Touch UI, select the page and then click on Properties.
- Go the Brightcove Basic tab of the dialog, and the Brightcove account and then select a player from the list:
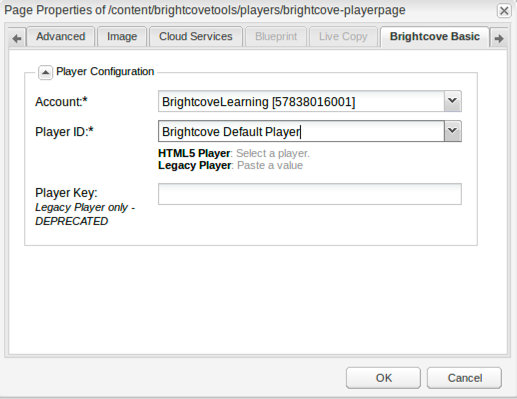
Select Player - If you also want to make multiple players available for publishing, repeat the steps above to create a page for each player.
- If you also want to use playlists, repeat the steps above to create a page for a Playlist Player.
- If you are using multiple Brightcove accounts, you will need to create player pages for each one.
Activate Metadata Schema for Brightcove Asset Location
If you are using Touch UI with the v5.4 connector or later, you will need to activate the metadata schema for the Brightcove asset location. This is not necessary if you are only using classic UI. Activate the metadata schema with the following steps:
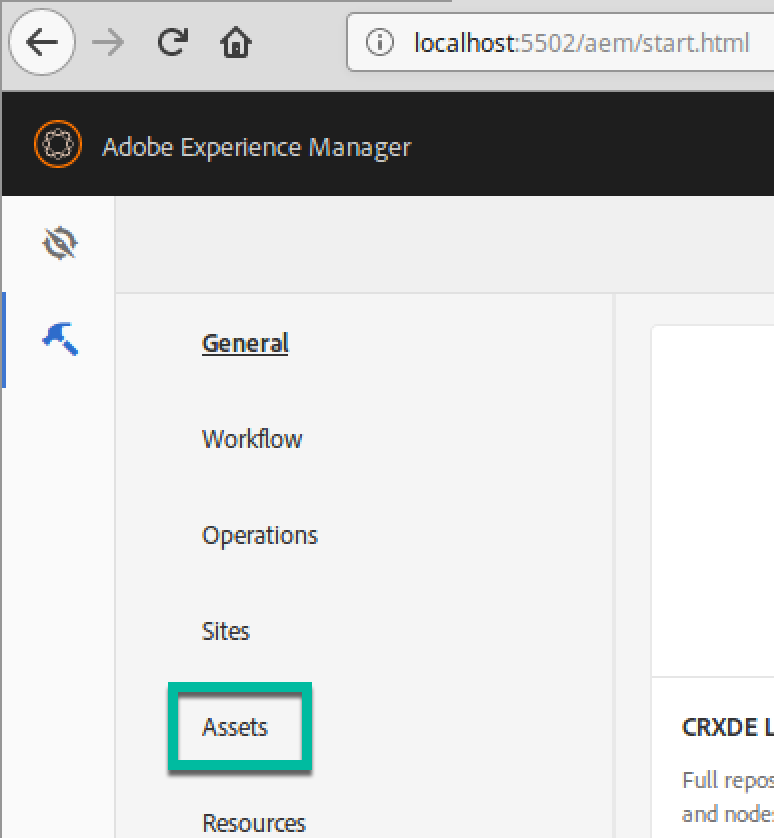
- Open the AEM tools:

AEM Tools - Select Assets:
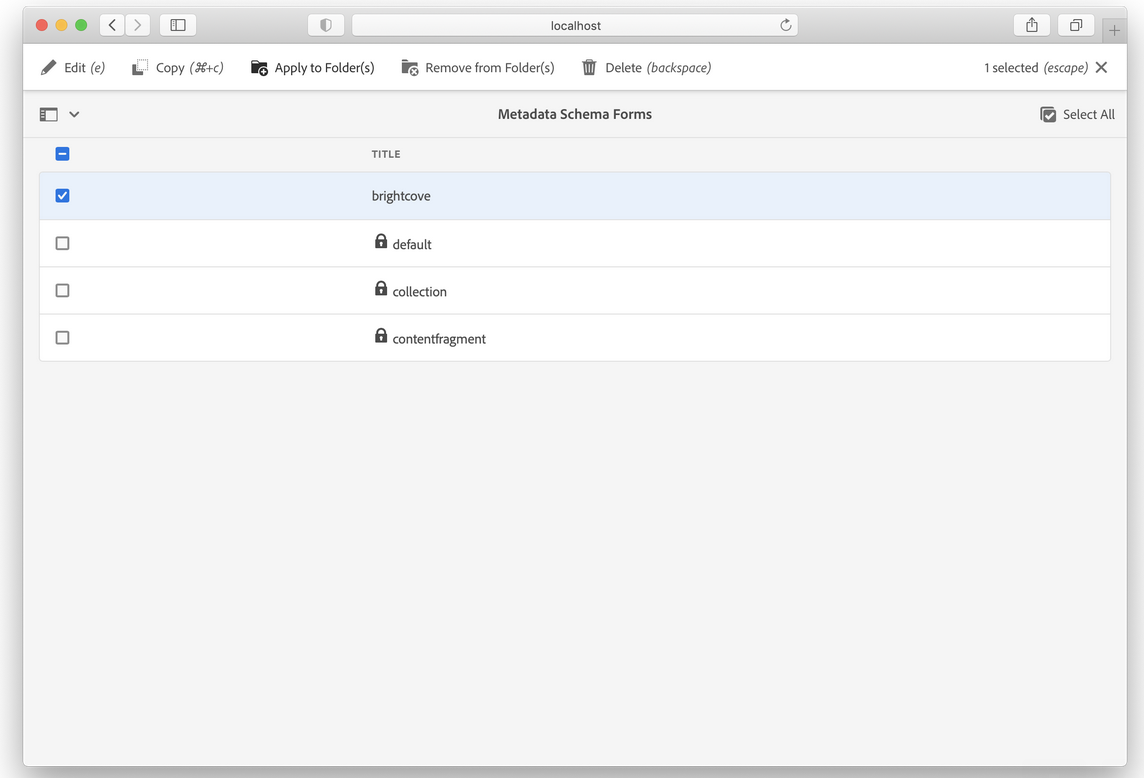
Assets - Select Metadata Schemas:
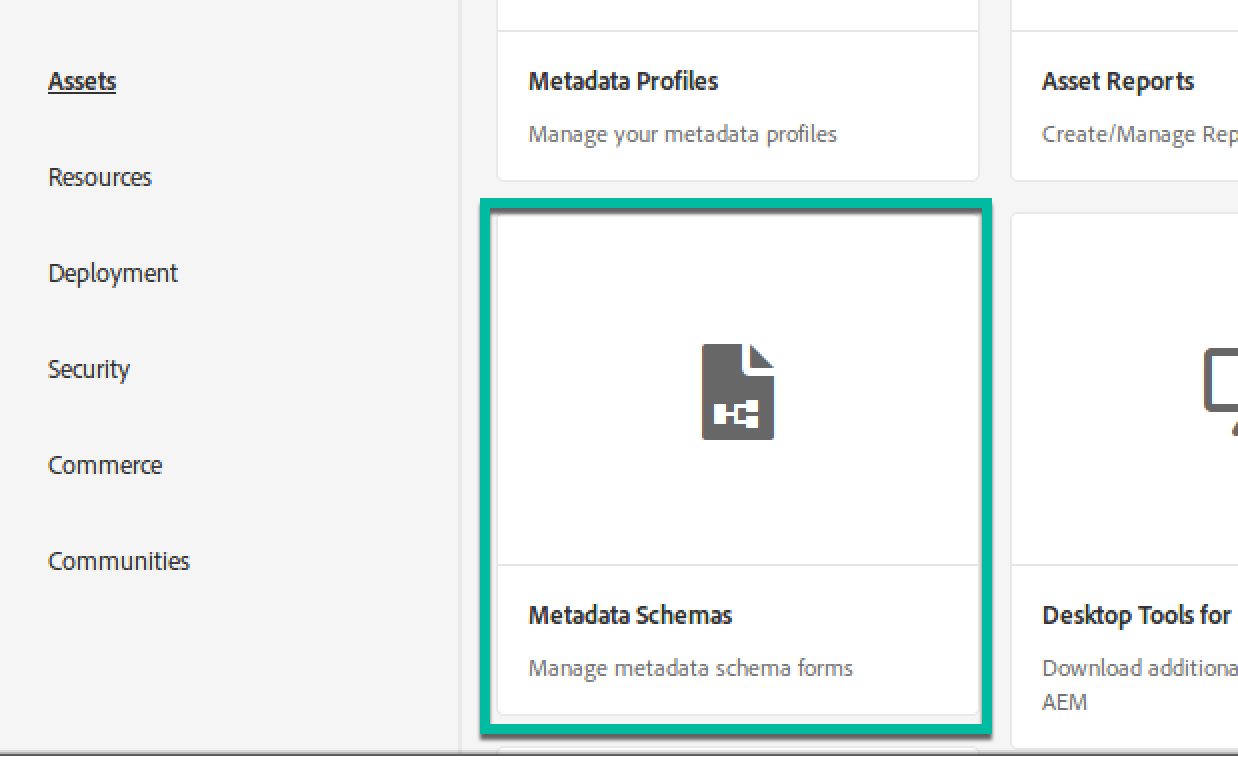
Metadata Schemas - Select brightcove and click Apply to Folders:
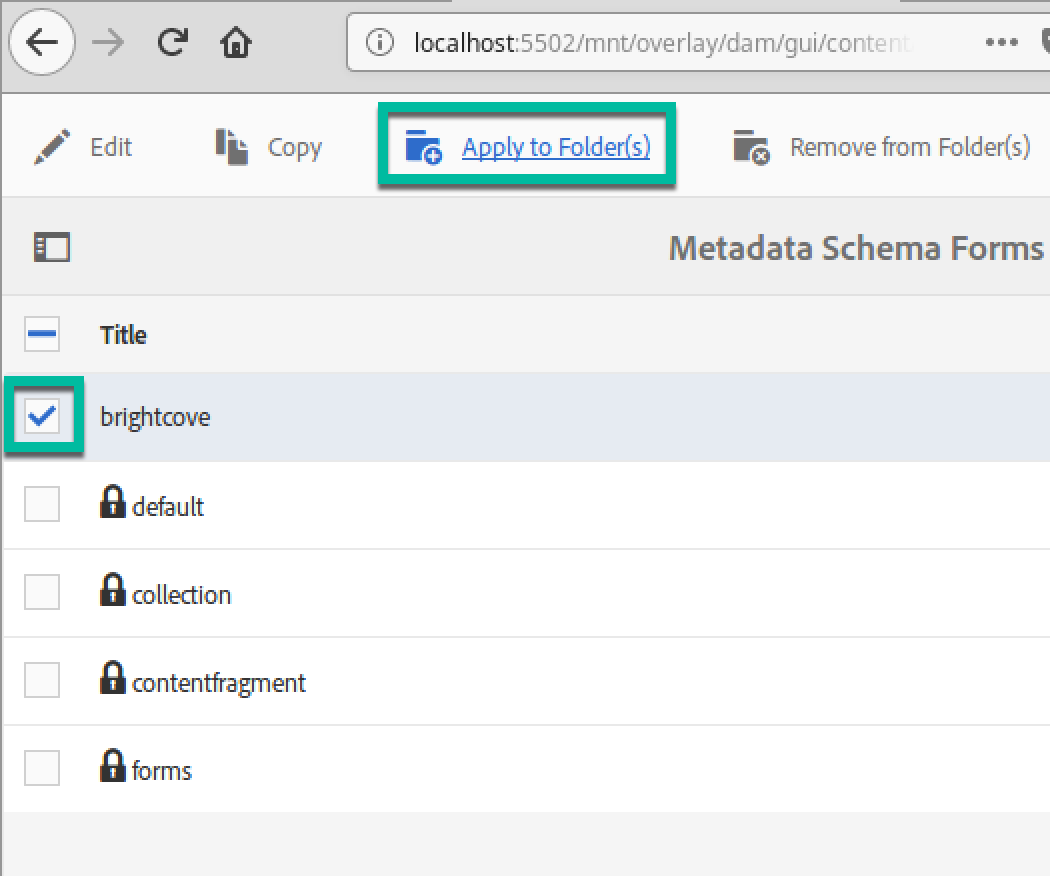
Select Brightcove - If the brightcove_assets folder does not exist, create a folder named brightcove_assets:

Create - Enter the name "brightcove_assets":
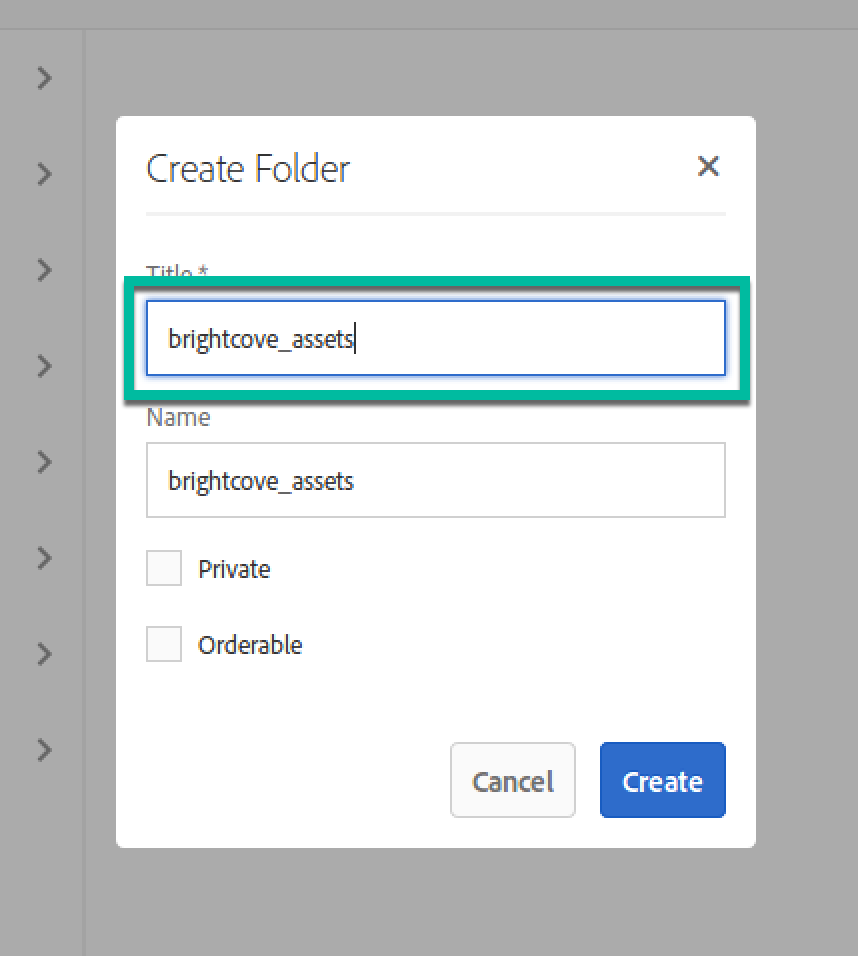
Create brightcove_assets Folder - Select brightcove_assets and click Apply:
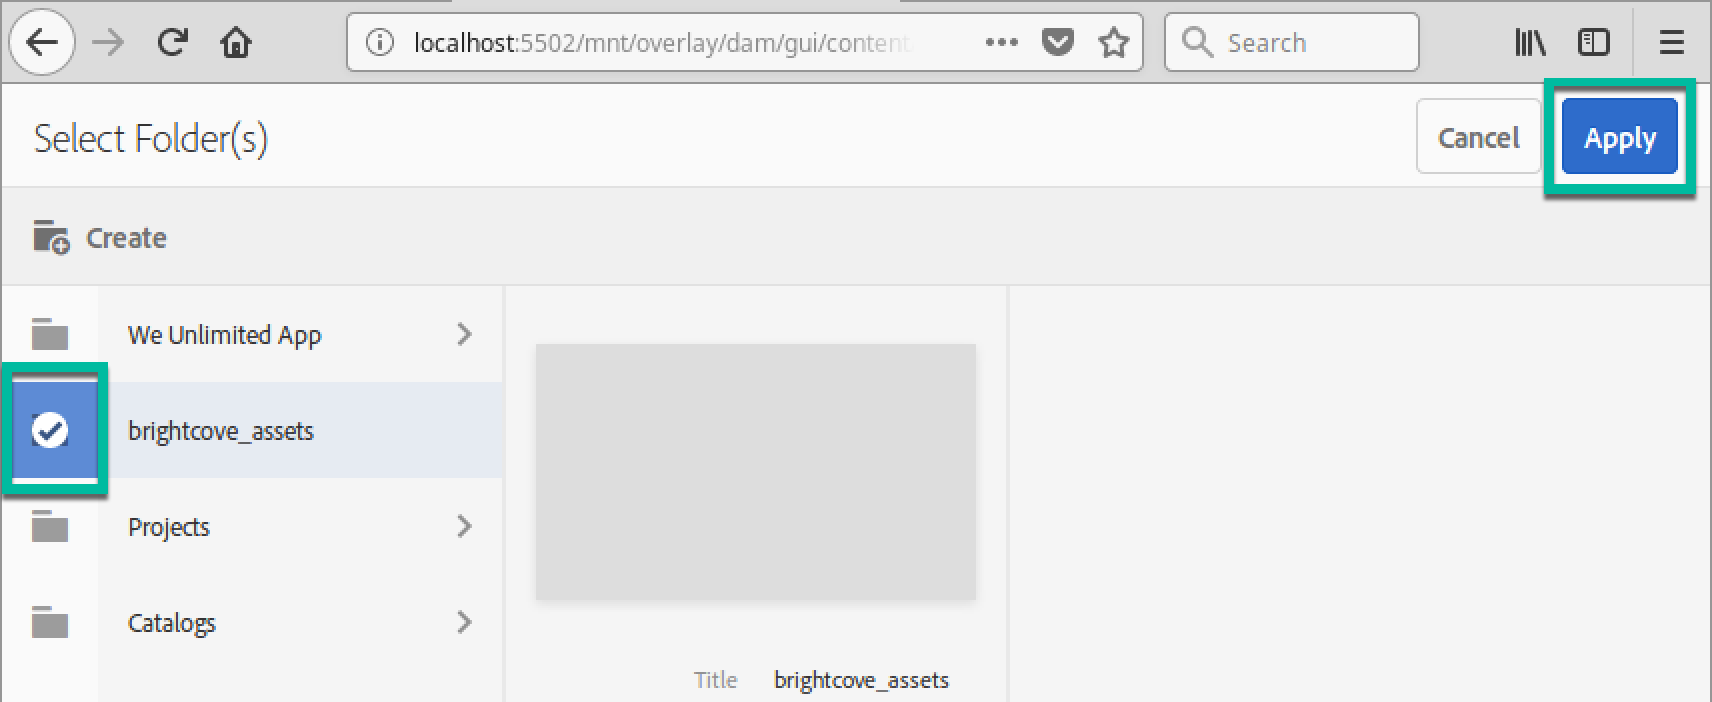
Select brightcove_assets
You have now completed the configuration of the AEM-Brightcove Connector. Proceed to Using the Connector.
Adobe Experience Cloud
There are a few configuration changes needed to use the Brightcove connector on AEM Cloud.
-
Include as part of your deployment an OSGI configuration to define your account information. This has all the same information as previous Brightcove versions but must be deployed in your ui.config project or similar.
OSGI Configuration -
Include as part of your deployment an OSGI configuration for the replication listener if you would like to sync asset updates with Brightcove when you publish them. This replaces the deprecated custom Replication Agent included in previous Connector versions.

Replication Listener -
Be sure to enable the DAM Set last modified date workflow launcher for every Brightcove account folder in the DAM. This is disabled by default on the latest Cloud instances.
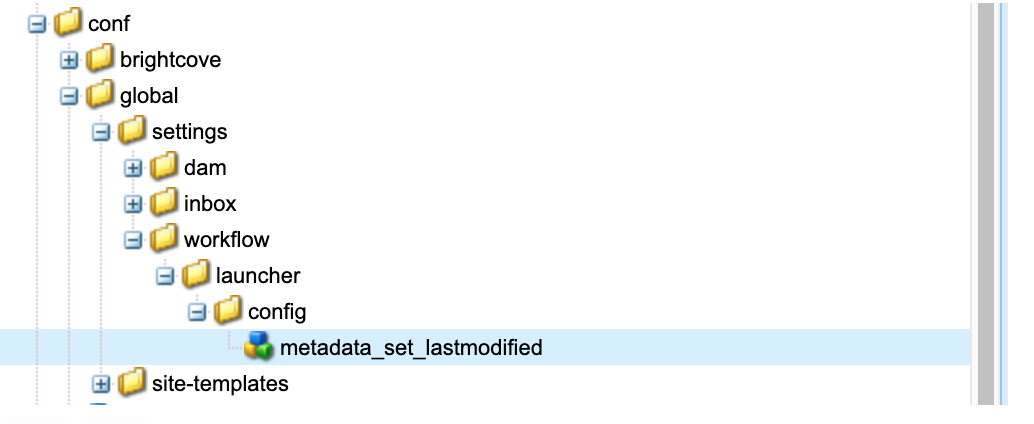
Enable Set Last Modified Date -
Similar to previous versions, the connector comes with an (optional) automatic metadata schema tab. Instead of applying this automatically, you must select this schema and apply it to the Brightcove folders manually.
Automatic MetaData Schema - This update requires Java 11. Update your version if necessary.
- You will need to embed this dependency package into their Maven projects. Packages need to be referenced as dependencies in the pom.xml, as provided by the vendor.
-
To do this, you can use a local file repository within your pom.xml like the example below:
<repositories> <repository> <id>my-local-repo</id> <url>file://${project.basedir}/my-repo</url> </repository> </repositories> -
Then you can use the following command to install the connector package:
mvn org.apache.maven.plugins:maven-install-plugin:2.3.1:install-file \ -Dfile=<path-to-file> -DgroupId=com.coresecure \ -DartifactId=brightcove.connector -Dversion=1.0.0 \ -Dpackaging=jar -DlocalRepositoryPath=<path-defined-above> -
Finally, you must reference the locally-installed package via your dependencies section of pom.xml:
<dependency>
  <groupId>com.coresecure</groupId>
  <artifactId>brightcove.connector</artifactId>
  <version>1.0.0</version>
</dependency>