Drupal 8-Brightcove Connector: Embedding Content
Introduction
The Drupal-Brightcove Connector allows you to manage Brightcove Video Cloud videos and players within Drupal, and easily embed videos in Drupal pages. Note that this is for Drupal 8. For Drupal 7, see Drupal 7 instructions.
Note: this document assumes that Brightcove has already been installed and configured for Drupal. If you have not done so already, go back and Install and Configure the Brightcove extension first.
While this page will focus on how to add Brightcove videos to Drupal content, the same steps can be followed to add Playlists.
Set-Up
Navigate to the Extend section and find the Entity Browser module. Select the checkbox, and click install. The easiest way to locate the module is to start typing the name in the search bar. Also install the Chaos Tools, Entity Browser IEF, Embed, Entity Embed, and CKEditor modules

Brightcove Selection Widget
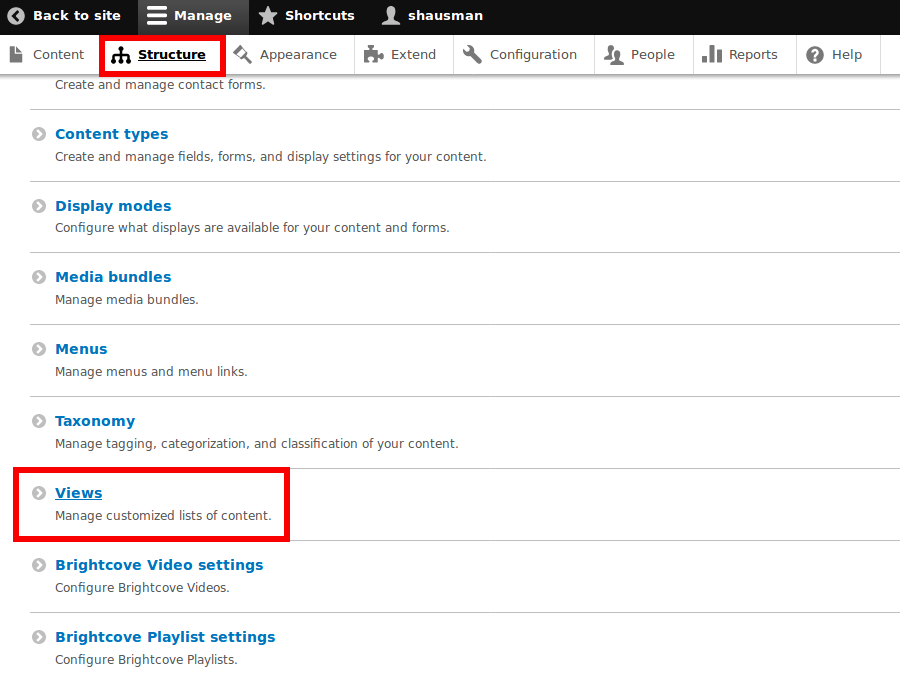
Set up a custom view to browse videos. Click on the Structure tab, then click on Views.
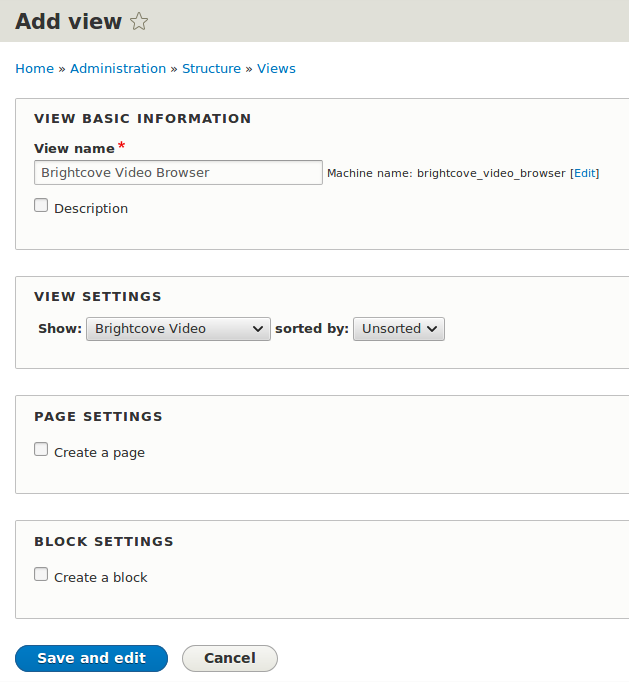
Click Add View. This will take you to the Add View page. Give the view a name, then select Brightcove Video from the View settings menu. Click Save and Edit.
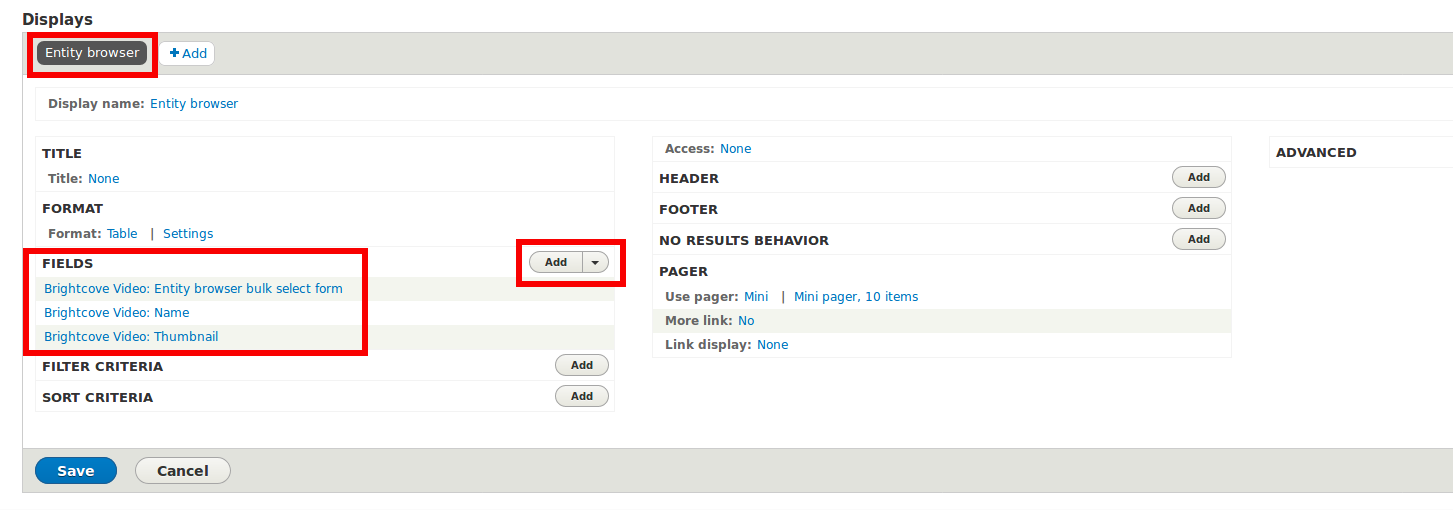
Next, click the +Add in the Displays section and select Entity Browser. Then hit Save.
For format, choose Table by clicking on the default option and selecting Table.
Now, it's time to add in fields for the browser. Make sure it says Entity Browser in the corner. You should be automatically switched into it after having selected it.
To add fields, click the Add button next to the Fields header. Fields can largely be a matter of taste, but be sure to have the Brightcove Video: Entity browser bulk select form as an option so that videos can be selected. Name and thumbnail are also good to have. The one field it is very good to not have is the one they put in by default: the Rendered Entity. The Rendered Entity is the full video and all meta information, and including it in the entity browser. This makes it bulky and less useful for quickly browsing videos.
Don't forget to hit Save.
Create Entity Browser
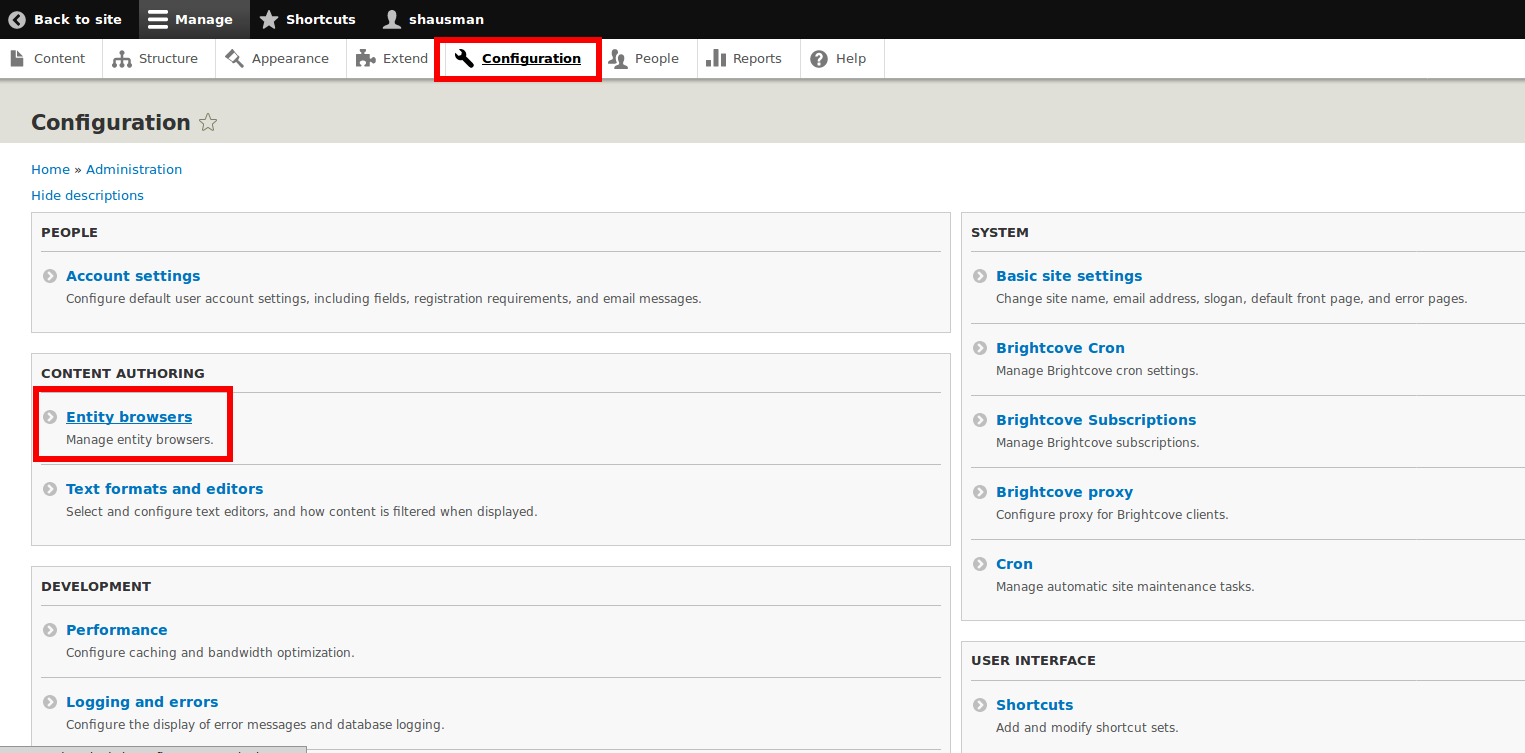
To set up entity browser, navigate to Configuration and select the Entity Browser option.
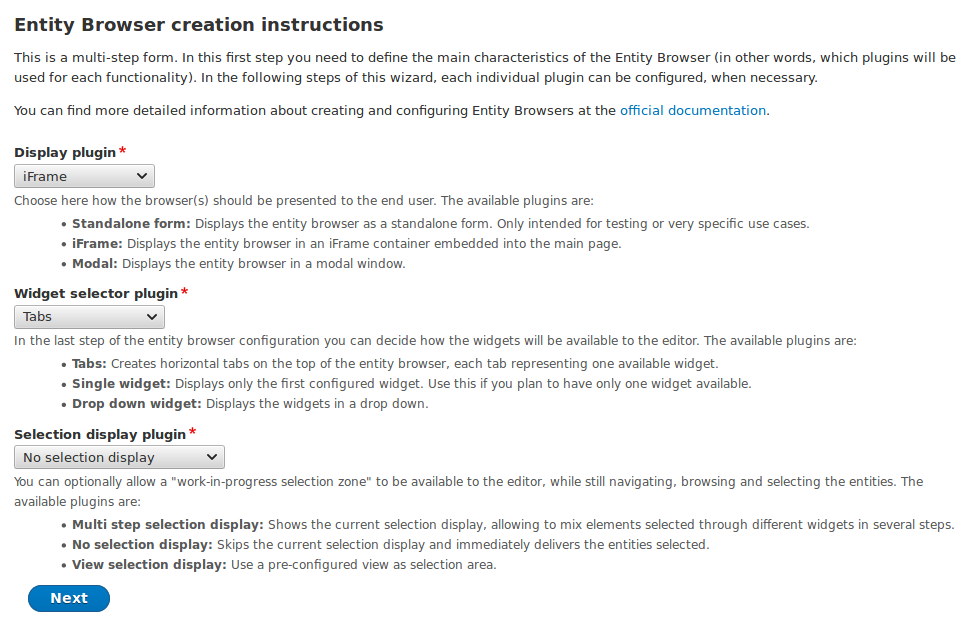
On the resulting page, click Add Entity Browser at the top. On the resulting page, add a label for your new widget, then make your selections. Select iFrame for the Display plugin, Tabs for the Widget selector plugin, and No selection display for the Selection display plugin.
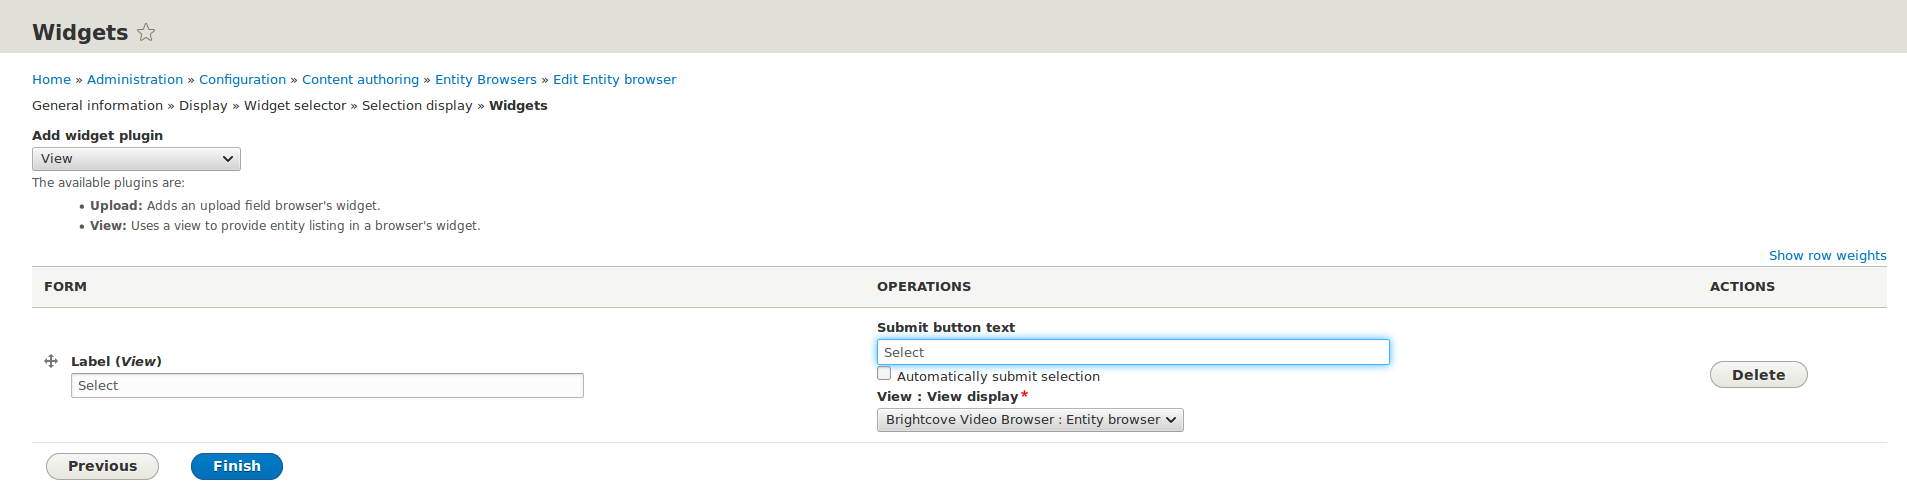
Hit next. The next few pages either have fine default options or no options. Continue until you reach the final screen, which has the word Finish at the bottom instead of next. Select View in the Add widget plugin menu, then give your widget a label. In View Display, select Brightcove Video Browser: Entity browser.
Add An Upload Tab
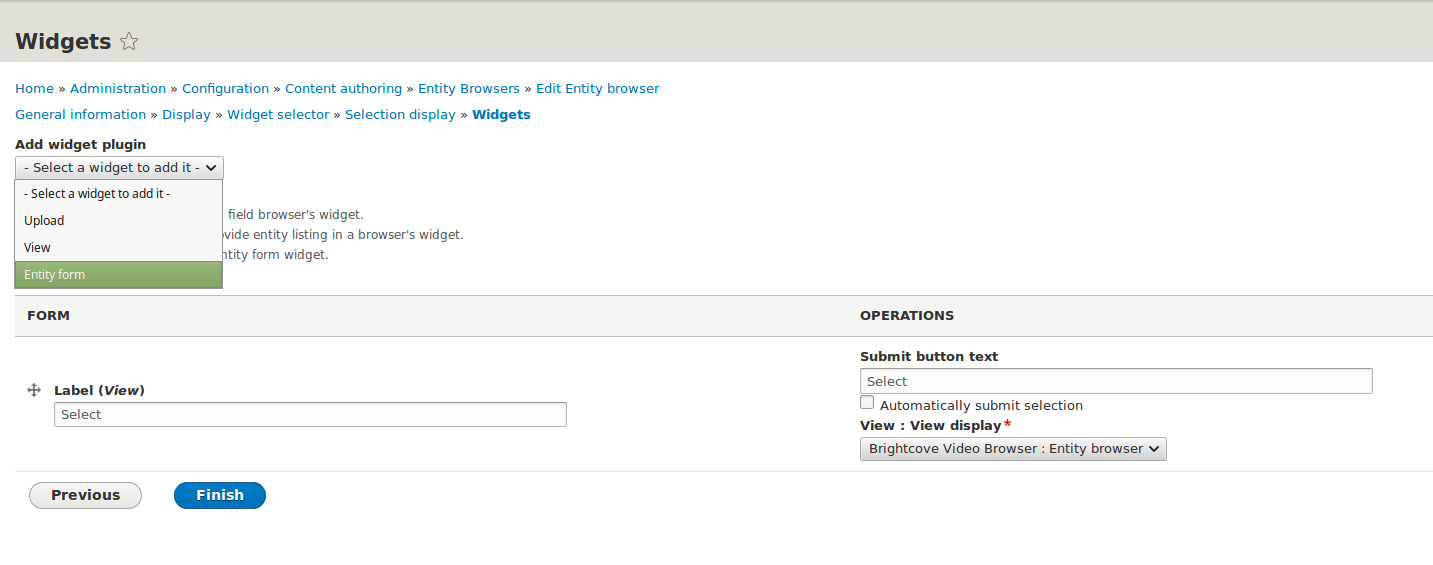
Click the Add widget plugin dropdown menu again and select Entity Form.
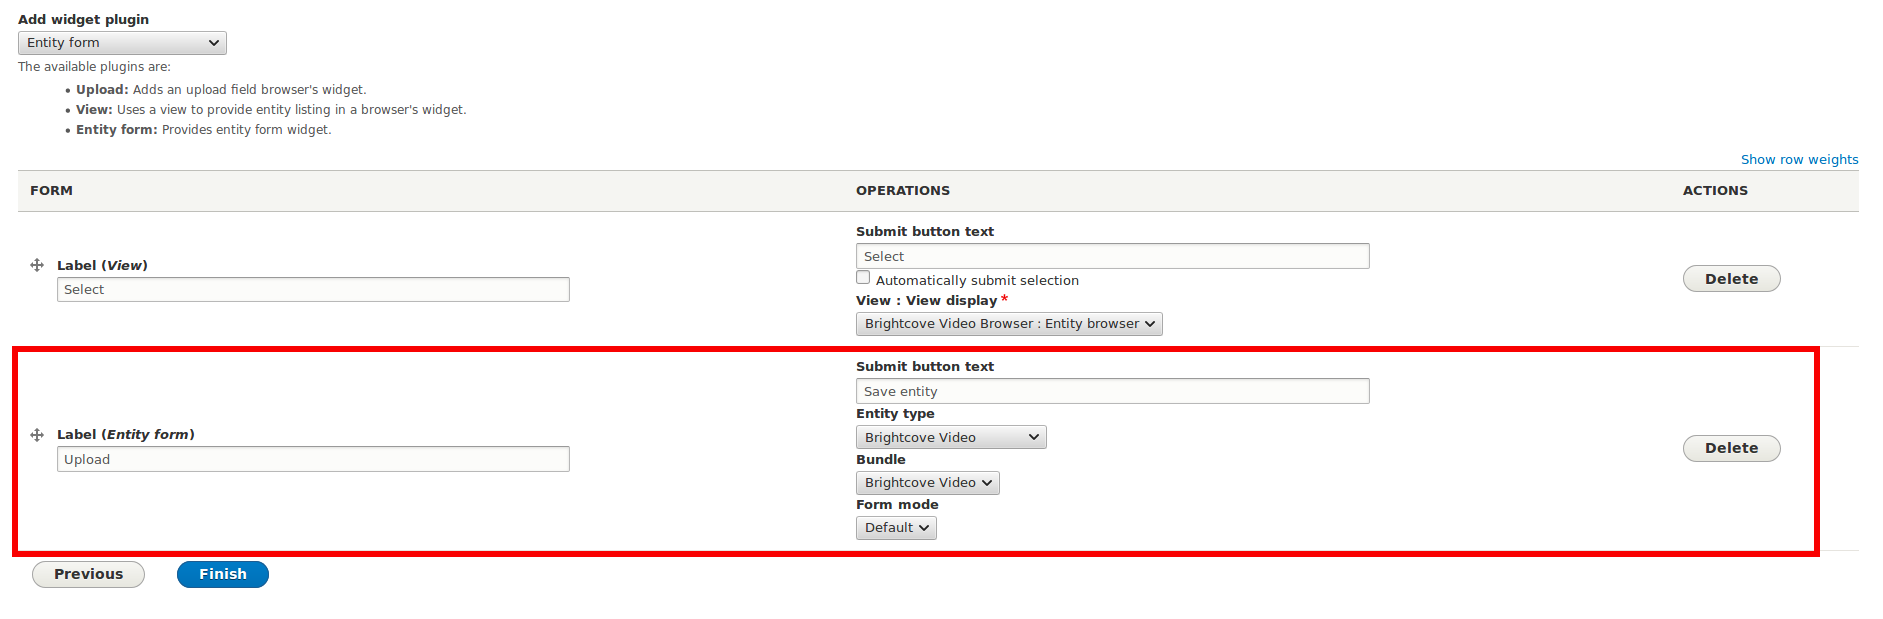
This will add a form below the first form. Add a label and select Brightcove Video for the Entity type and Bundle. Hit Finish.
Add Brightcove Button
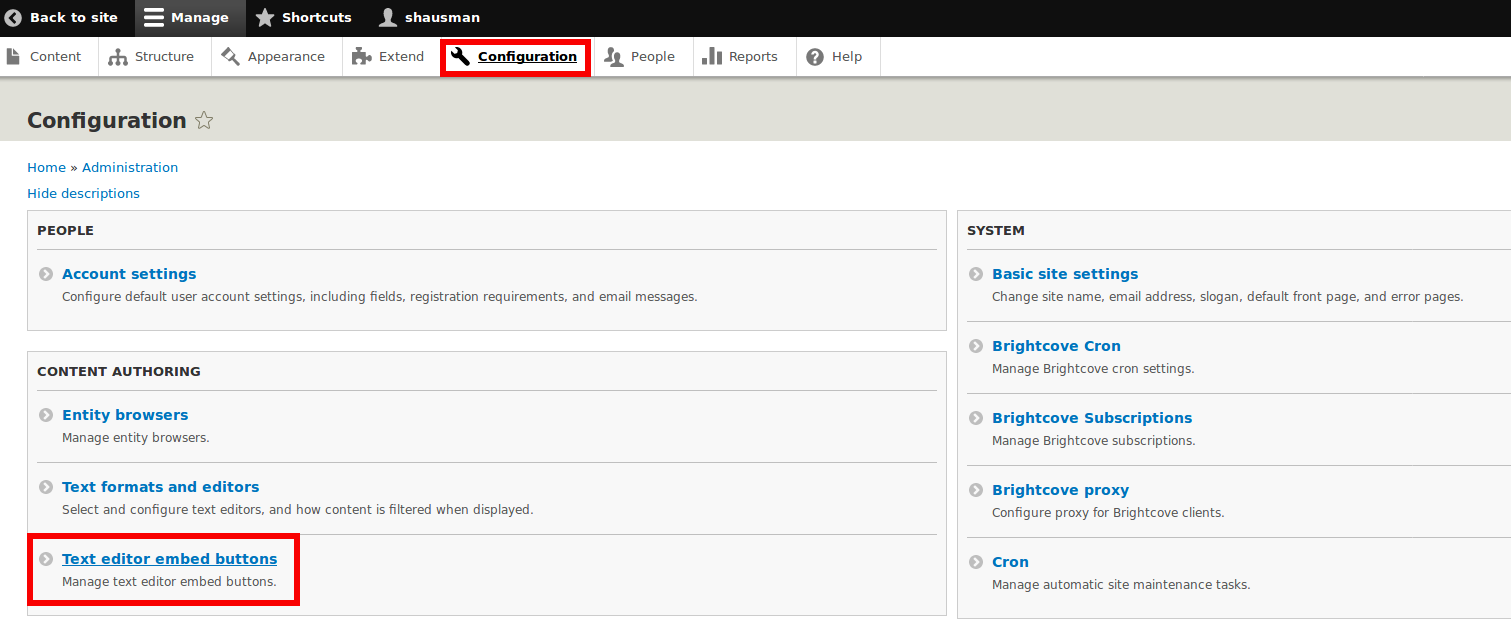
Navigate to Configuration. In the Content Authoring section, select Text editor embed buttons.
Click Add embed button. Give your button a label, select Entity for the embed type and Brightcove Video for the entity type. Your Entity browser should be the browser you already created for Brightcove content.
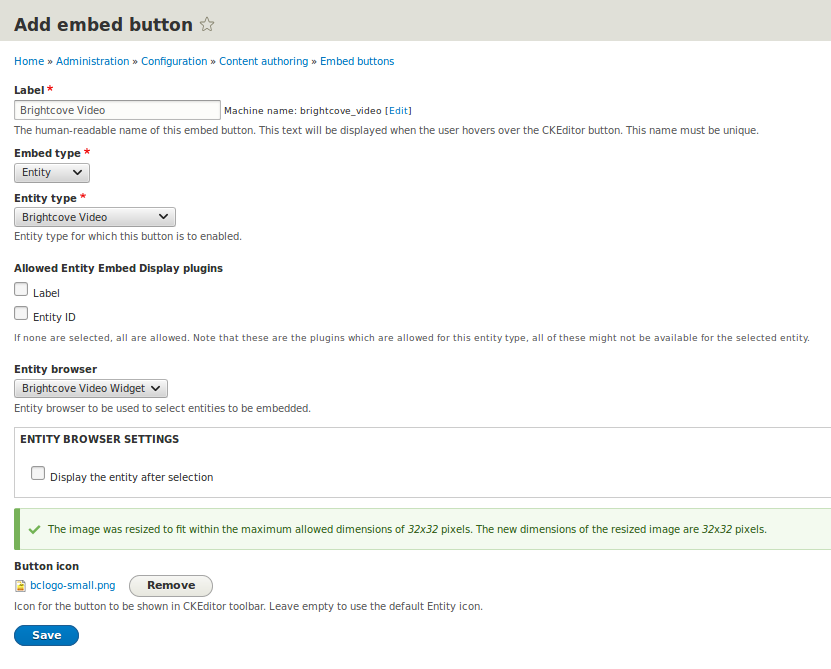
If you want an icon, you'll need to upload it here, otherwise it will just be the default button icon. Here is a small Brightcove logo icon you can use.

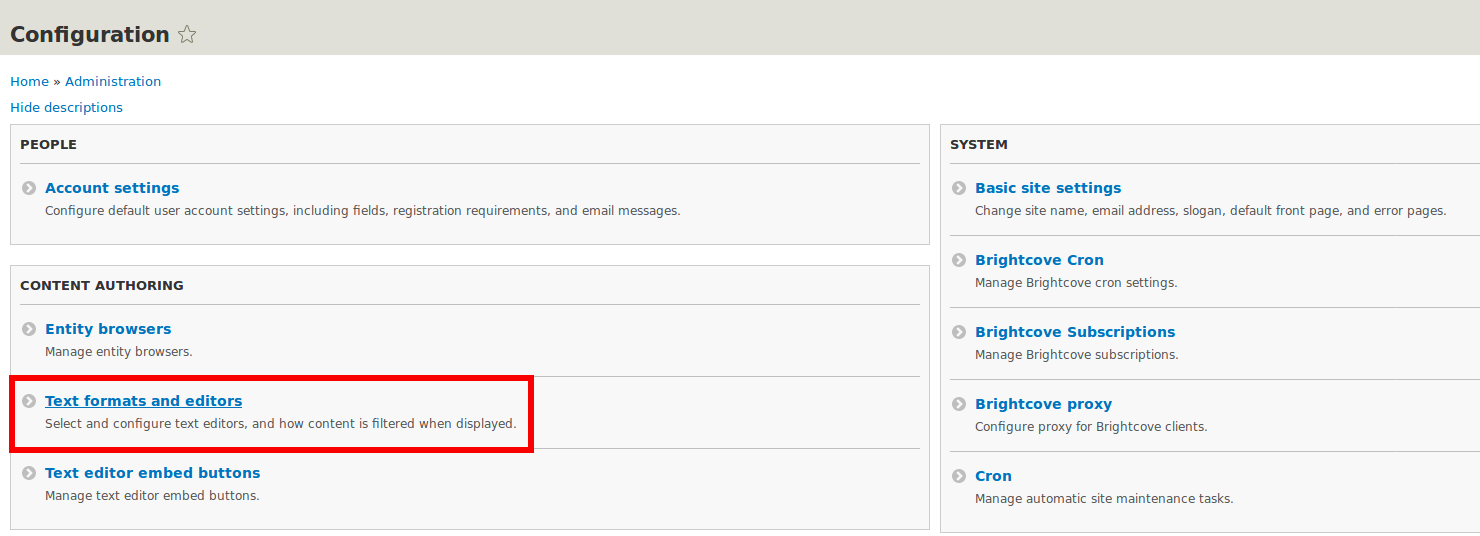
Go back to Configuration and choose Text formats and editors.
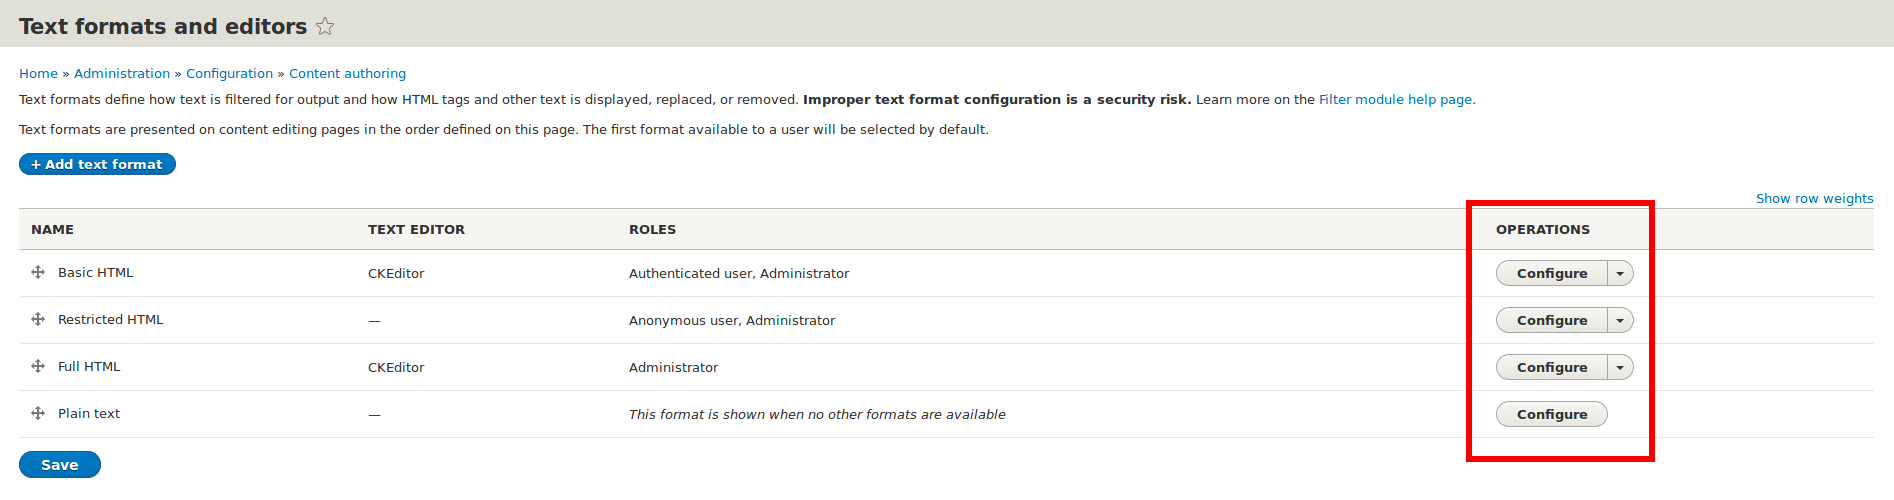
Choose to configure the text format where you want to add the entity embed button. Keep in mind that when posting, you will have to make sure to use this text format. You can repeat the process to add the button to multiple formats.
Make sure CKeditor is selected for the Text editor. Your new Brightcove button will be listed in the Available buttons, and can be dragged to the Active toolbar.
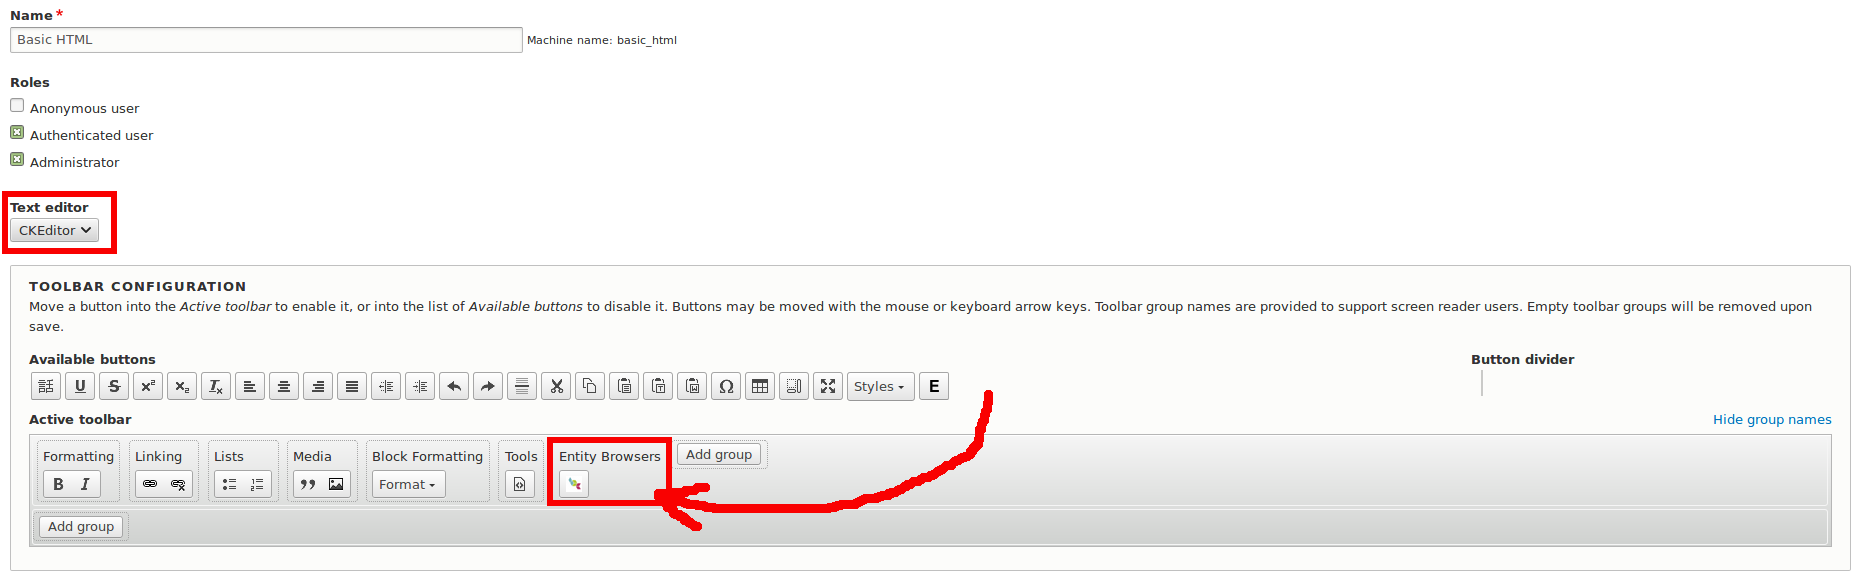
Make sure Display embedded entities is selected, and click Save configuration.
Add Brightcove View
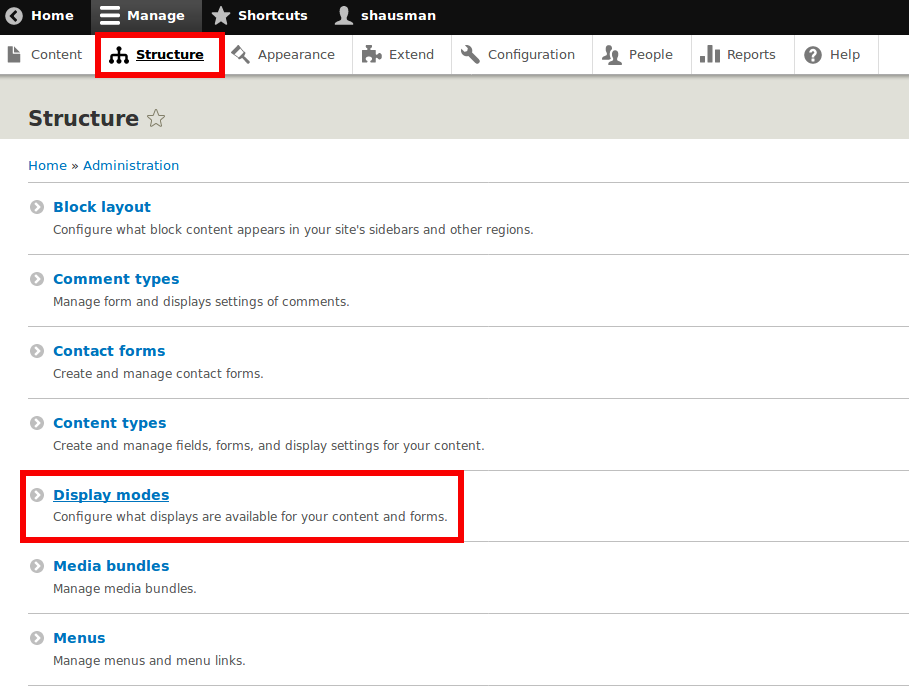
To make videos display properly, first you must create a new Brighcove view. To do that, go to the Structure page and select Display modes. Then click on View modes.
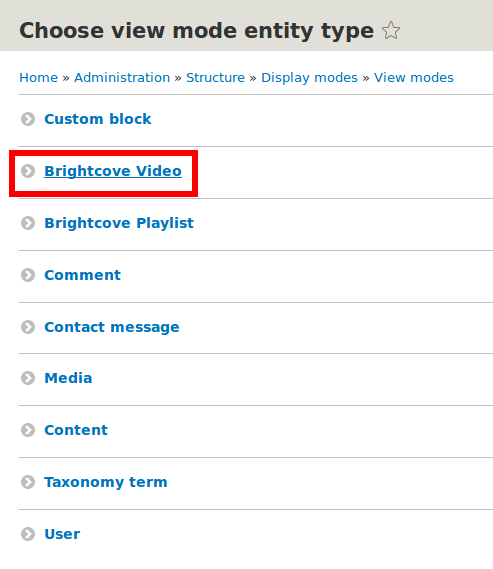
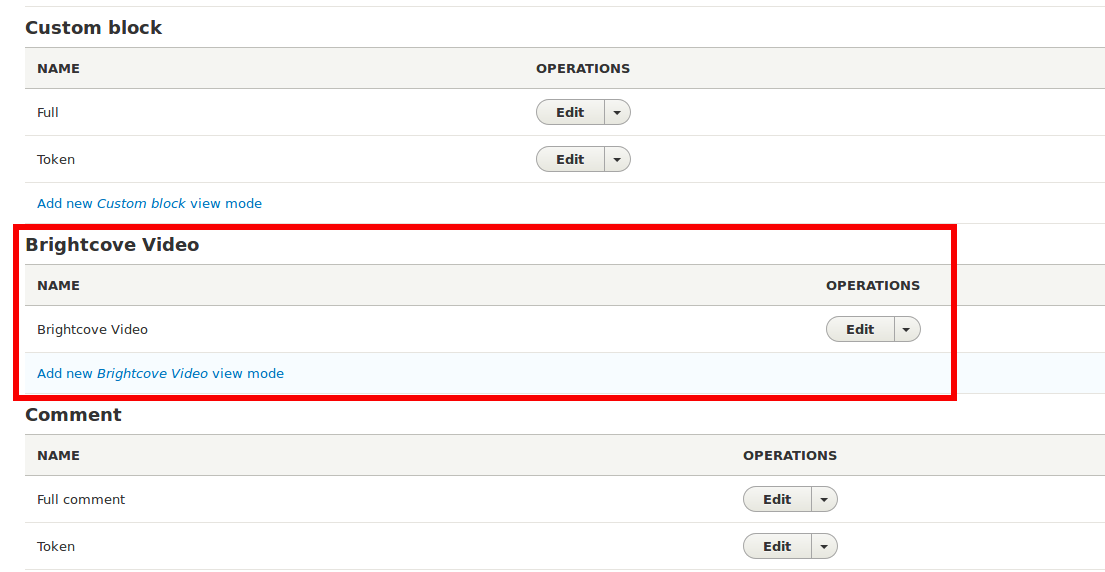
Click Add a new view. Choose Brightcove Video as the view mode entity type. Give your new view a label and hit Save.
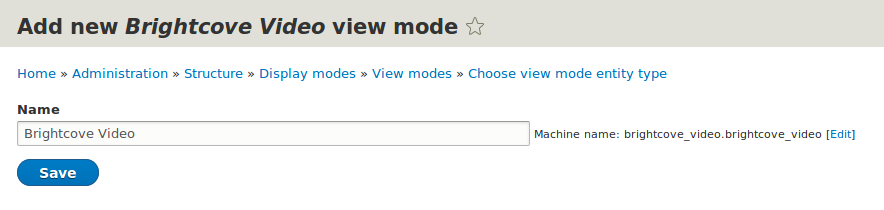
You should now see a view listed under Brightcove Video.
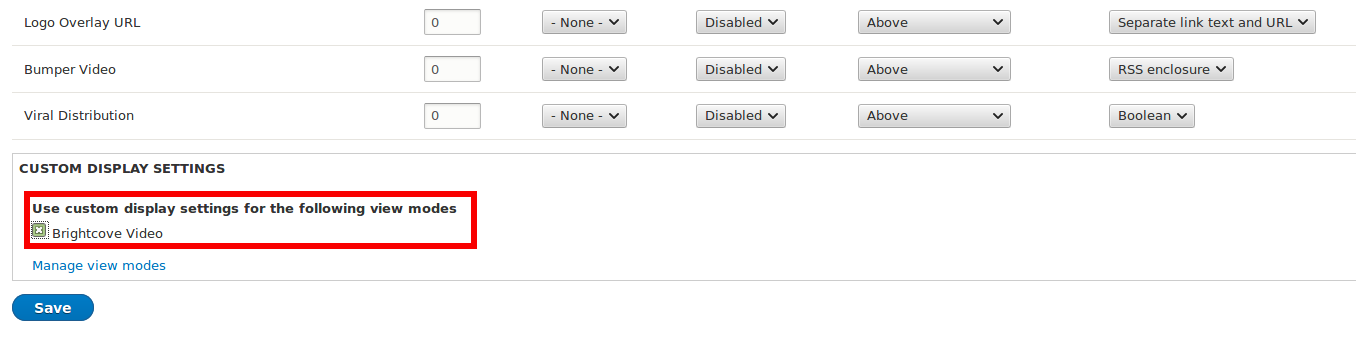
Next, enable the new view mode. Go to Brightcove Video settings in the Structure menu, then select the Manage display tab. At the bottom, there is a Custom display settings box. Select your new custom view and hit Save.
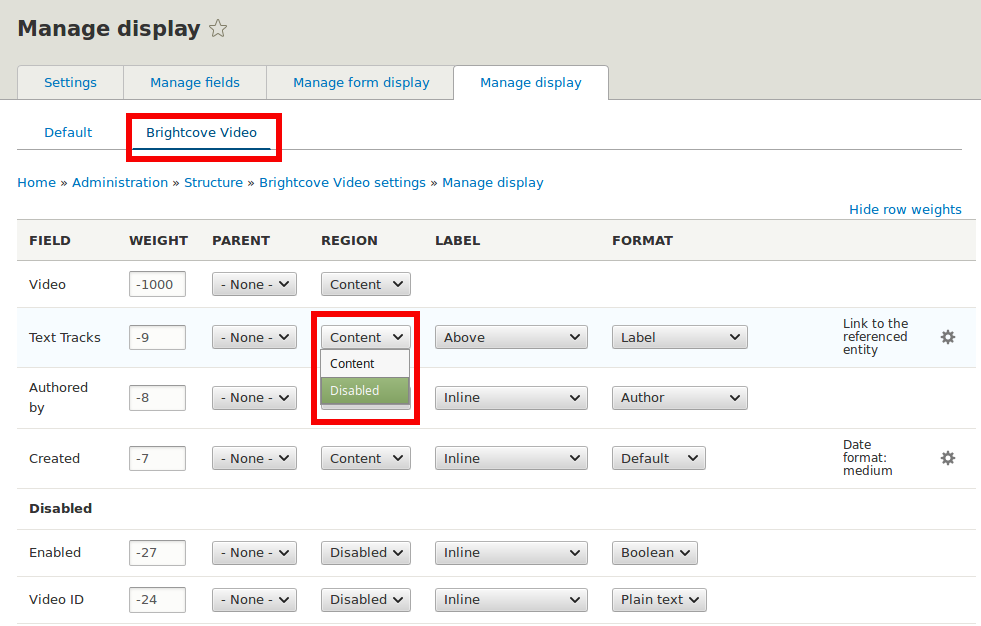
By default, the view has a lot of unnecessary metadata displayed with the video. Next to the Default view link, click on the link with your view mode's name. Disable any metadata you do not want to publish in your post, and enable any you want to keep. Don't forget to hit save.
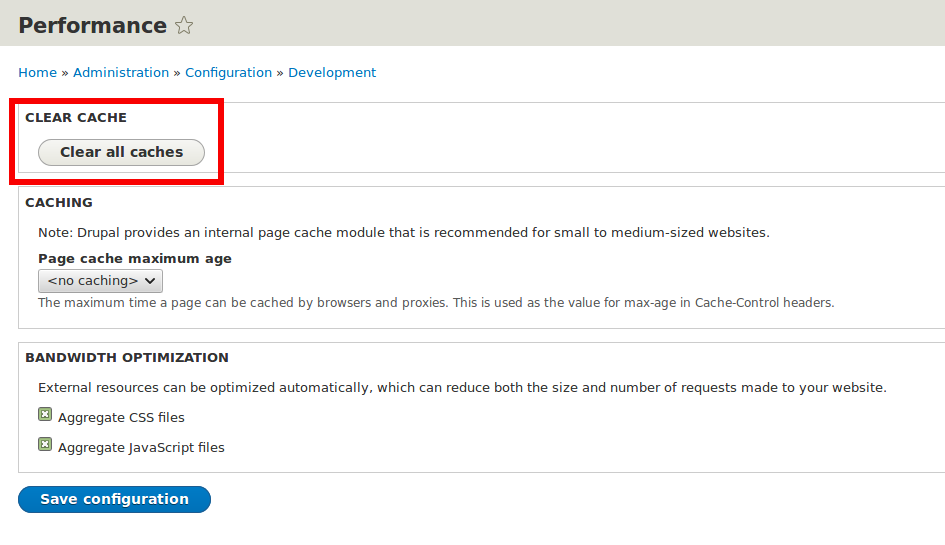
Finally, clear your cache by navigating to Performance in the Configuration menu, and clicking Clear all caches.
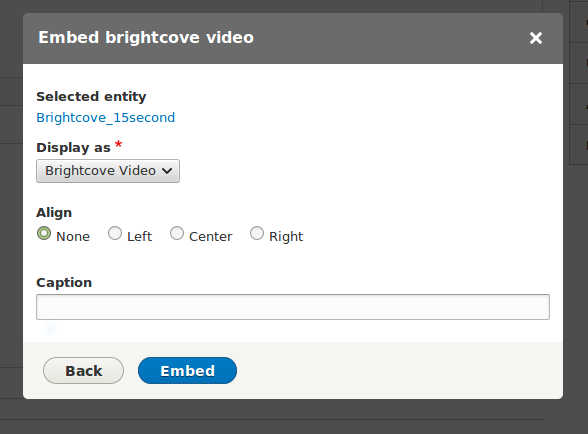
Now you should be able to select Brightcove Video as the view to display!
Also check out content management with Drupal.