Adobe-AEM-Brightcove Connector: Using the Connector
Introduction
The Adobe-AEM-Brightcove Connector allows you to manage Brightcove Video Cloud videos and players within AEM, and easily embed videos in AEM pages.
The Brightcove AEM Connector consists of following components:
Video player and in-page experience publishing
Video player publishing allows the user to drag a Brightcove Player component onto a web page and then select the Brightcove account, video, and player for that component. An In-Page Experience is just a Brightcove Player enhanced with additional styling and features. Therefore the process of adding a regular player or an in-page experience to a page is the same.
- Browse to a site page such as
/editor.html/content/we-retail/us/en.html
Enable the Brightcove Player components for this site page.
- Open the Edit Template dialog:
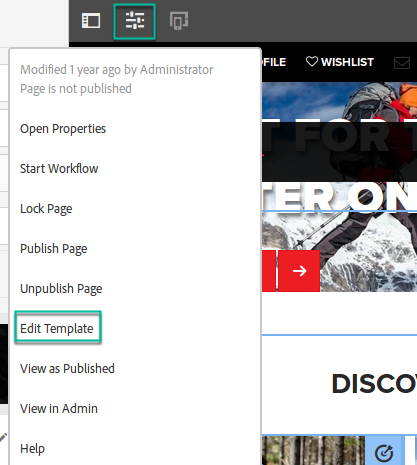
Open Edit Template - From the Structure menu in the upper right corner, select Structure:
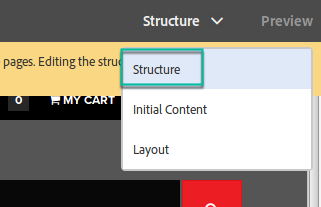
Select Structure - Click the Layout Container with Drag Components Here area to reveal the menu at the top, and then click the Policy Icon:

Open Layout Container Menu - Under the Allowed Components list, search for Brightcove and select the In-Page Experience, Brightcove Video Player, and Playlist Player components:
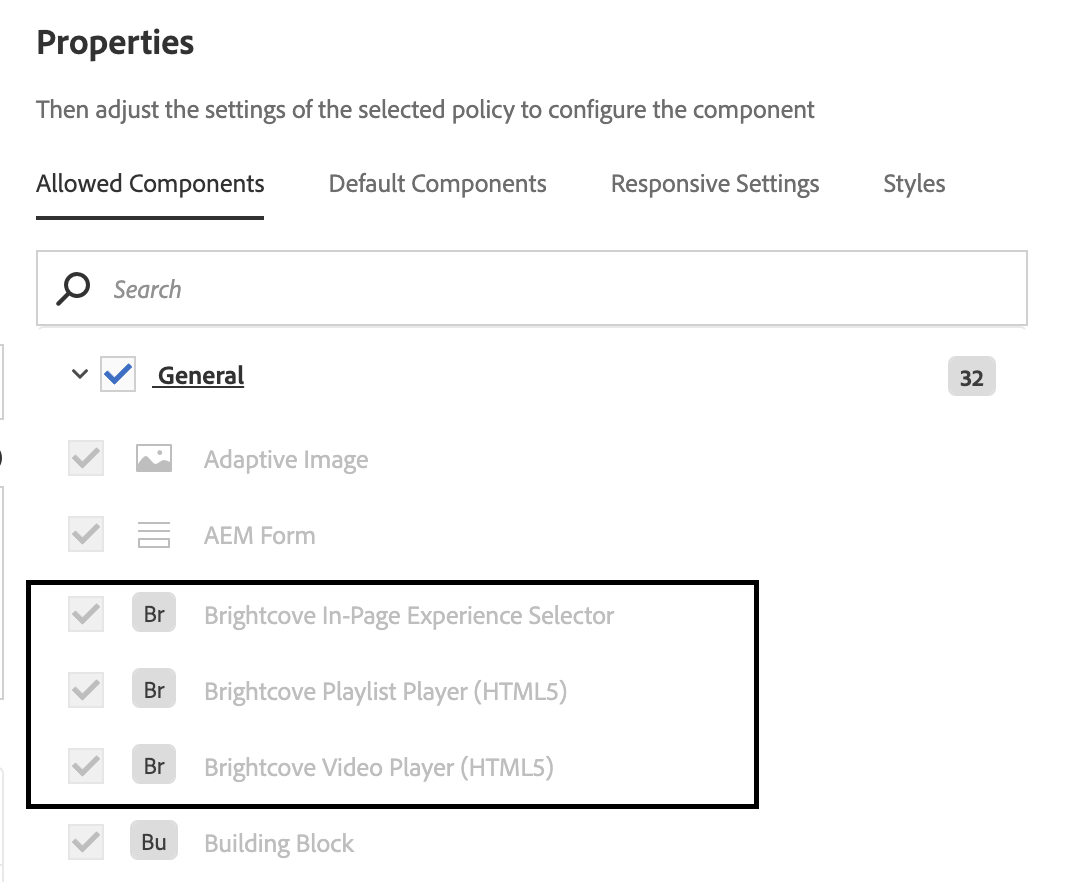
Allow Brightcove Player Components - Click the
 icon to save changes.
 - You can now drag Brightcove players or in-page experiences from the Components list on the left into the template:
Add Brightcove Player to Template - Select the embedded Player component and click the Configure icon:

Configure Component Icon - In the Media tab of the Configure dialog, select the account, video, and player, and then click the :
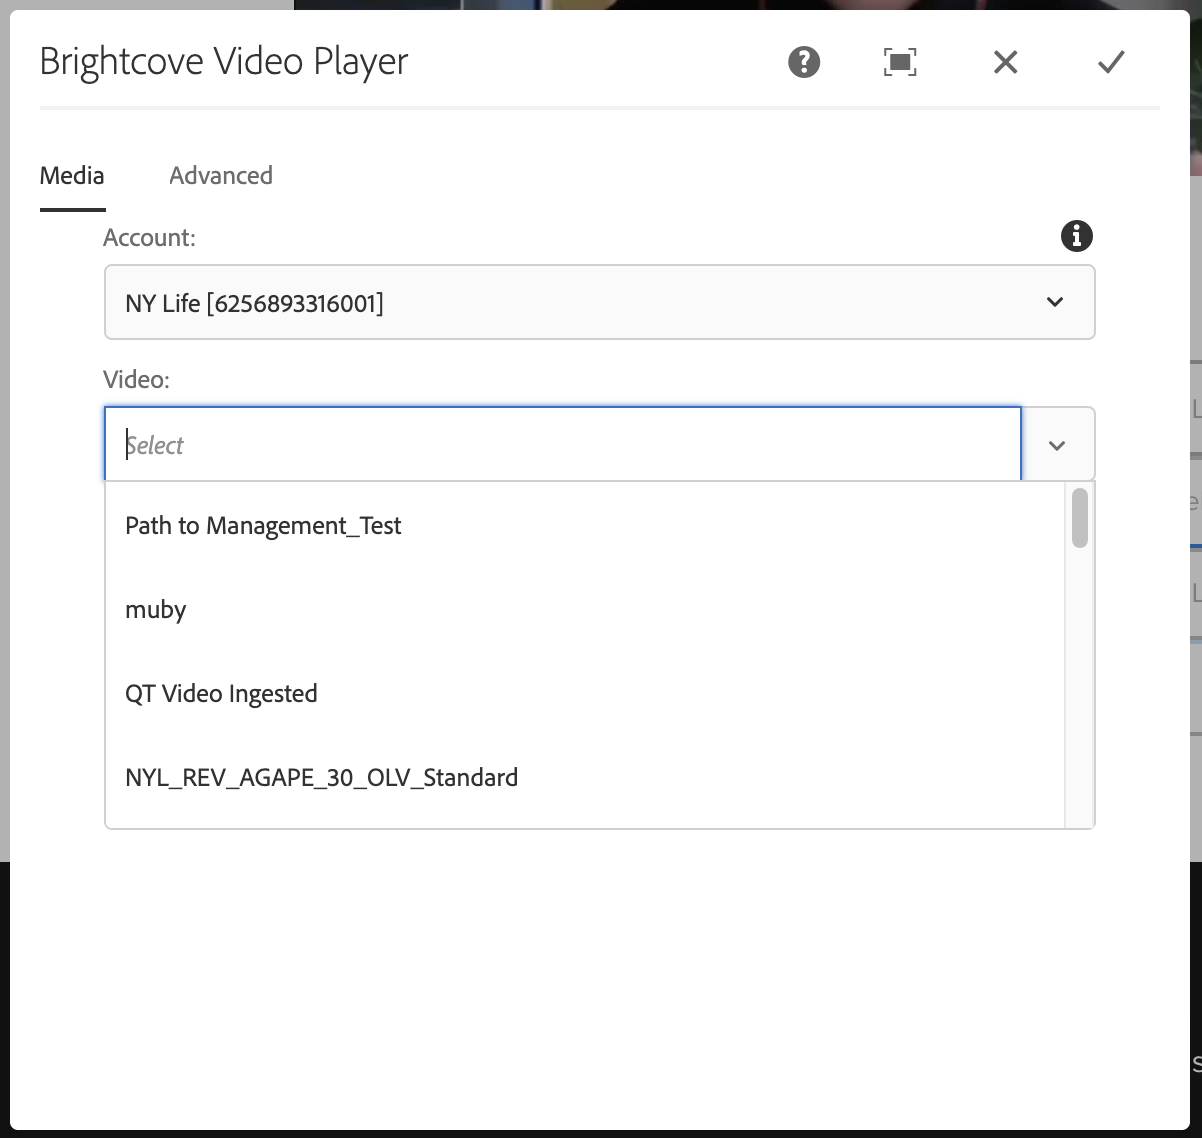
Configure Player Dialog - In some cases you may need to set advanced options for the Brightcove player. The most common situation is when using a Brightcove playlist player, CSS needs to be added to configure the look and feel of the playlist.
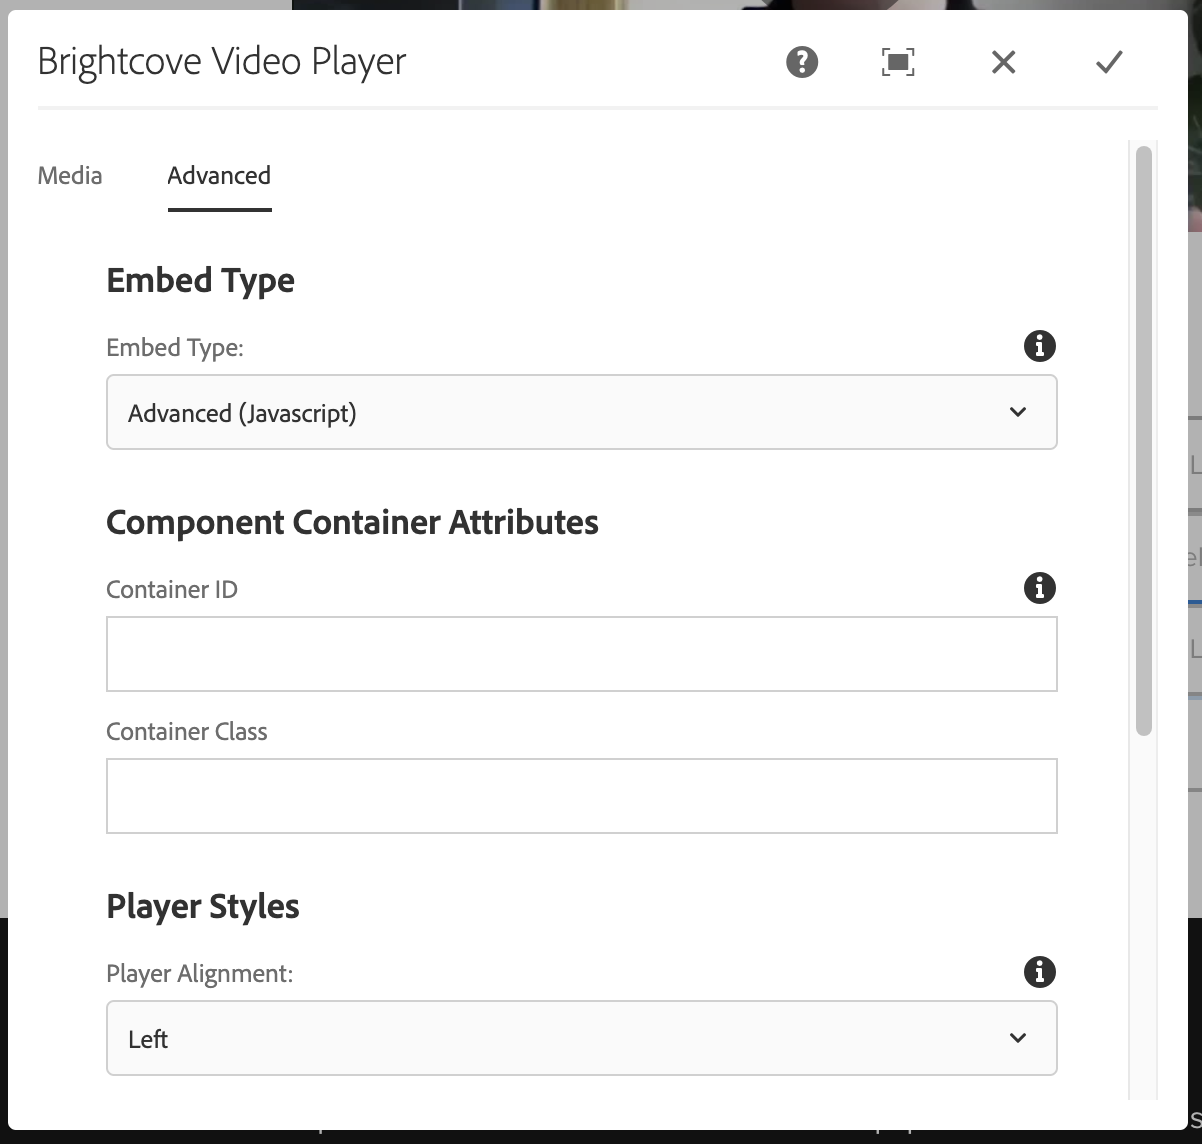
Configure Player Dialog Advanced Options
Below is sample CSS to format the playlist. Note that you will need to calculate your desired thumbnail height and width. You can use the formulas below as a starting point:
THUMBNAILWIDTH = Round((PLAYERWIDTH - NUMTHUMBNAILS * 4)/ NUMTHUMBNAILS);

        THUMBNAILHEIGHT = Round(THUMBNAILWIDTH * PLAYERHEIGHT / PLAYERWIDTH);
CSS Example:
.vjs-playlist { background-color: #000000; width: PLAYERWIDTH; height: calc (THUMBNAILHEIGHT + 16px); text-align: center; overflow-x: scroll; overflow-y: hidden; white-space: nowrap; margin: 0; padding: 0; } .vjs-playlist-title-container { color: #FFFFFF; /*display: none;*/ opacity: 1; font-size: 0.7em; font-family: sans-serif; font-weight: bold; } .vjs-playlist-now-playing-text { color: #FFFFFF; /*display: none;*/ opacity: 1; font-size: 0.7em; font-family: sans-serif; font-weight: bold; } .vjs-up-next-text { color: #FFFFFF; /*display: none;*/ opacity: 1; font-family: sans-serif; font-weight: bold; text-align: right; } .vjs-playlist-duration { color: #FFFFFF; /*display: none;*/ opacity: 1; font-family: sans-serif; font-weight: bold; } .vjs-mouse.vjs-playlist { background-color: #000000; } li.vjs-playlist-item { background-color: #000000; height: THUMBNAILHEIGHT; width: THUMBNAILWIDTH; display: inline-block; border: 2px solid #000000; padding: 0; margin: 0; cursor: pointer; vertical-align: middle; } li.vjs-playlist-item:hover { border-color: #FFFFFF; } - You may initially see an error indicating the video is not playable - this just results from the fact that the player cannot function properly in Edit mode. Switch to Preview mode to play the video.
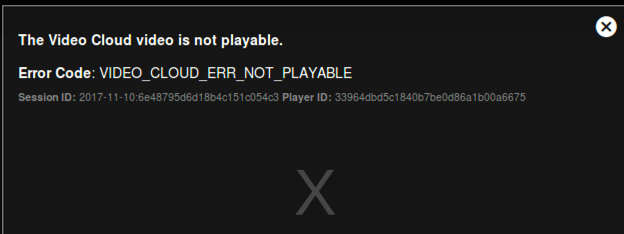
Video Cloud Error
Video content management
Video content management in the v6.x Connector uses the AEM DAM to upload videos to Brightcove and update metadata in Brightcove. In versions of the connector before v5.x the administrative page at /brightcove/admin was used to upload videos to Brightcove.
AEM DAM Setup
Before using the AEM DAM with Brightcove for the first time, the DAM Integration Path folder structure as specified on the Brightcove configuration page at /system/console/configMgr needs to be created. The default is /content/dam/brightcove_assets if you do not change it on the configuration page. Under this folder a folder should be created for each Brightcove account; the folder name should be the numeric Account ID from the Brightcove configuration and the folder title should be the Account Alias from the Brightcove configuration.
In Classic UI the folders can be created at /damadmin#/content/dam. In Touch UI the folders are created at /assets.html/content/dam. Alternatively, the SYNC DATABASE button on the administrative page at /brightcove/admin will create the necessary folders in the AEM DAM for each configured Brightcove account and import all videos that already exist in the Brightcove account. If you do not want to sync some or all videos in Brightcove, those videos with the Brightcove tag AEM_NO_DAM will not be synced into the AEM DAM.
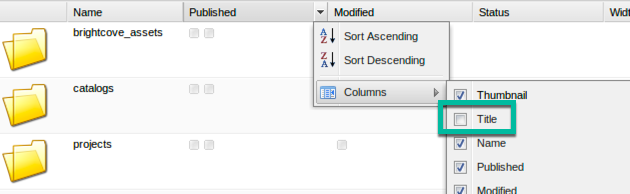
Also, if you are using the AEM DAM in Classic UI, enable the Title field as shown below when viewing /damadmin#/content/dam:
When a video is uploaded to the AEM DAM and then published to Brightcove, the original video file is maintained in the AEM DAM. For some implementations it is preferred to keep the "master" video in the AEM database while for other implementations it is not preferred because the size of the AEM database will grow too quickly. If you do not want the original video stored in the AEM DAM but do not want to use the Brightcove Studio interface to upload videos, you can simply delete the video in the AEM DAM after it has been published to Brightcove once and it will be imported back from Brightcove with a thumbnail image placeholder during the next synchronization, triggered by the SYNC DATABASE operation.
Note also that if you upload a video via the AEM DAM and publish to Brightcove and then, at a later time, replace the source file for that video in Brightcove Studio, it will create a new asset in the AEM DAM during the next SYNC DATABASE operation because a new videoID is created in Brightcove when the source file is replaced. You can, however, update metadata in Brightcove Studio for a video published from the AEM DAM and it will update the metadata for the existing asset in the AEM DAM as would be expected.
Uploading New Videos in Classic UI
- To upload a new video in the Classic UI, browse to
/damadmin#/content/dam/brightcove_assets, open the folder for the Brightcove account you wish to use, and click New>New File: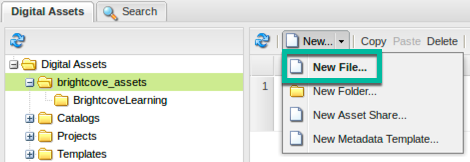
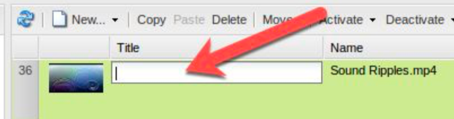
Add New Video - After uploading, edit the Title field or, if left blank, it will be set to the name of the video file uploaded to the DAM upon publishing the asset which will upload it to Brightcove. The Title field can be edited in the DAM asset list view by clicking on the Title field for the new asset:
Edit video Title - Alternatively, you can open the new asset and edit the Title field and save changes:
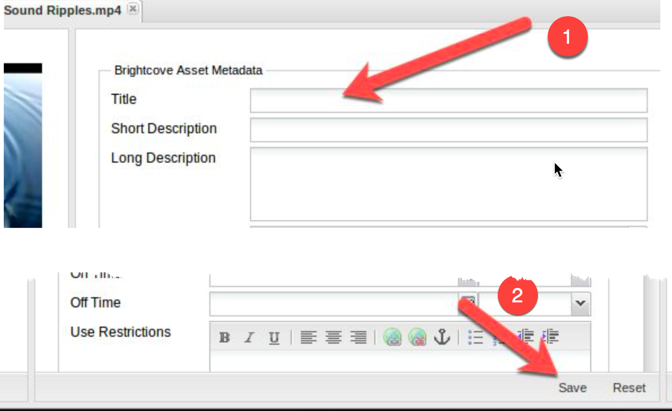
Edit Title in Asset Properties - Other metadata fields are optional, except possibly Brightcove Custom Fields. However, due to a limitation in the AEM Classic UI, Brightcove Custom Fields, for which support was added in the 5.x version of the Connector, cannot be edited in the Classic UI and you must use Touch UI instead.
- At this point the video exists in the AEM DAM only. To synchronize the video to Brightcove, select the new asset in the asset list view and click Activate to publish the video to Brightcove:
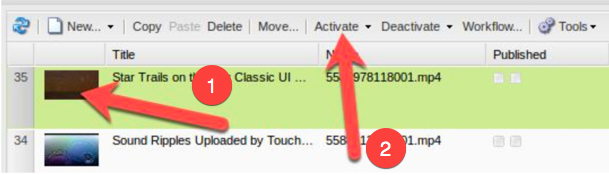
Send Video to Brightcove
Uploading files in the Touch UI
- To upload a new video in the Touch UI, browse to
/assets.html/content/dam/brightcove_assets/, open the folder for the Brightcove account you wish to use, and click Create>Files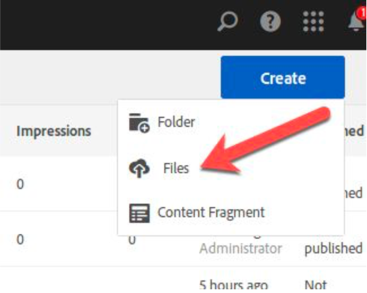
Add Video Touch UI - After you upload the video, edit the Title field if desired. The Title field is edited by opening the new asset, selecting View Properties and editing the Title on the Basic properties page:
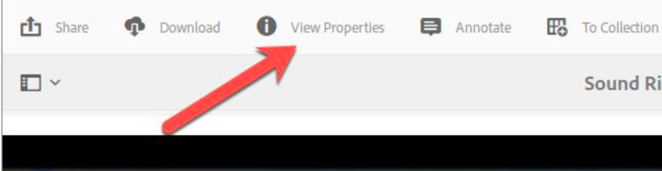
Asset Properties 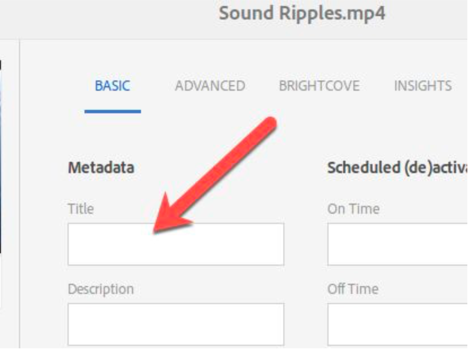
Edit Title - Touch UI - Other metadata fields are optional, except possibly Brightcove Custom Fields.
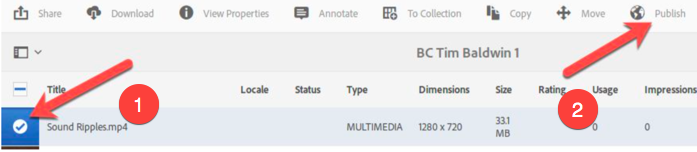
- To synchronize the video to Brightcove, select Publish inside the asset view:
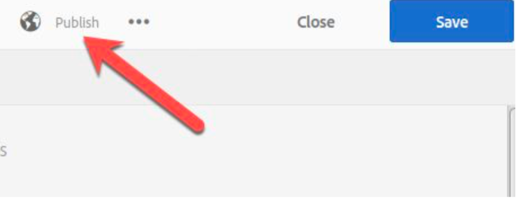
Send Video to Brightcove - Asset View - Alternatively, you can select the new asset in the List, Card, or Column view and click Publish to publish the video to Brightcove:
Send Video to Brightcove - Asset List
Changing thumbnail and poster images in the AEM DAM
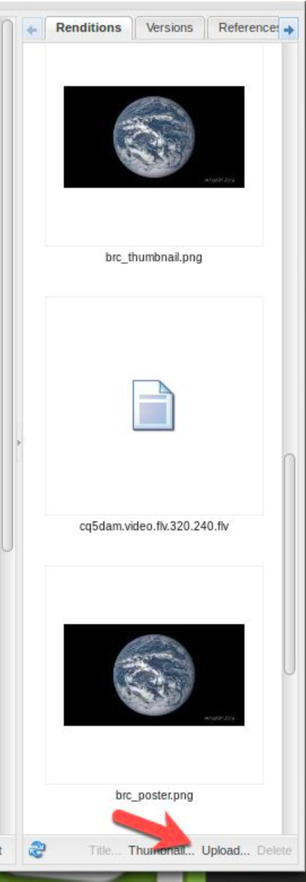
Thumbnail and poster images can be updated in Brightcove by overwriting the renditions named brc_thumbnail.png and brc_poster.png in a video asset in the DAM. In the Classic UI, browse to /damadmin#/content/dam/brightcove_assets and open a video asset and click Upload under the Renditions tab:
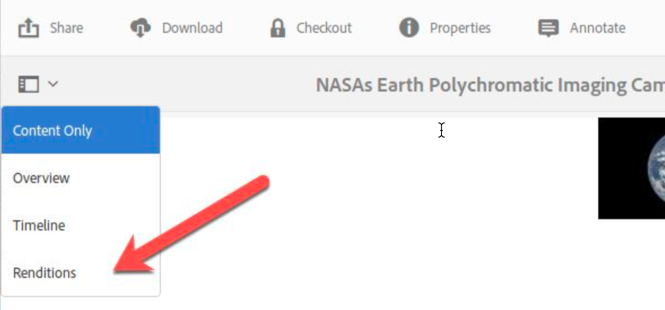
After uploading brc_thumbnail.png or brc_poster.png, Save and Activate the asset to upload the new thumbnail and poster images to Brightcove. In Touch UI browse to /assets.html/content/dam/brightcove_assets/ and open a video asset. Click Renditions as shown below:
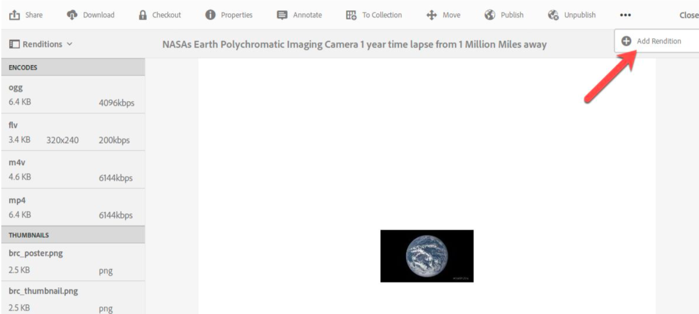
Next click Add Rendition and upload a file named brc_thumbnail.png or brc_poster.png and then Publish the asset to upload the new thumbnail and poster images to Brightcove:
Importing Videos from AEM to Brightcove
If new videos are being uploaded directly in Brightcove Studio and/or if metadata is being edited directly in Brightcove Studio, the SYNC DATABASE button on the Brightcove administration page at /brightcove/admin is used to synchronize new videos or updated metadata from Brightcove into the AEM DAM. Note that video assets imported from Brightcove into the DAM will not copy the original video file into the AEM DAM but instead will use the Brightcove thumbnail as a placeholder for the asset. Thus, the AEM database size will not grow substantially when importing videos from Brightcove.
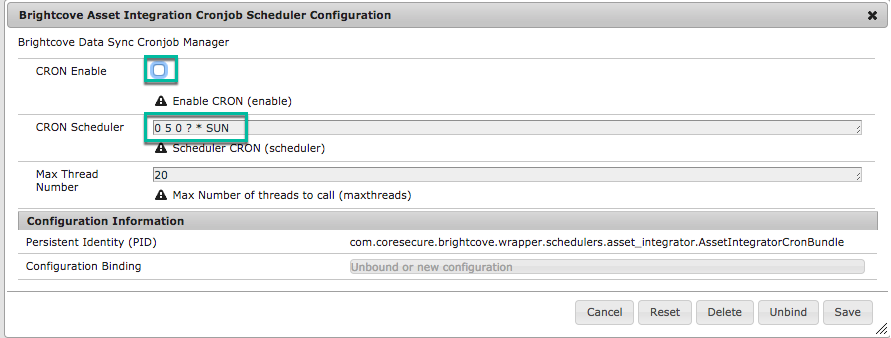
The database sync can be setup to execute on a schedule as well. Open the configuration console at /system/console/configMgr and then find and open "Brightcove Asset Integration Cronjob Scheduler Configuration".

Click CRON Enable and enter a valid CRON expression in the CRON Scheduler field.
The following command can also be used manually from the OS to trigger the synchronization process.
/usr/bin/curl --anyauth --user <USERNAME>:<PASSWORD> --silent --compressed <INSTANCE>/bin/brightcove/dataload.html
Note that <USERNAME>:<PASSWORD> must be of a valid AEM user with access to the Brightcove accounts and rights to create tags and content.
Brightcove administration
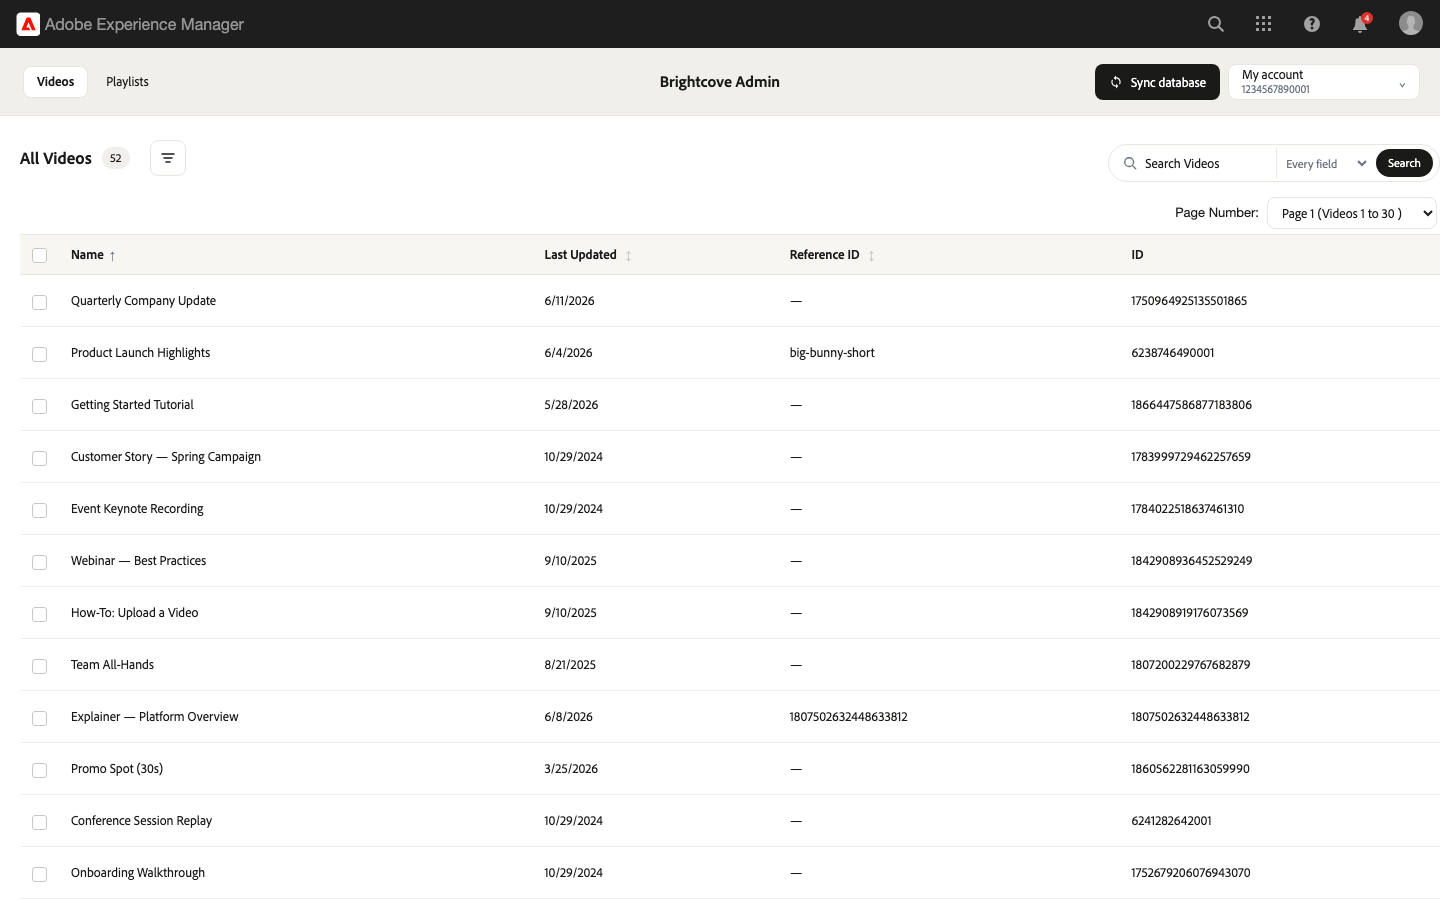
In previous versions of the Connector, the Brightcove Administration page at /brightcove/admin was used to upload videos to Brightcove and edit metadata for those videos. With the new support for the AEM DAM, the Brightcove Admin page is now generally used to only view data in the Brightcove account. For example, the Brightcove admin page shows the videos in the Brightcove account in real-time using direct API calls to Brightcove and could be used to confirm that a new video was uploaded to Brightcove or that metadata was synchronized to Brightcove by the publish process in the AEM DAM.
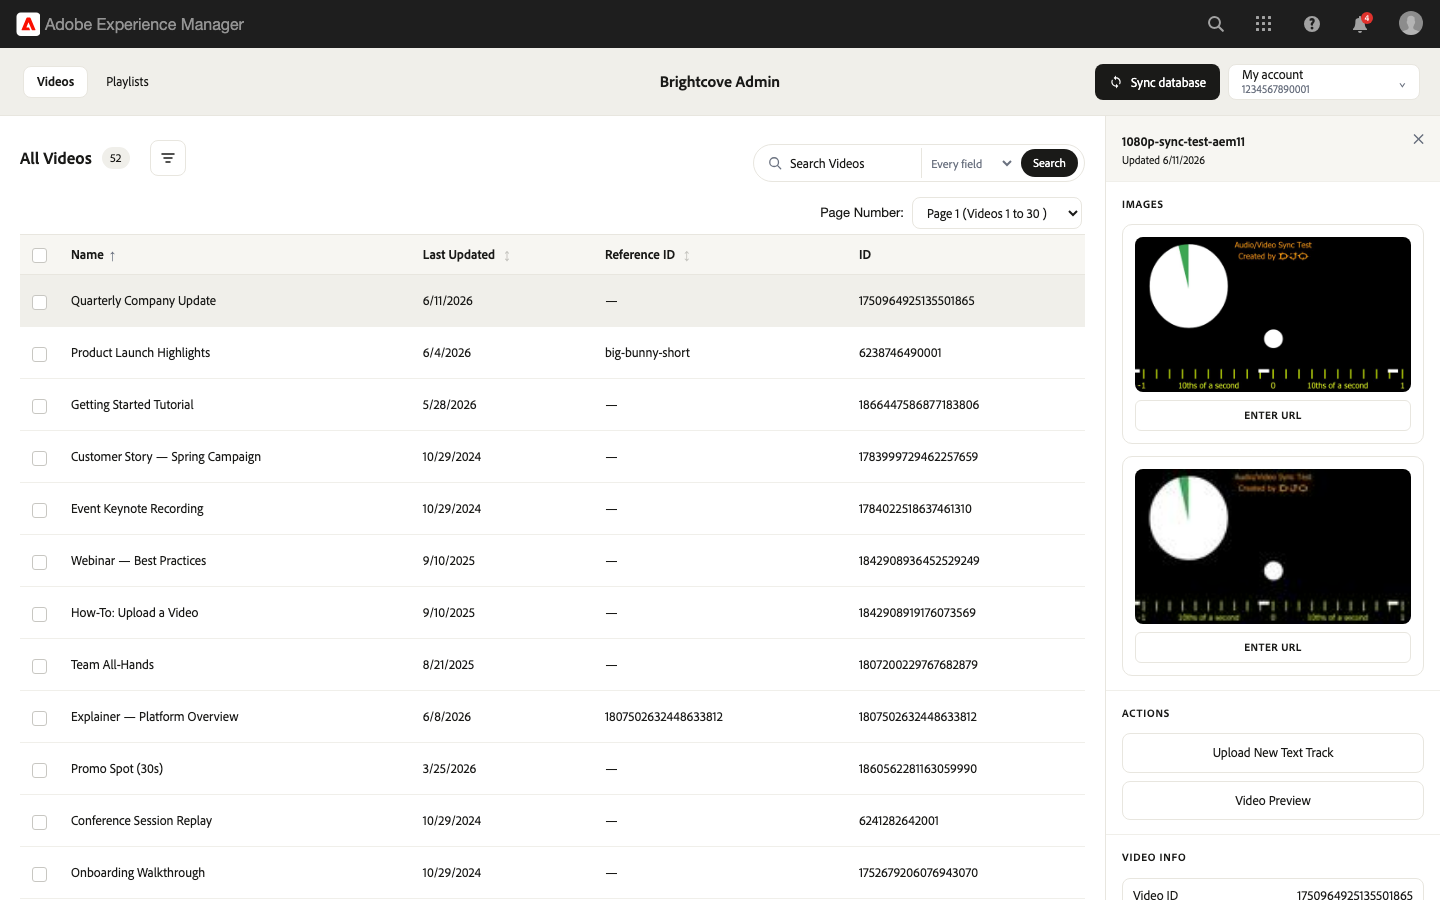
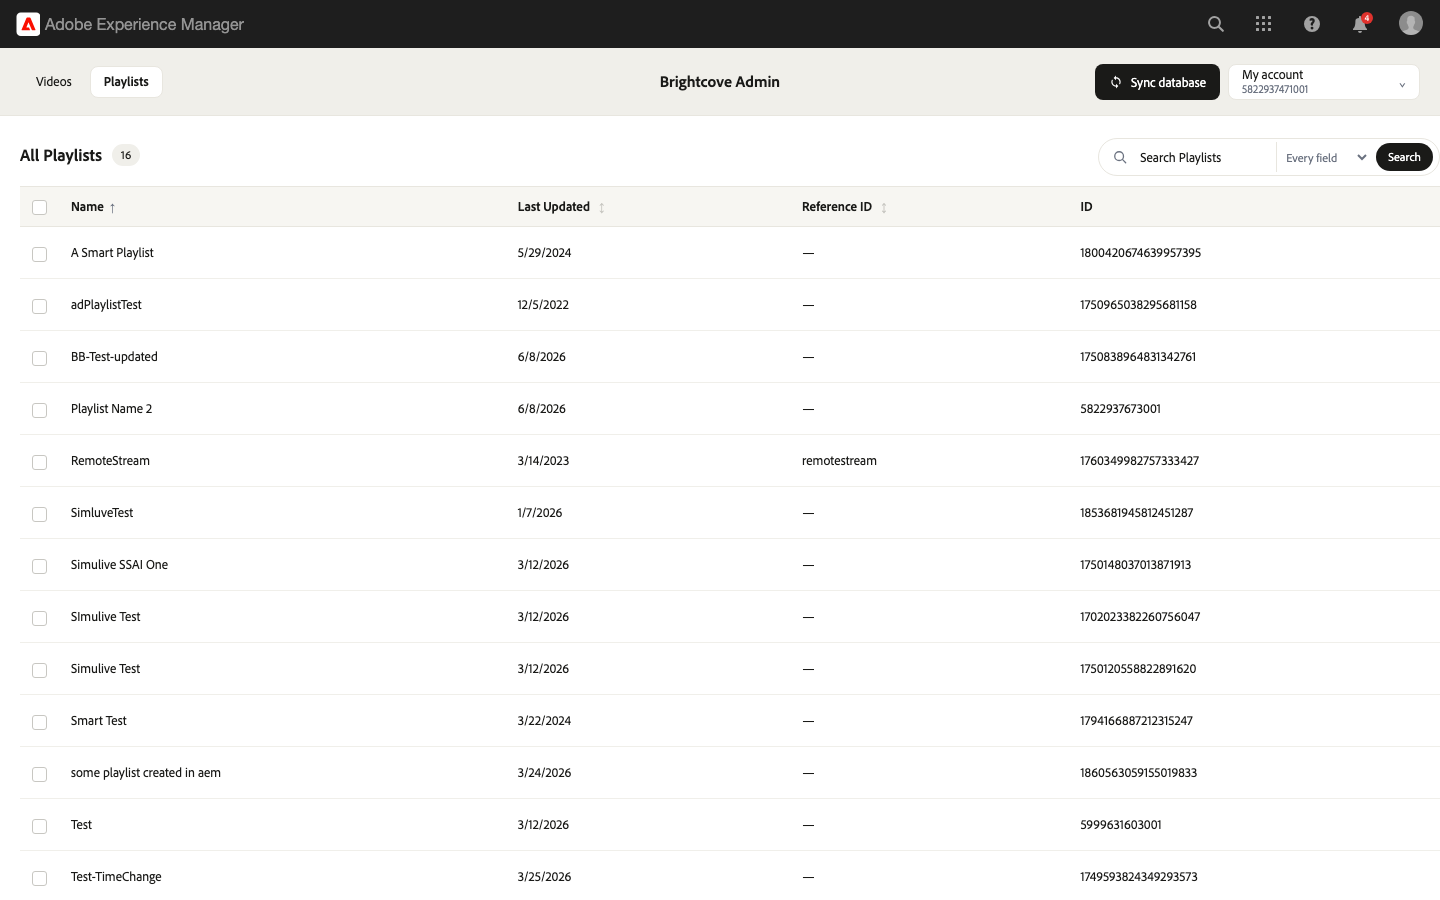
The Brightcove Admin console lists the videos and playlists in each configured account and provides a detail panel for viewing a video's metadata, images, and text tracks:
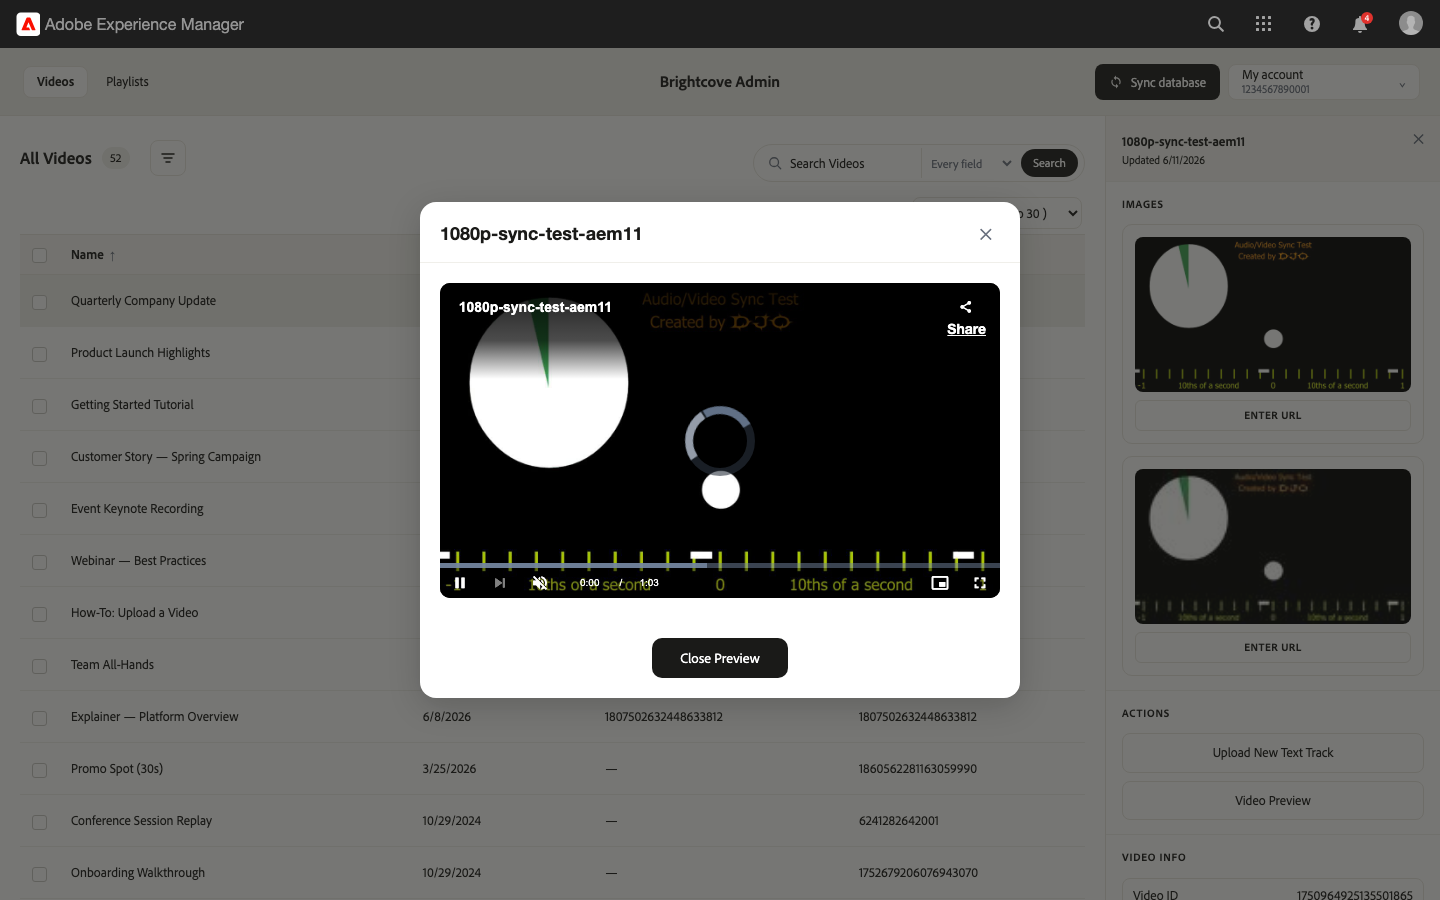
To verify playback from Brightcove, videos can be previewed on this Brightcove Admin page using the default video and playlist players specified on the Brightcove configuration page at /system/console/configMgr:
The Brightcove Admin page also contains a SYNC DATABASE button which will initiate the synchronization process from Brightcove to the AEM DAM. Press the SYNC DATABASE button to synchronize all configured Brightcove accounts to the AEM DAM. If you do not want to sync some or all videos in Brightcove, those videos with the Brightcove tag AEM_NO_DAM will not be synced into the AEM DAM.

This synchronization process can be automated via a cron job so that the manual operation is not necessary.
Adding text tracks to a video
Currently text tracks can only be added to a video via the Brightcove Admin page at /brightcove/admin. Text tracks are added via the Upload New Text Track button:
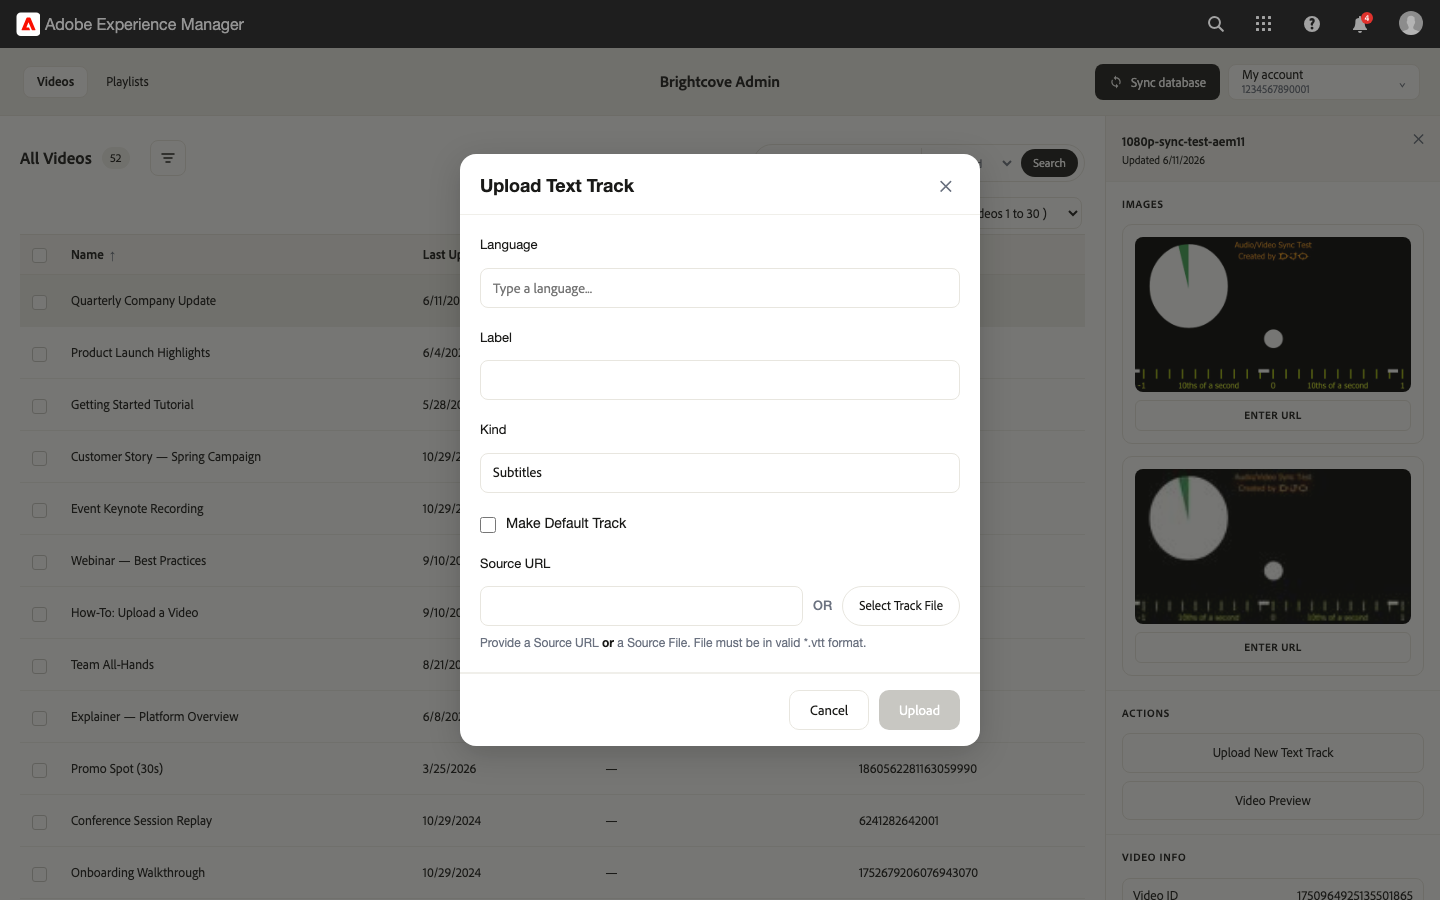
.vtt fileSupporting text tracks uploaded as renditions in the DAM is on the roadmap to be implemented at a later time..
Updating poster images
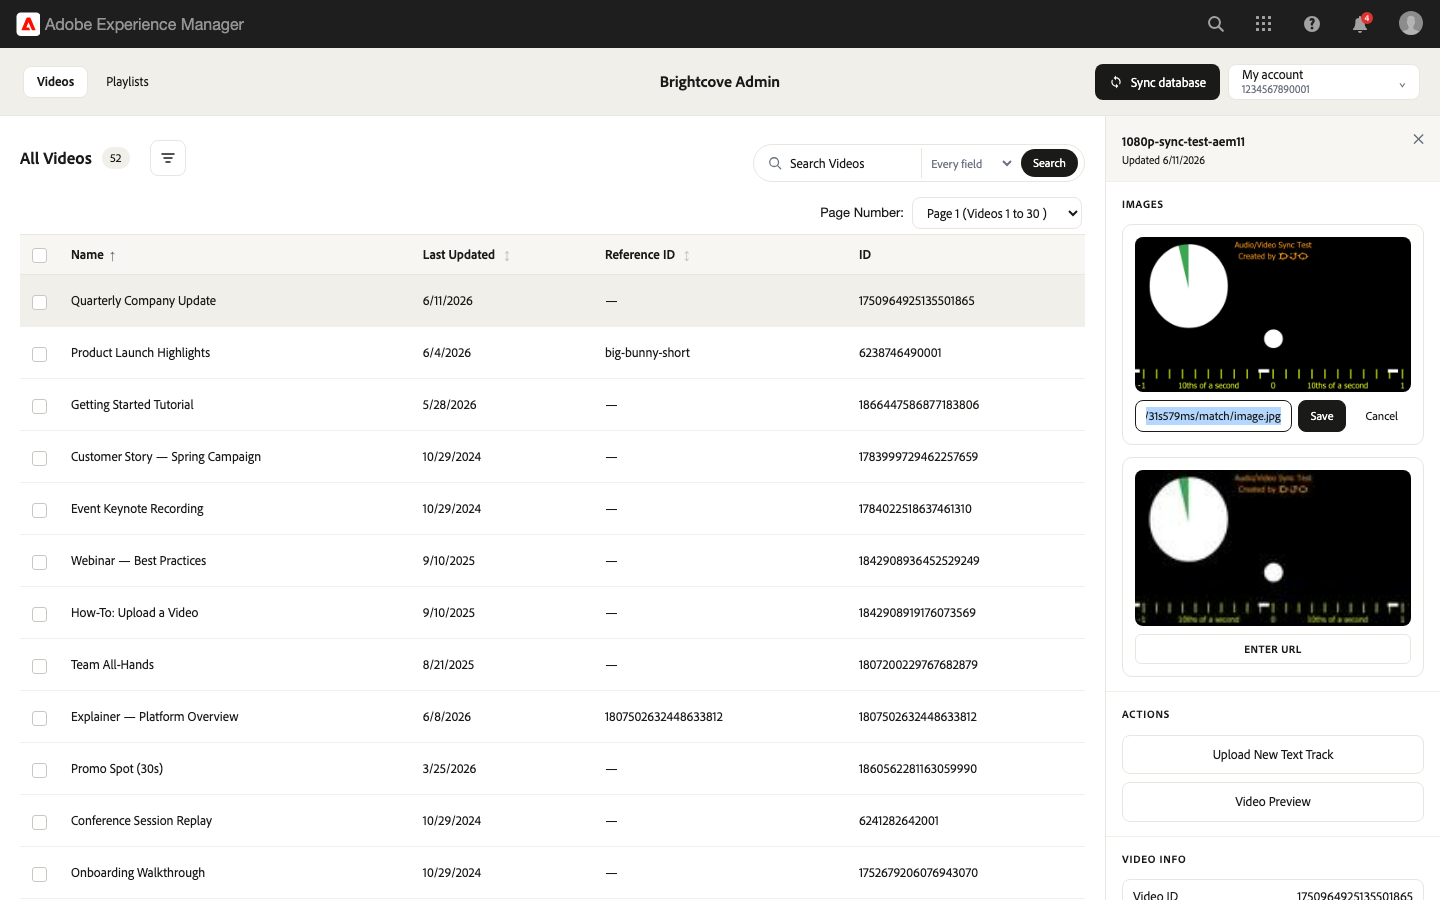
In addition to updating poster and thumbnail images in the AEM DAM, they can also be uploaded to Brightcove from a remote HTTP URL via the Brightcove Admin page at /brightcove/admin. In the video's detail panel, use the ENTER URL control under Images to set the poster or thumbnail:
Labels
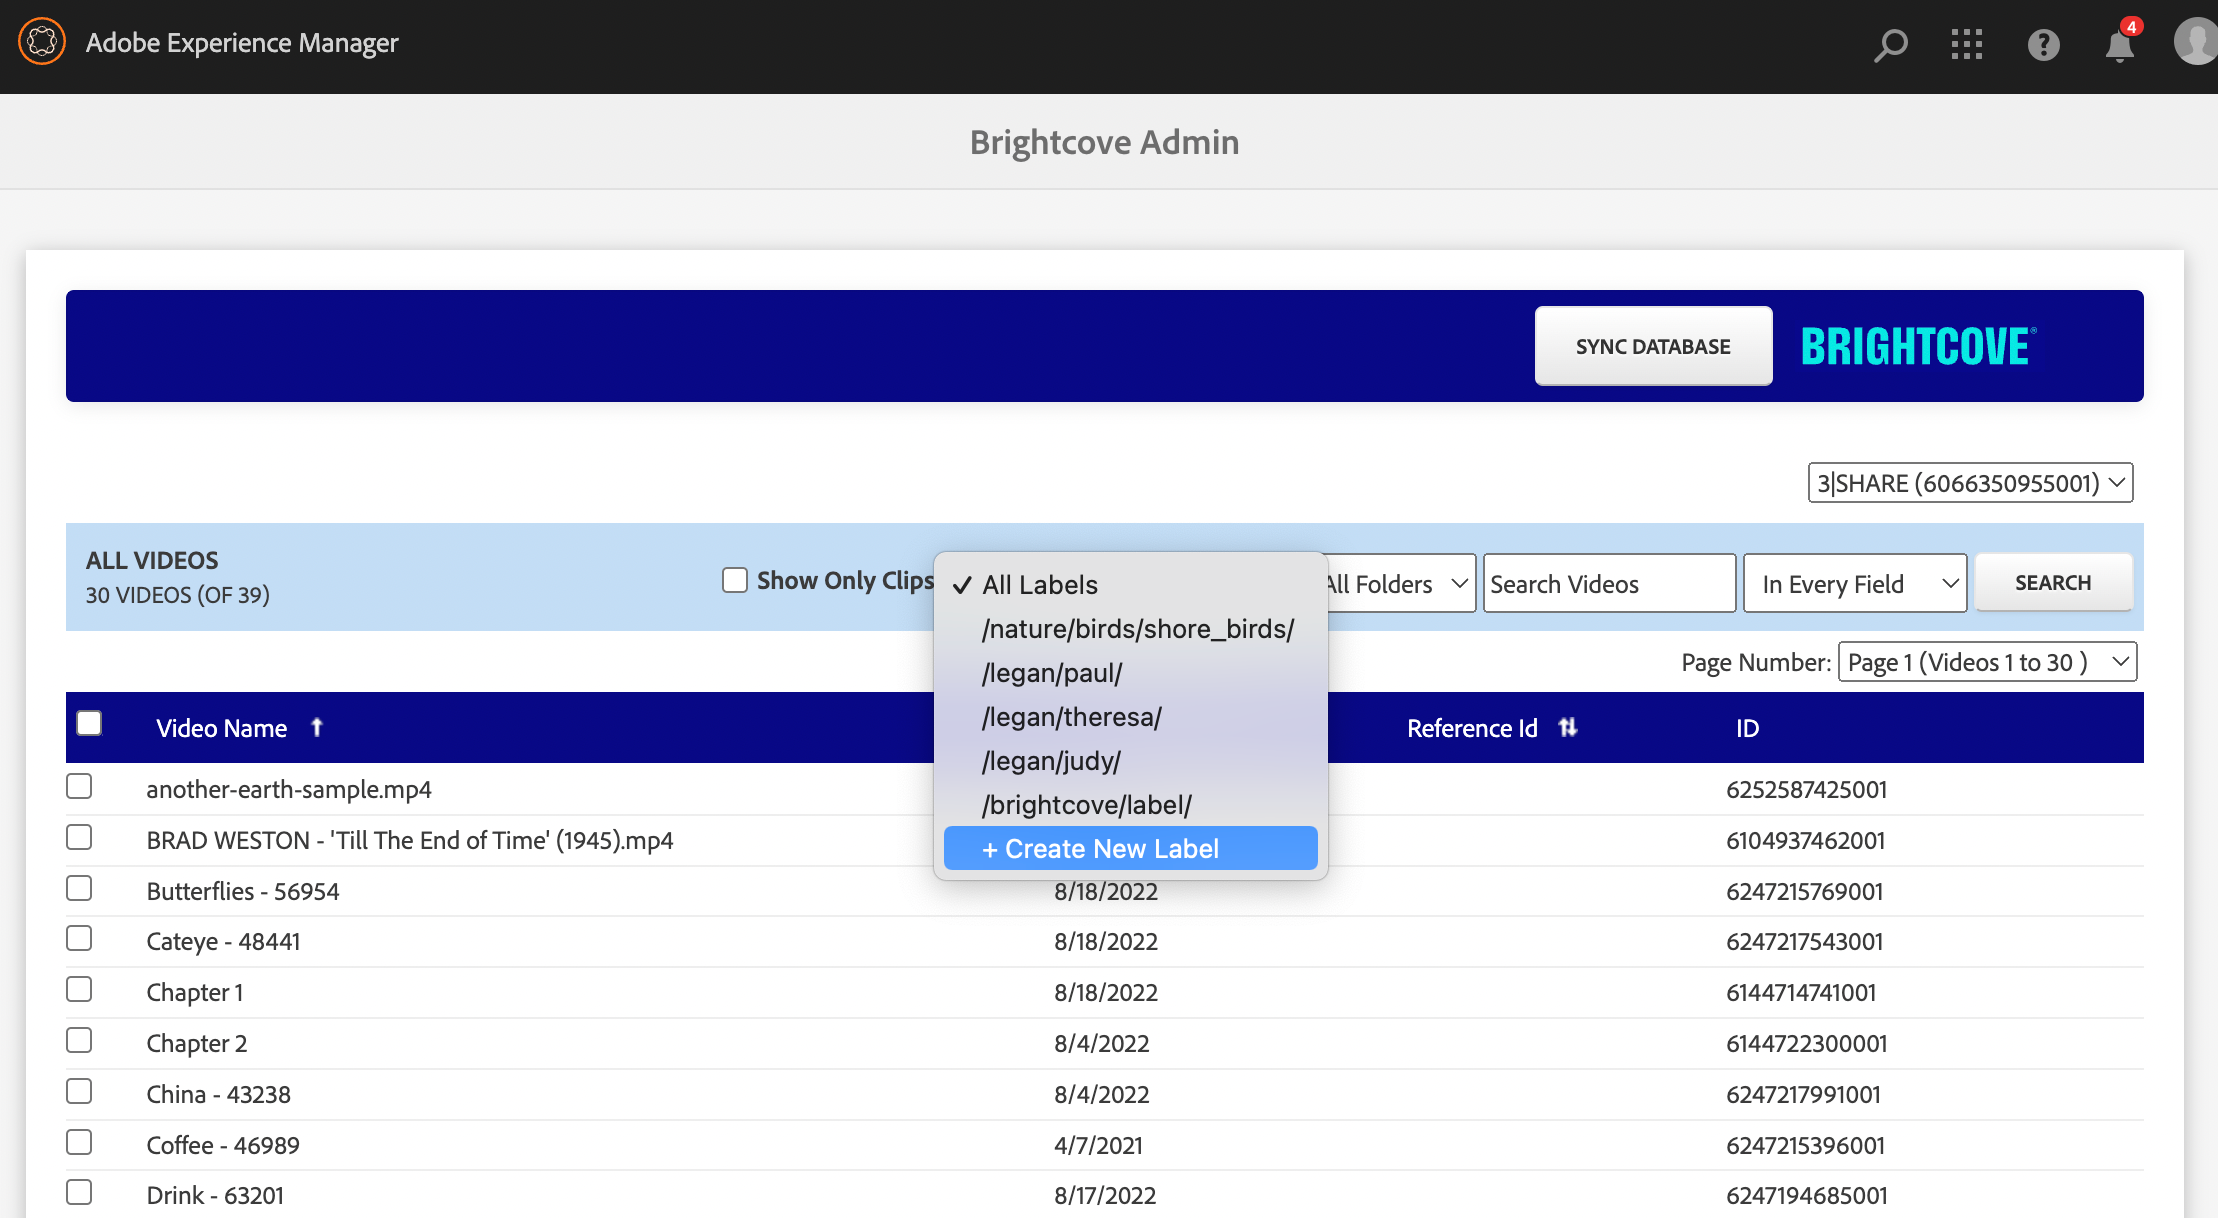
Labels can now be applied to videos within Adobe Experience Manager (AEM) and are synced with Brightcove Studio upon activation. The Brightcove Admin console also provides the ability to create new labels and filter assets by label.
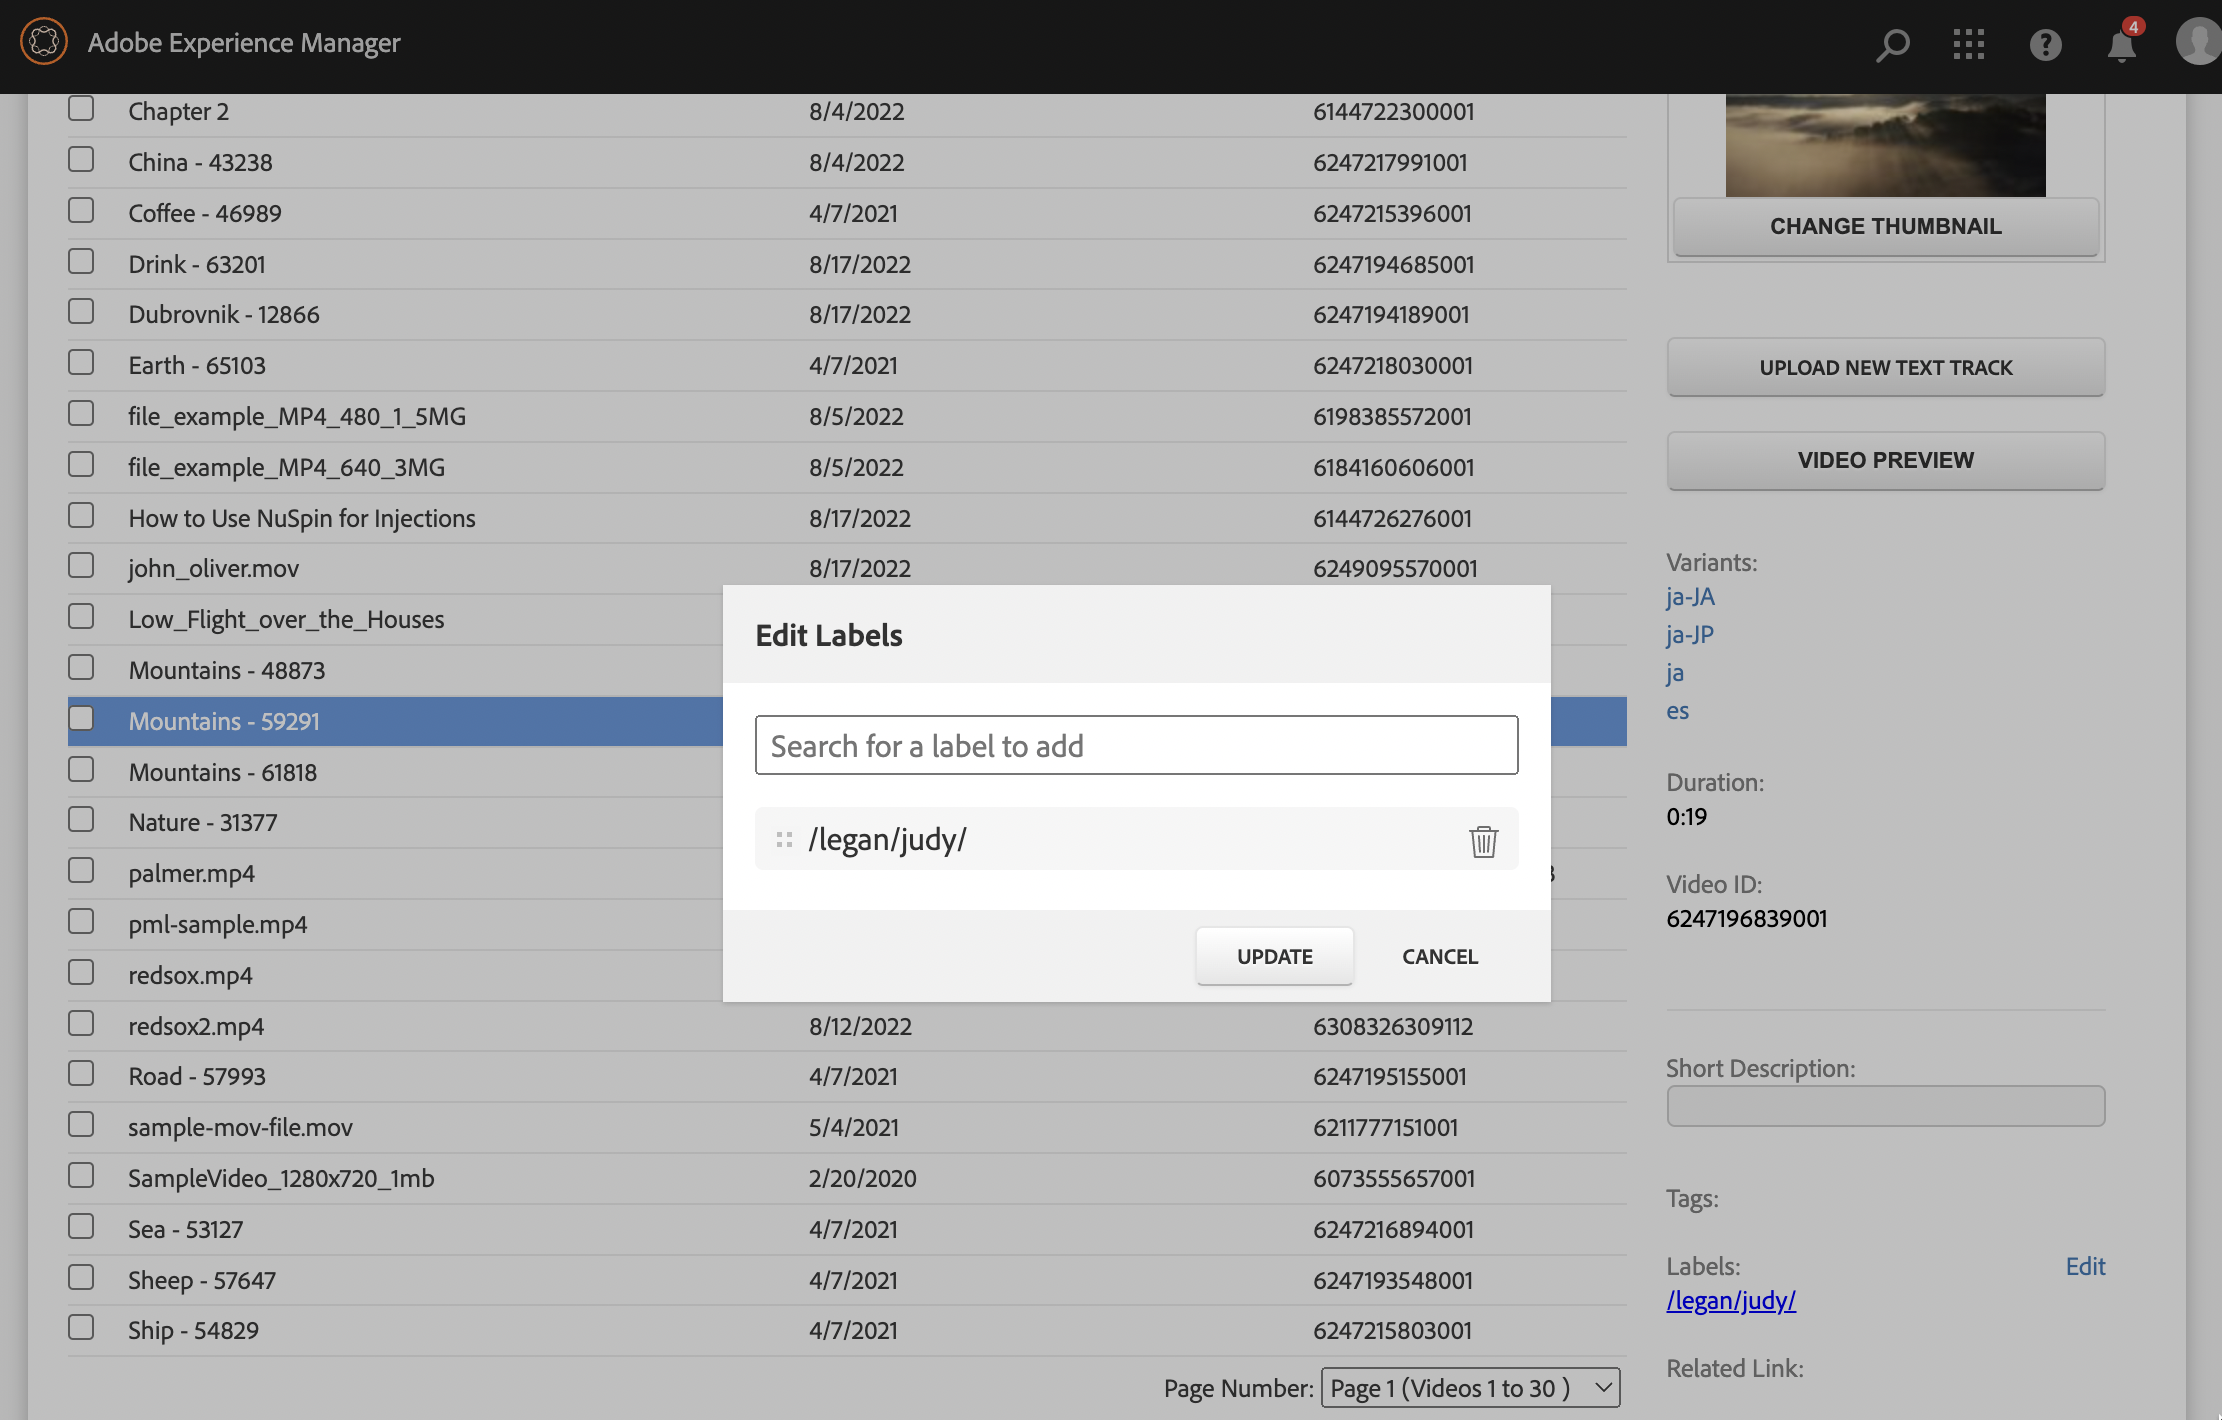
To create a new label, use the dropdown in the filter header and select + Create New Label. Labels are also visible in the metadata preview when you select an asset within the admin console. If you click on the label link, it will trigger a search for all assets with that label (similar behavior to tags).
Notes
- New labels need to adhere to the conventions supported by Brightcove. For example, they must start with a “/” (forward slash).
Subfolders
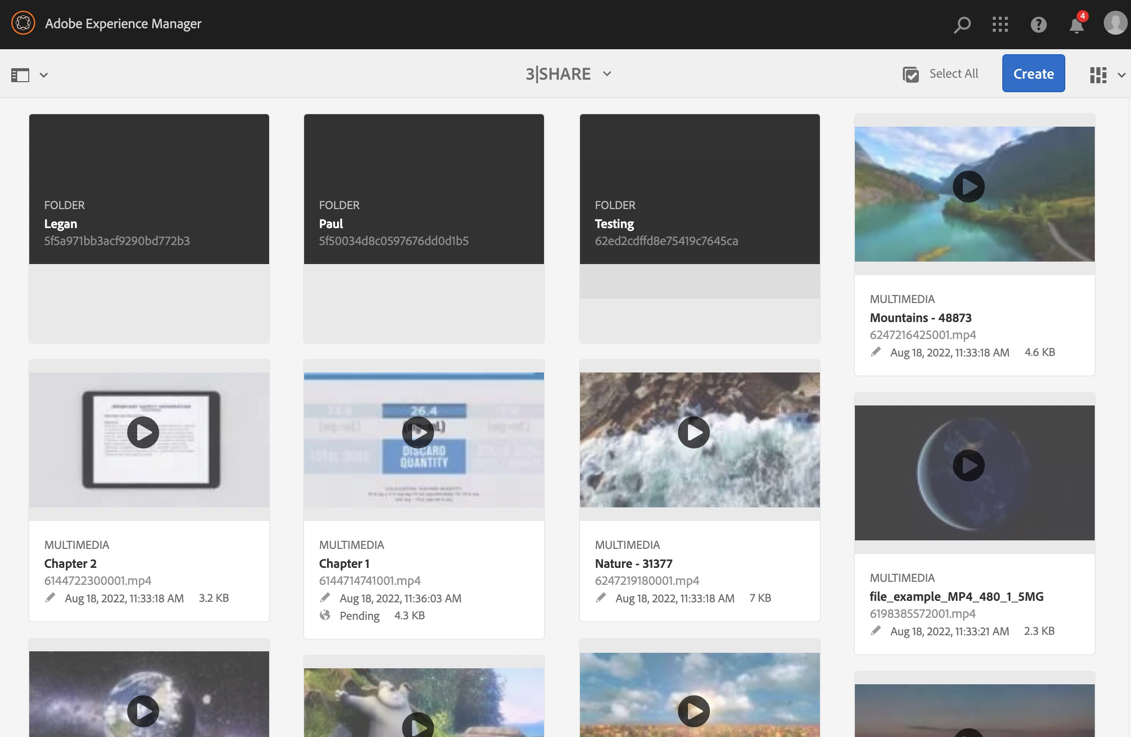
Subfolders created in Brightcove Studio are now created within AEM upon sync. AEM user permissions can be applied to these folders using the standard practices for AEM access control to limit who can see what videos within AEM.
Notes
- We recommended that you delete and re-sync your video library to use this feature.
- Folders created in AEM are not created within Brightcove Studio.
- Applying permissions to videos or their folders does not exclude those videos from the admin console OR the video player since both UI elements make on-demand calls to Brightcove’s API.
Clips
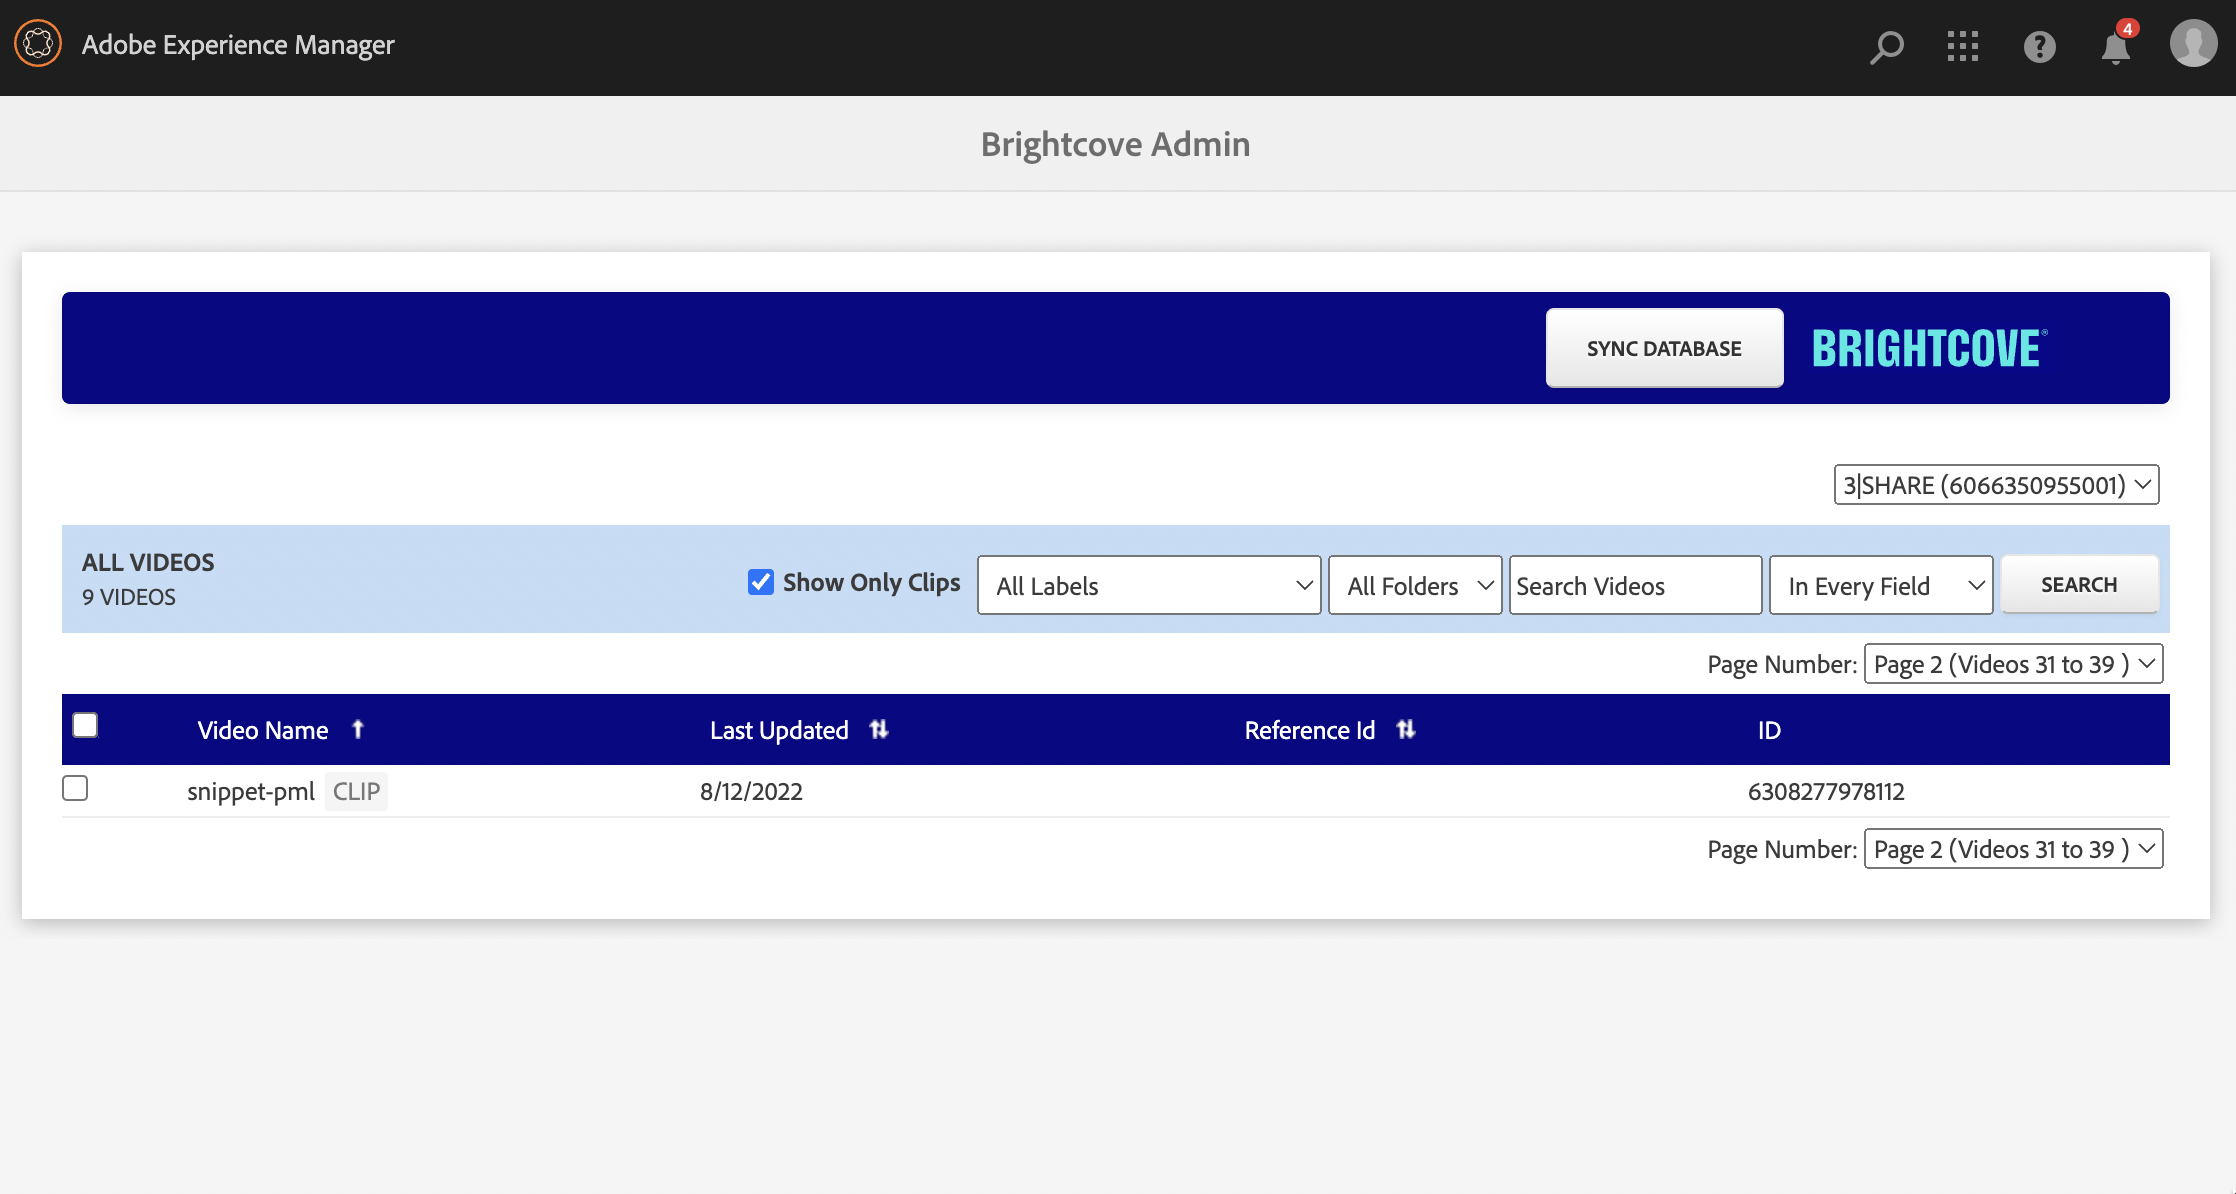
Clips (a type of video created by extracting a portion of another video) are filterable on each page of search results within the admin console. They are also denoted with the “CLIP” marker within all search results.
Clips are also available via the video player and playlist components for playback on any AEM page.
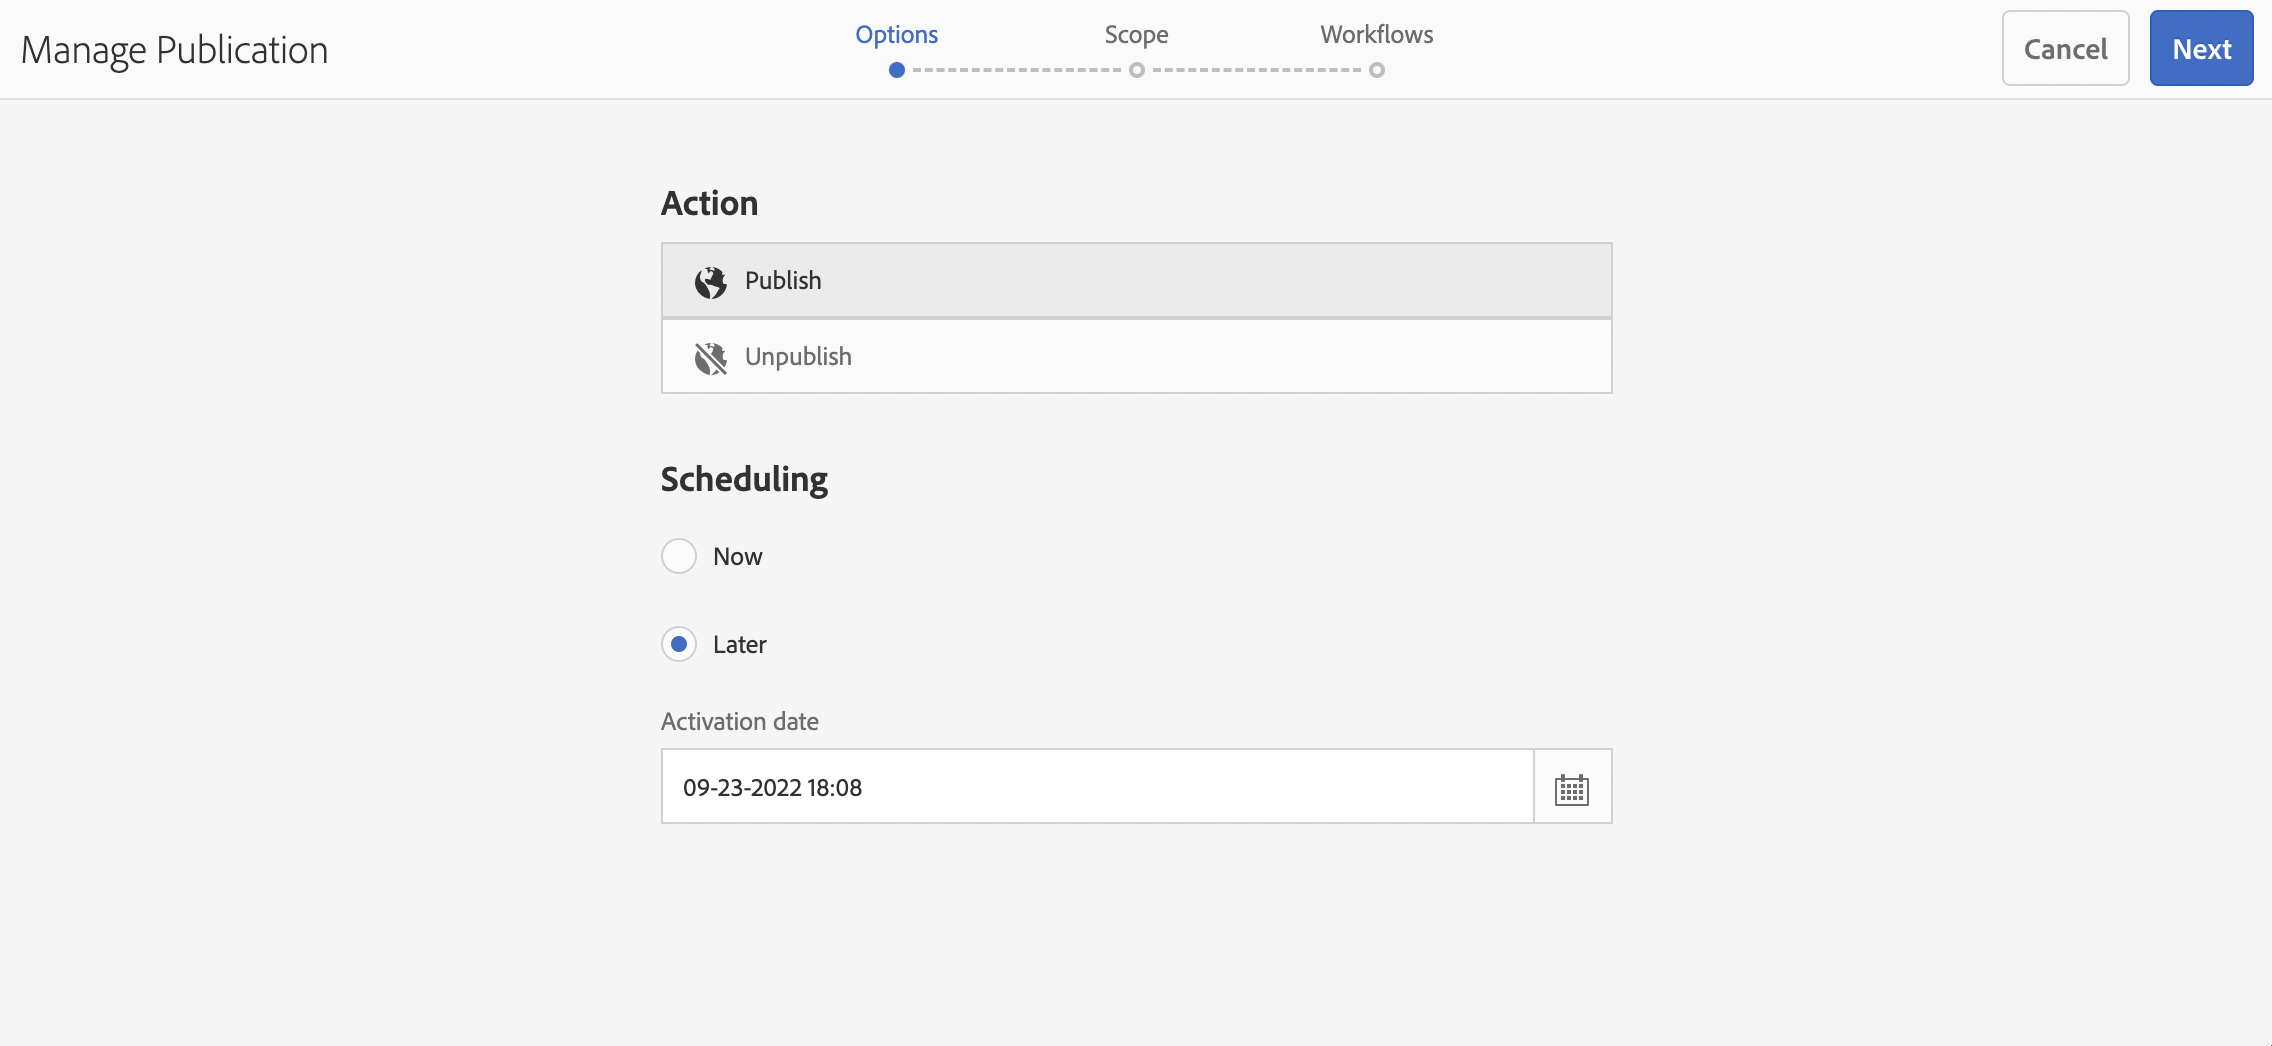
Scheduled Activation
Videos can utilize the out-of-the-box AEM functionality to schedule activation for a future date and time. This will then trigger replication only at the time specified in the dialog.
Playlist Creation
Playlists can now be created within the AEM environment by selecting one or more videos and clicking Create Playlist.
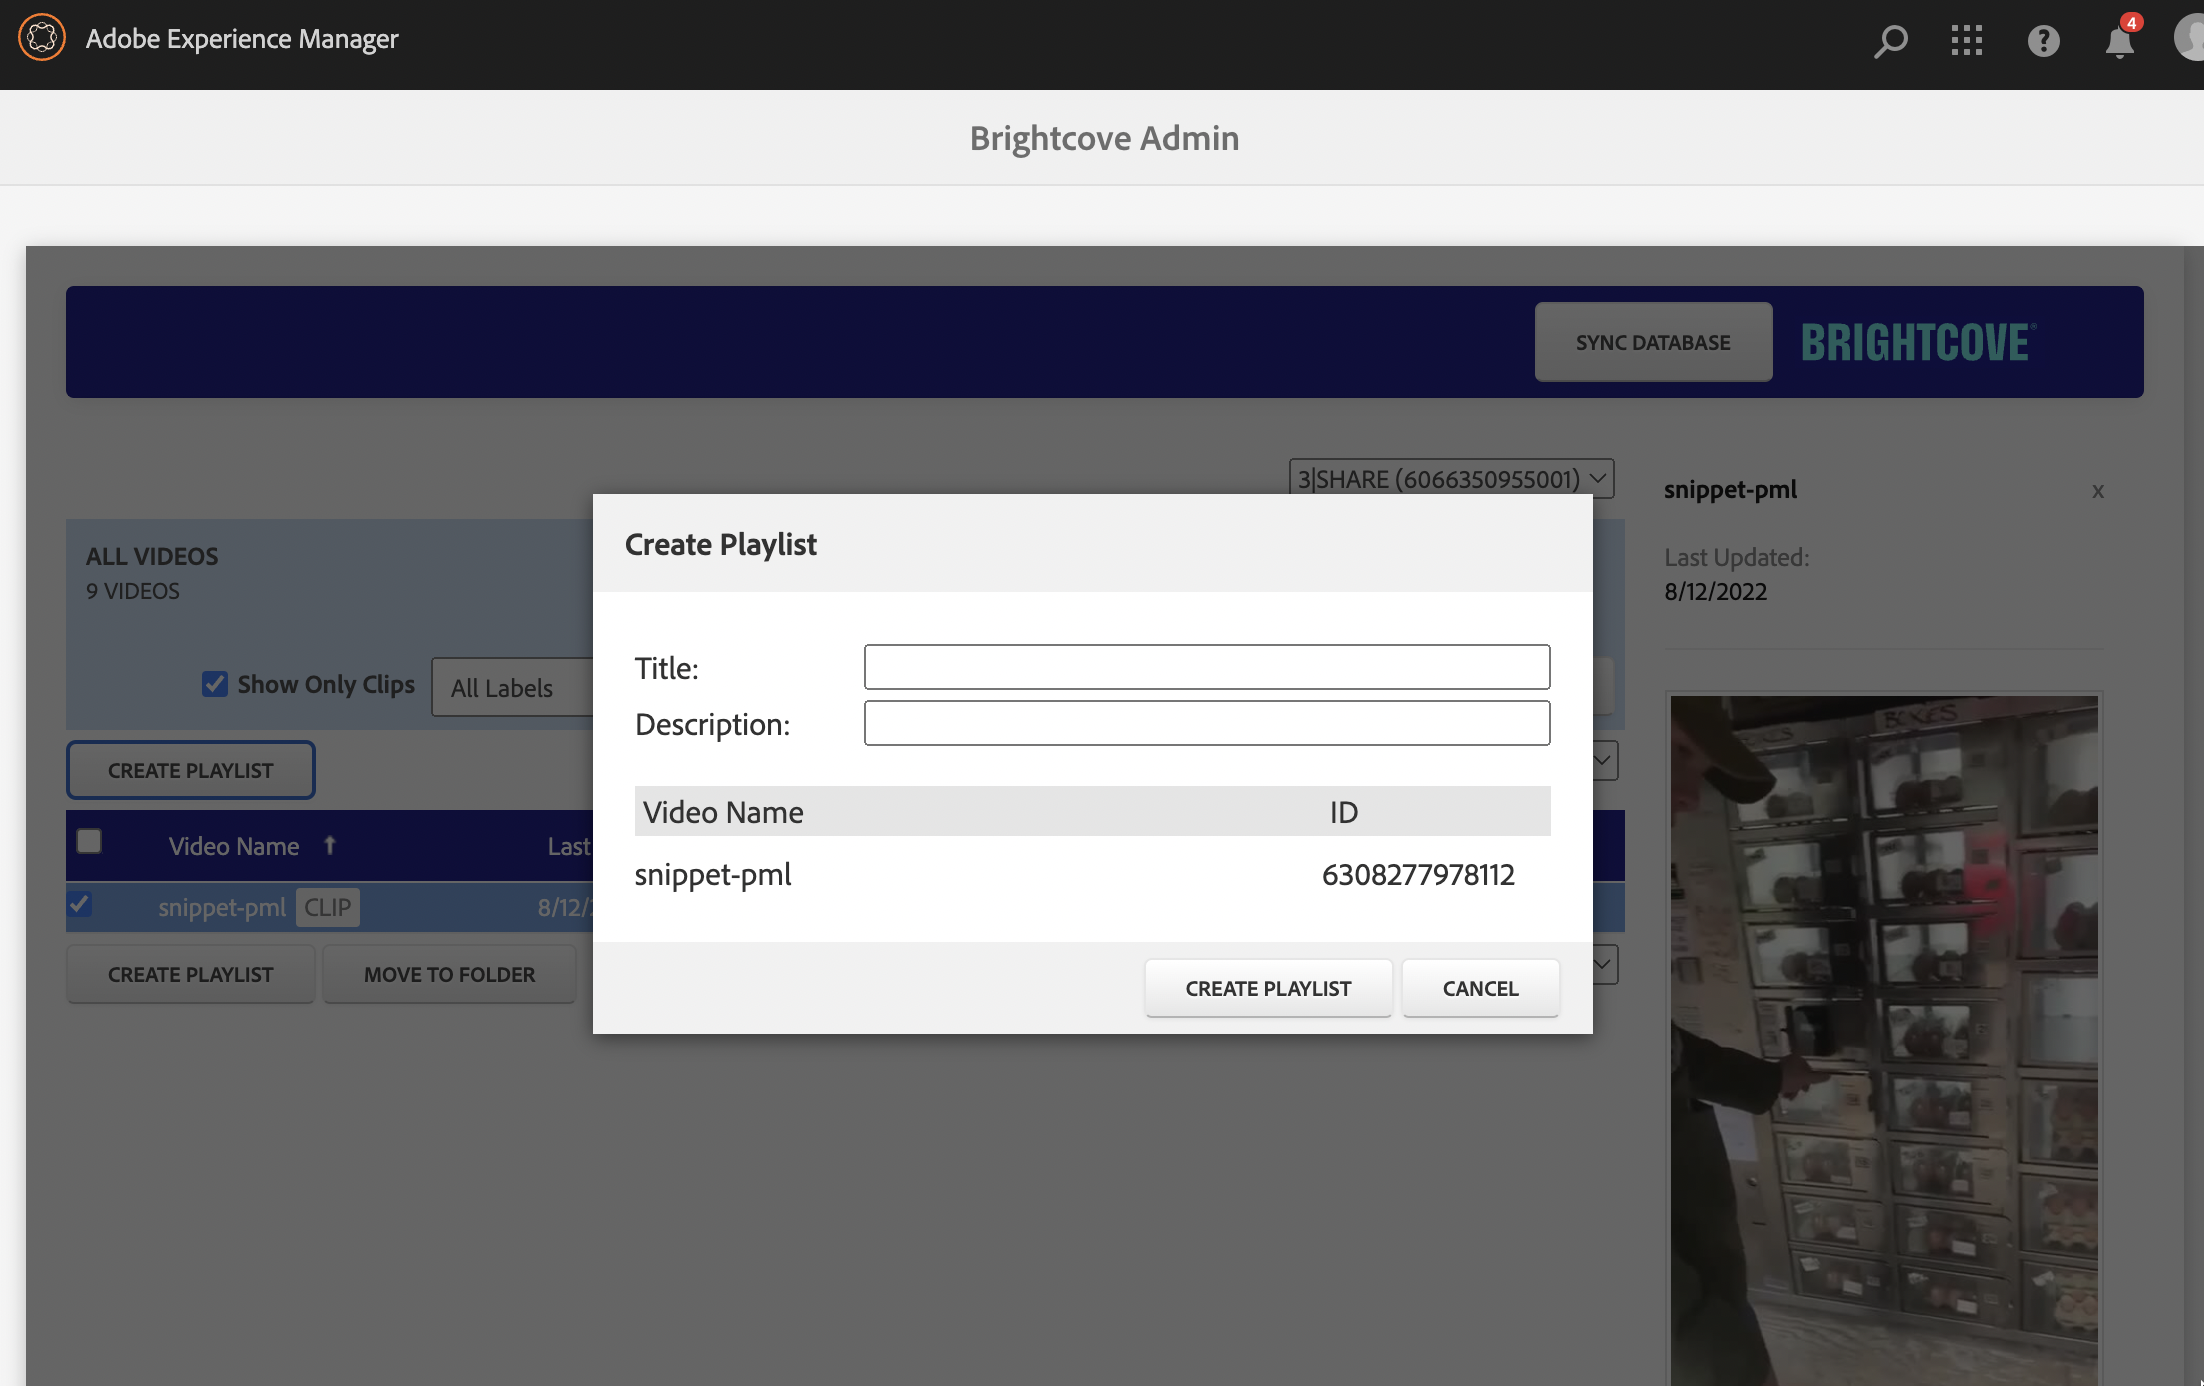
Playlists have always been editable (ability to add, sort, and delete videos) and that functionality has not changed.
Multilingual Metadata
Multilingual metadata – or metadata variants – are now visible within the admin console when you select a video from the search results. Each variant link triggers a modal dialog that displays all metadata values as well as any custom fields that have been translated.
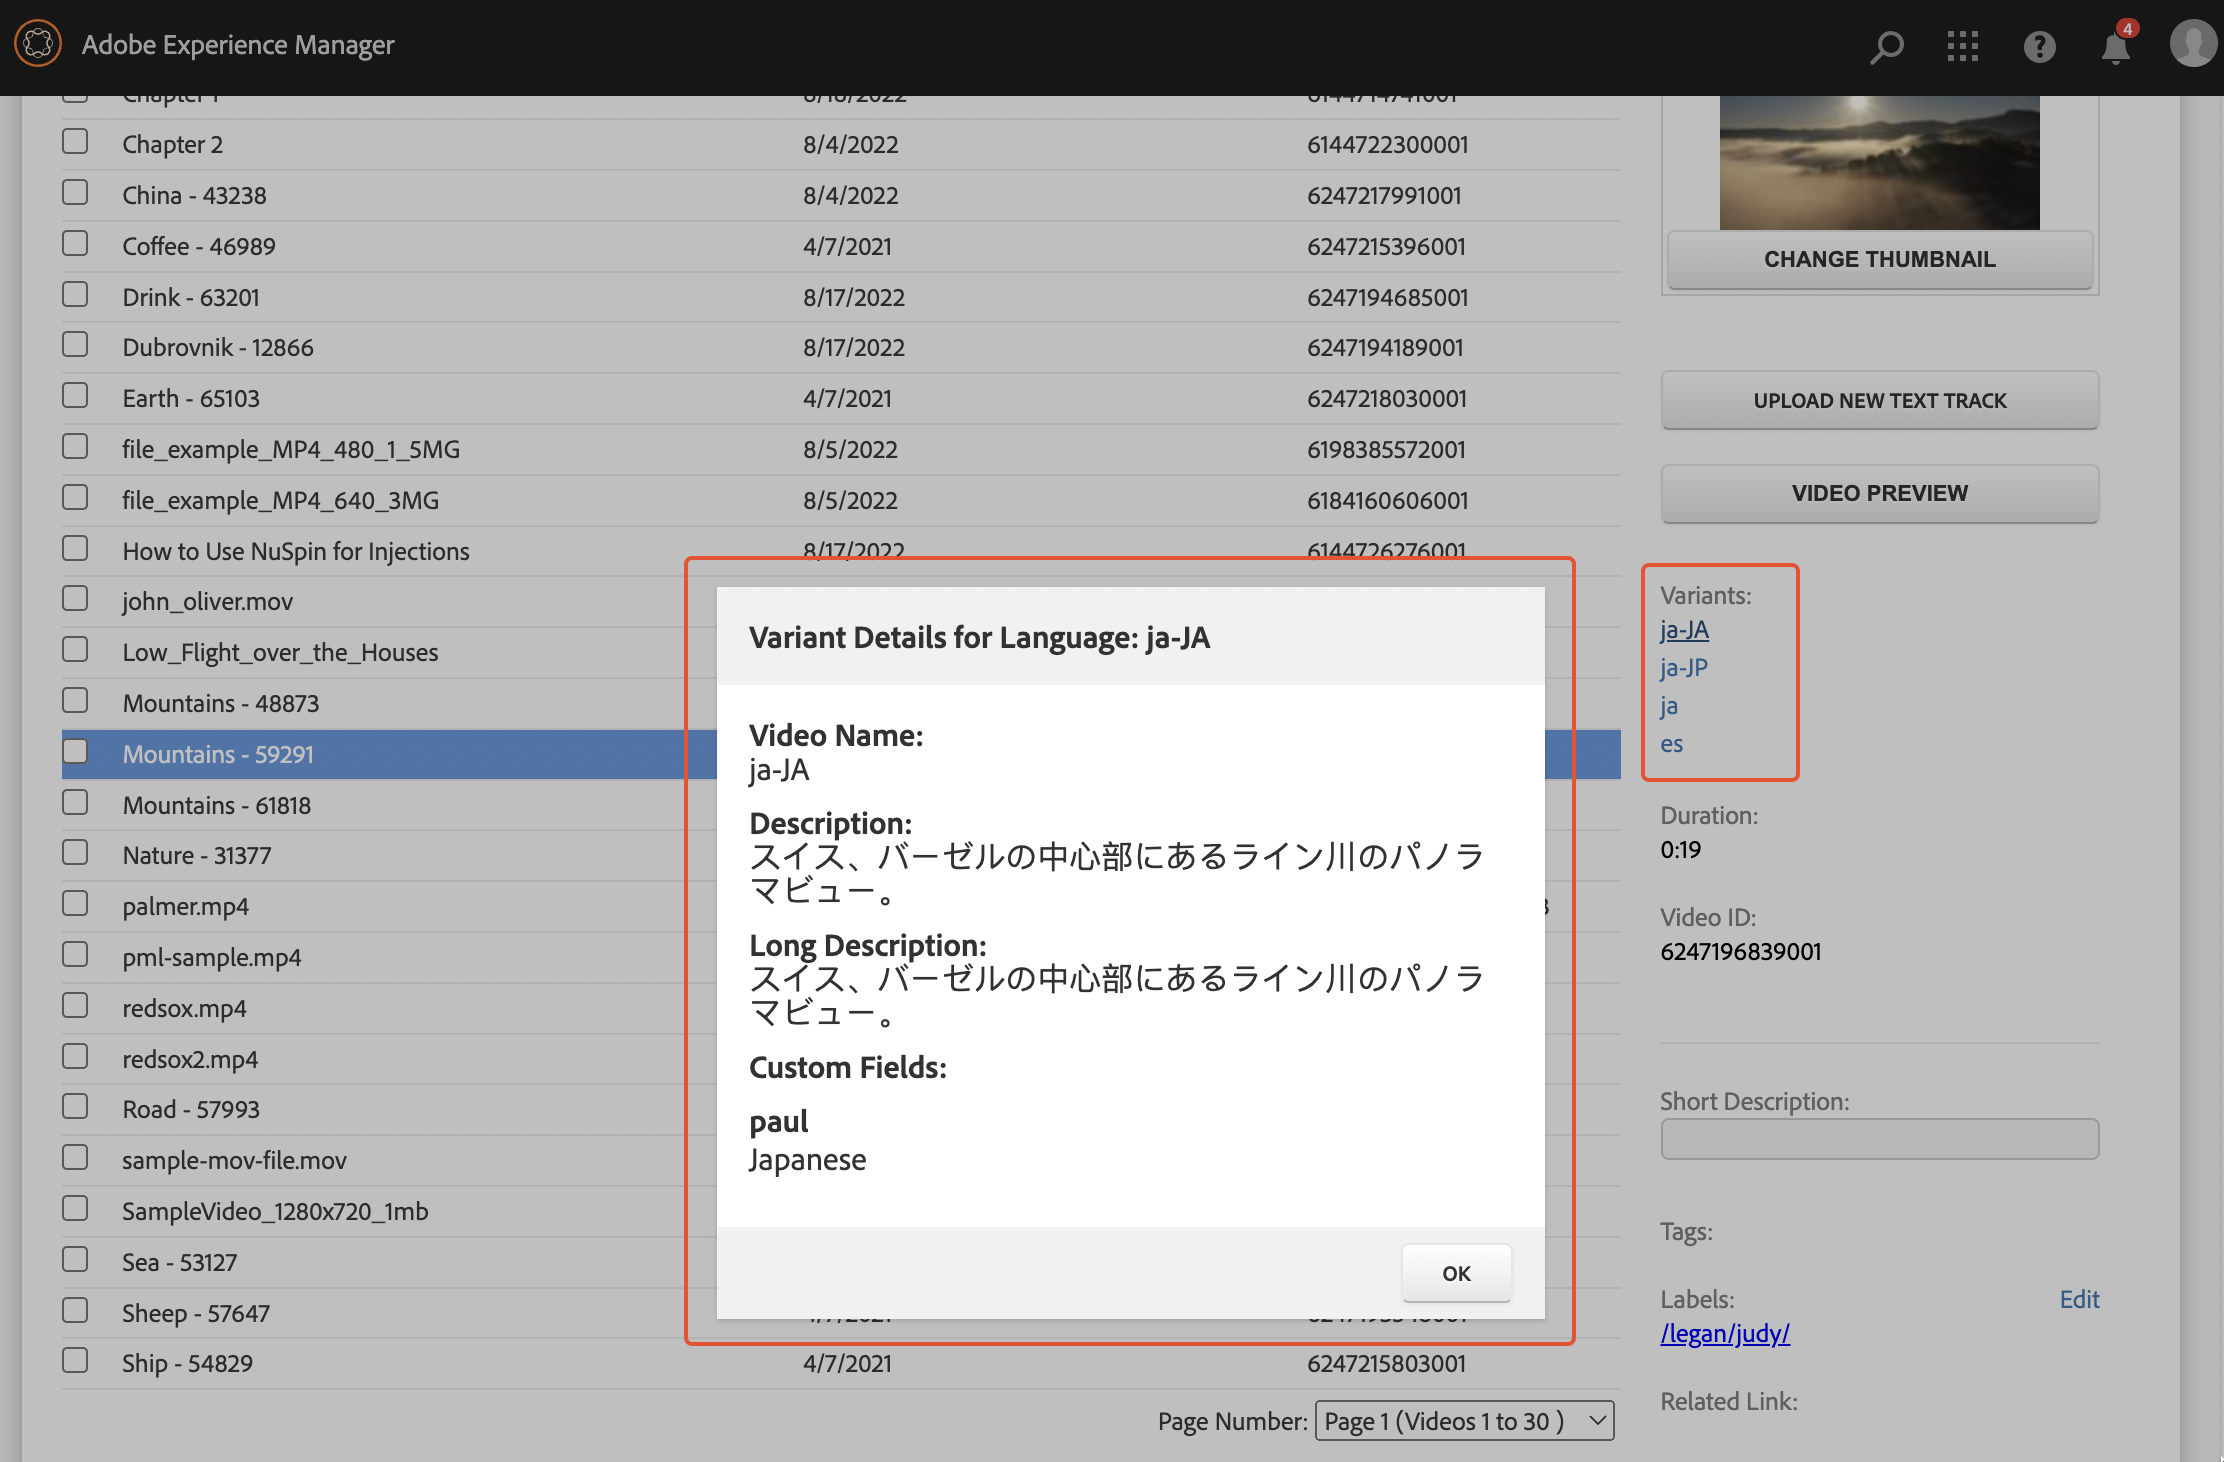
Notes
- It is not currently possible to edit this metadata within AEM, but this is on our roadmap.