Introduction
You can create live events that can be accessed from anywhere in your Shopify app. Live events automatically include a chat, and you can associate products that can be pinned to top of the chat at anytime to provide links to the product page.
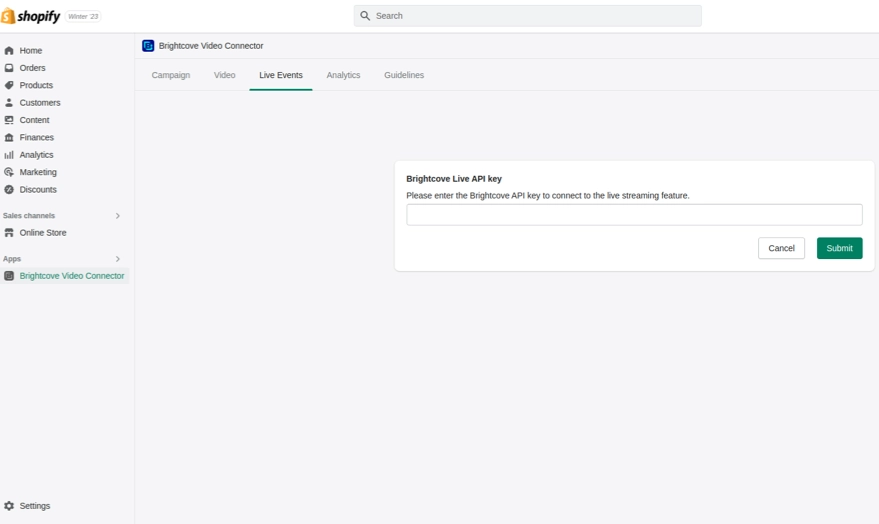
Enter Live API Key
The first time you try to create a live event, you will be prompted to enter your Live API Key:
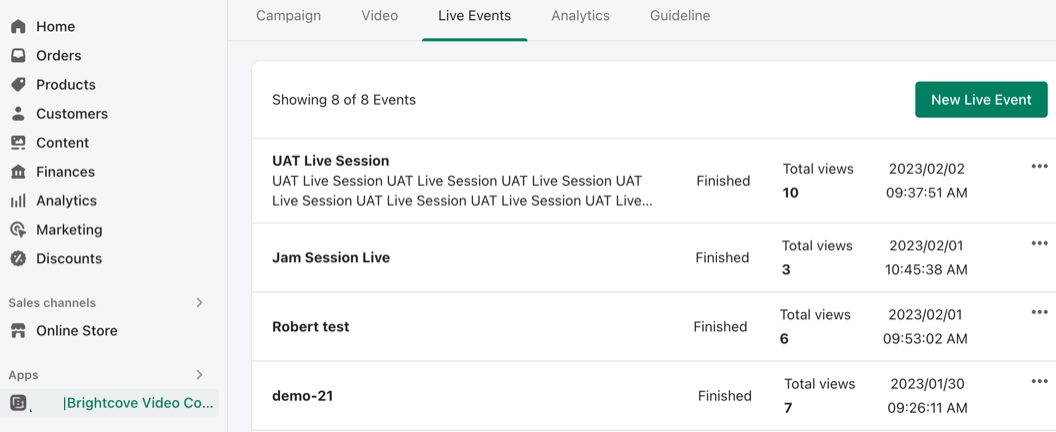
View live events
To view a list of live events for your account, go to the Live Events tab:
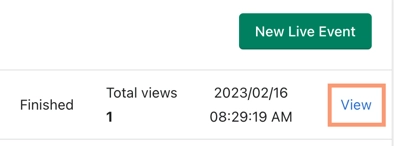
To view a live event in progress (or a recording for a finished event, if one was made) click View:
Add new live event
-
To add a new live event, click to open the dialog shown below.
New Live Event -
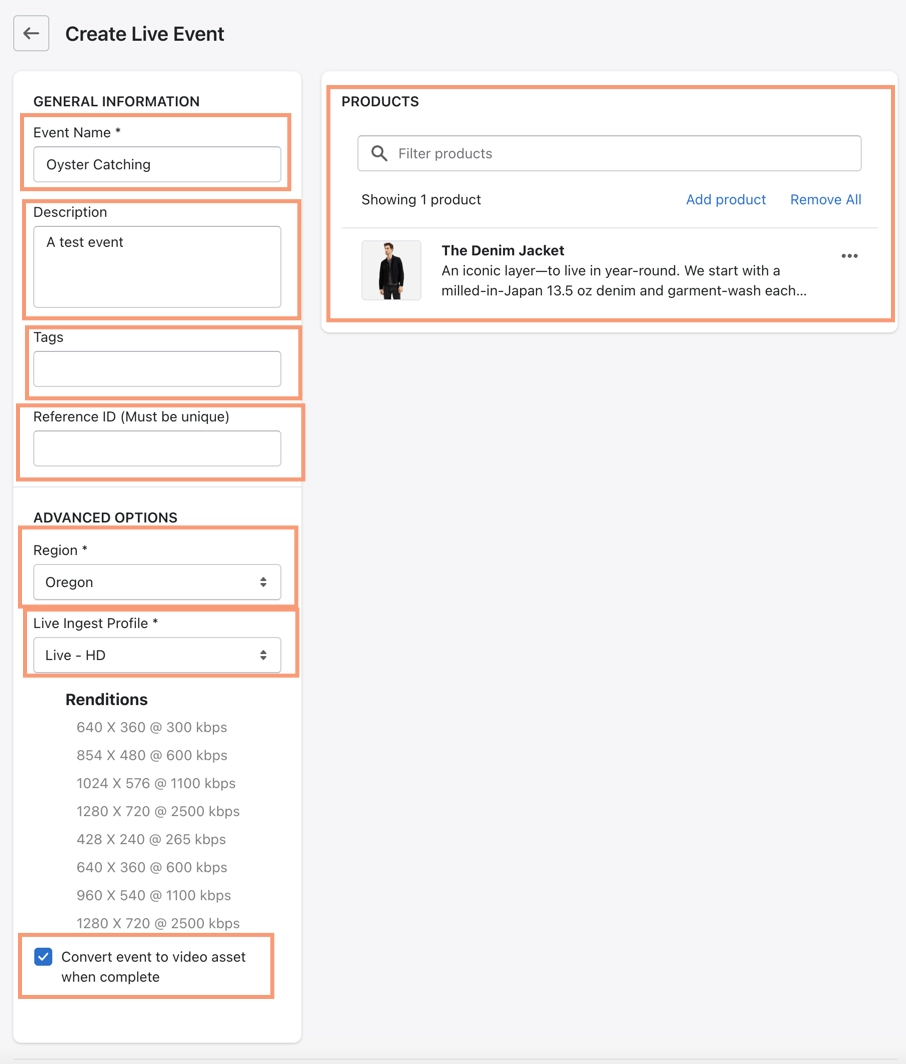
Fill in the fields:
- Name (required)
- Description (optional)
- Tags (optional)
- Reference ID (optional) usually used to match an ID in another system.
- Products (optional) highlight your product(s) in the live event, which will also allow you to pin them to the top of the chat that appears at the top of the chat that accompanies the live event, where viewers can click them to visit the product page where it can be purchased.
- Region (required) choose the region that you think will be closest to your target audience.
- Live Ingest Profile (optional) if you wish to use a different profile than the default one, you can see the renditions created for each profile by selecting it. The profile determines the video renditions actually delivered to viewers (be aware that the actual rendition a viewer sees depends on the bandwidth available on the viewer's connection).
- Convert event to video asset when complete check the box to save a VOD recording of it. Note that if later you try to view a finished live event that no recording was saved for, you will see an error displayed in the player.
- Products click to open the product selector, where you can filter and select products you want to add to the live event. Click when you have made your selections.
- Click to create the live event.
Setting up and running the live event
-
It will take a couple of minutes for the live event to initialize. While you are waiting for that, you can get your live encoder ready by copying the Live endpoint (RTMP address) and stream name into your encoder settings from the live event control room:
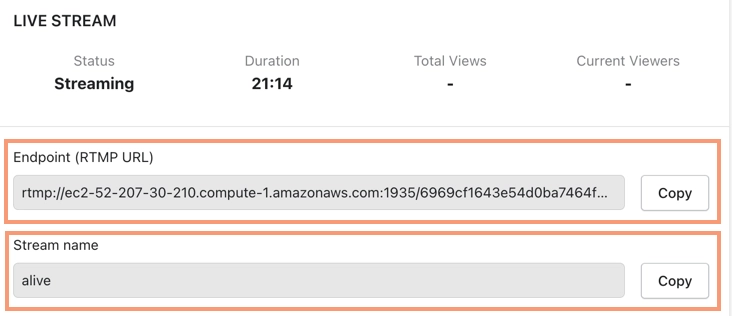
Live Endpoint and Stream Name -
After you have started your encoder and the live event is ready, click the Play button on the player in the live event control room so that you can see the broadcast and use the Chat that is automatically included:

Start Live Event Playback -
While the event is playing, you can enter your own chat messages or respond to messages from viewers:
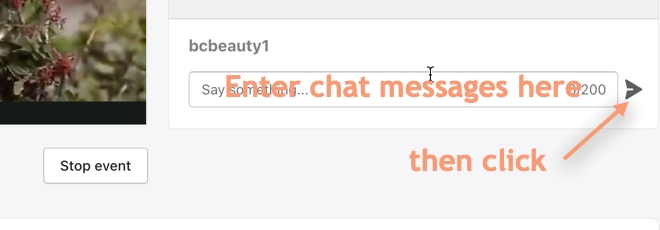
Send Chat Messages -
You can also pin products you added to the top of the chat - viewers can click on them to go to the product page:
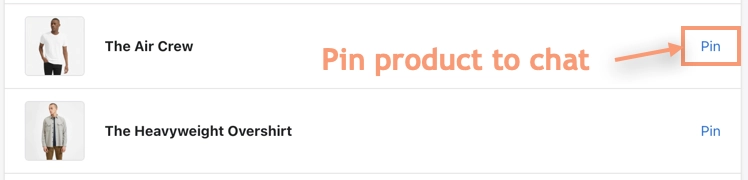
Pin Products to Chat You can also unpin products from the chat whenever you wish to.
- When you want to end the event, click .
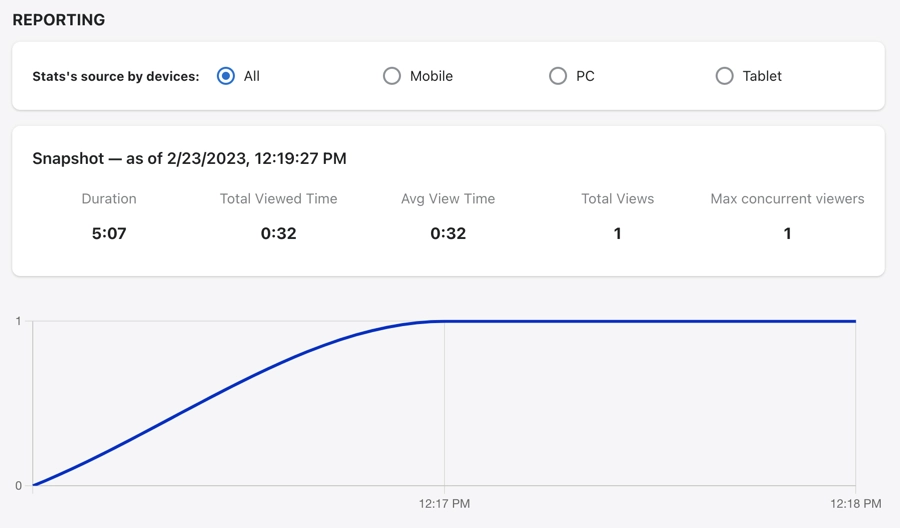
After the live event is finished, analytics for the event will be displayed in the control room: