WordPress-Brightcove Connector: Using the Connector
Introduction
The WordPress-Brightcove Connector allows you to manage Brightcove Video Cloud videos and players within WordPress, and easily embed videos in WordPress pages.
Video Player Publishing
Video player publishing allows the user to easily insert videos from their Brightcove account onto their WordPress site.
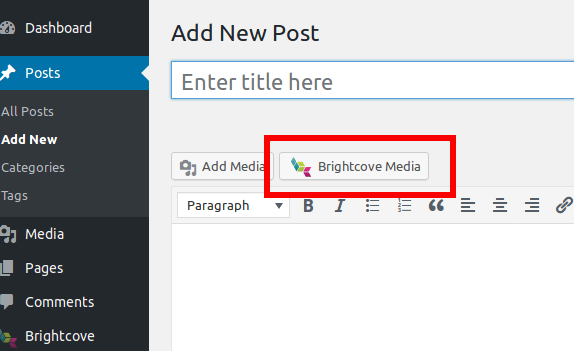
To post a video, start by simply navigating to the new post page. At core functionality, there is an "Add Media" button below the title and above the editor. With Brightcove Video Connect, there is also a "Brightcove Media" button. Click on that to open the Brightcove media modal.
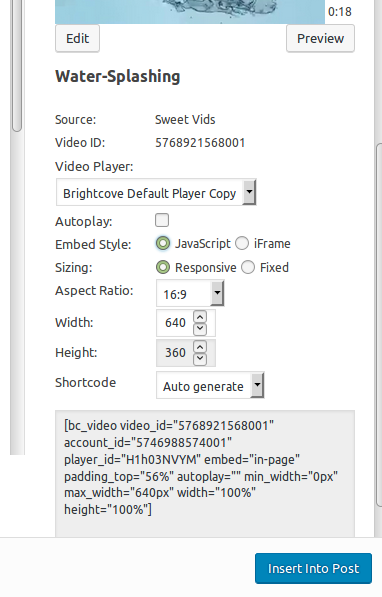
From there, the user can select the image they would like to use by clicking on it. The video's thumbnail will appear on the side, along with options. To find a specific video, you can search by title, tag, or description.

The user can then choose what player they want to use and customize options such as autoplay, embed style, and sizing.
There are two options for inserting the video. Simply clicking The "Insert into Post" button will insert the video into the post, but the user can also copy the shortcode and paste it into the post. If you use the "Insert into Post" button, the short code will still be visible in the plain text view.
The video will appear on the new post page, but to see what it will look like published, check the post preview. It may be very different.

Publishing Playlists
Playlists can be published in exactly the same way as single videos. Note that there must be a playlist-enabled Brightcove player in order to publish playlists.
Video Content Management
The user can upload videos to Brightcove and update metadata straight from their WordPress dashboard.
Video Upload
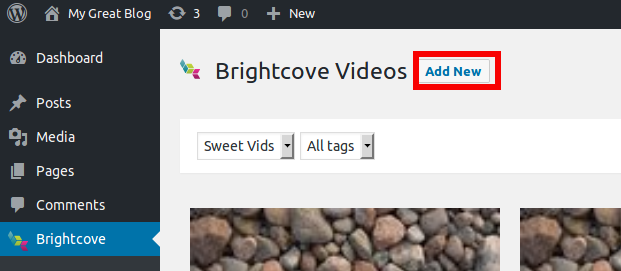
To upload a video to Brightcove, from the Brightcove admin page on WordPress, click "Add New."
From there you can select a file or drag a file to the page to upload. You may select multiple filed to upload at a single time
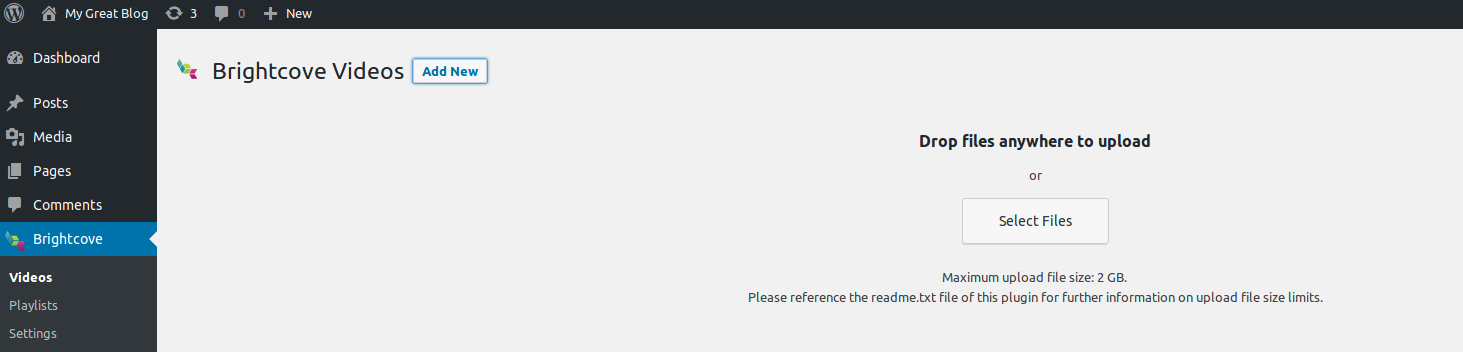
The file will appear on the page. To add metadata, click on the name of the file and the option will open.

When you are ready, hit start upload.
Videos can be uploaded in the same way from the media modal on the new post page by clicking the "Upload" link.
Failure
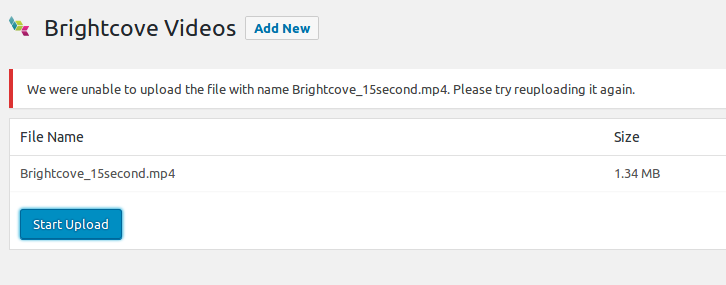
If the video fails to upload, it could be a problem with file permissions. Check to make sure the web server has read/write permissions for the wp-content/uploads folder. The video will be temporarily uploaded here.
Brightcove also will not ingest from behind a firewall. If that is the problem, the new video will be generated, but not transcoded.
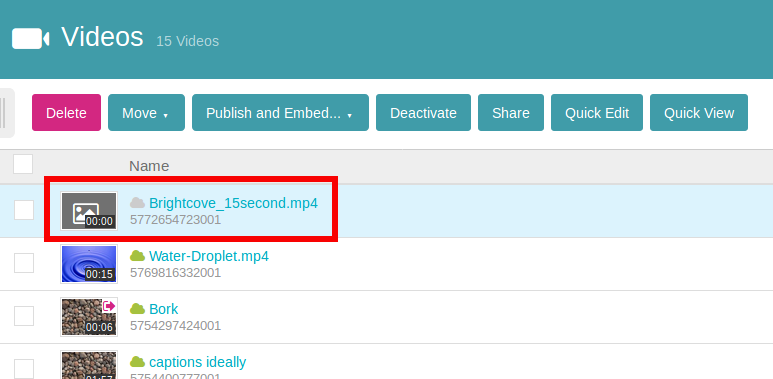
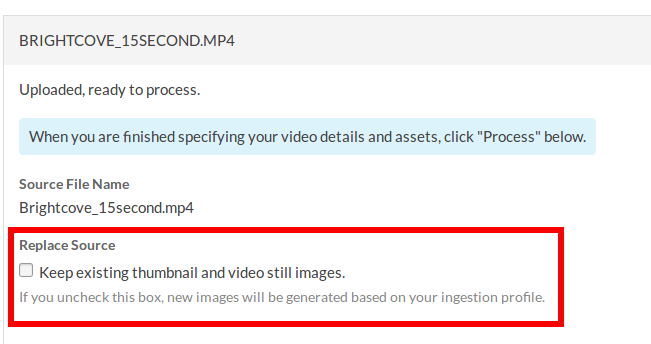
As a work around, go to your Brightcove account and replace the source file. The firewall must be opened for Brightcove to ingest video from WordPress.

Don't forget to uncheck the box for keeping existing thumbnail and poster. Otherwise it will remain a grey box.
After it's finished uploading, your video should be available in WordPress.
For more information, check out Debugging Network and API Connection issues with CMS and DAM Integrations.
Metadata
From WordPress, a user can update a video's name, short description, long description, and tags.

New thumbnails, posters, and caption tracks can be uploaded too, but as with uploading videos, you may be blocked by firewalls or permissions.
As of version 1.7.0, you will also be able select a pre-defined Video Cloud folder for a video. This action will move the video to that folder in both Wordpress and Video Cloud. Note: You must create folders in Video Cloud.
Other metadata fields, including custom fields, must be edited in Brightcove Studio.
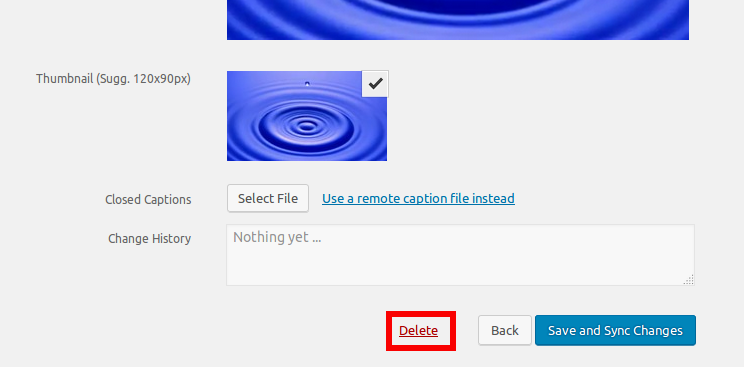
Deletion
Users may delete videos on the edit page. A warning will pop up to confirm.
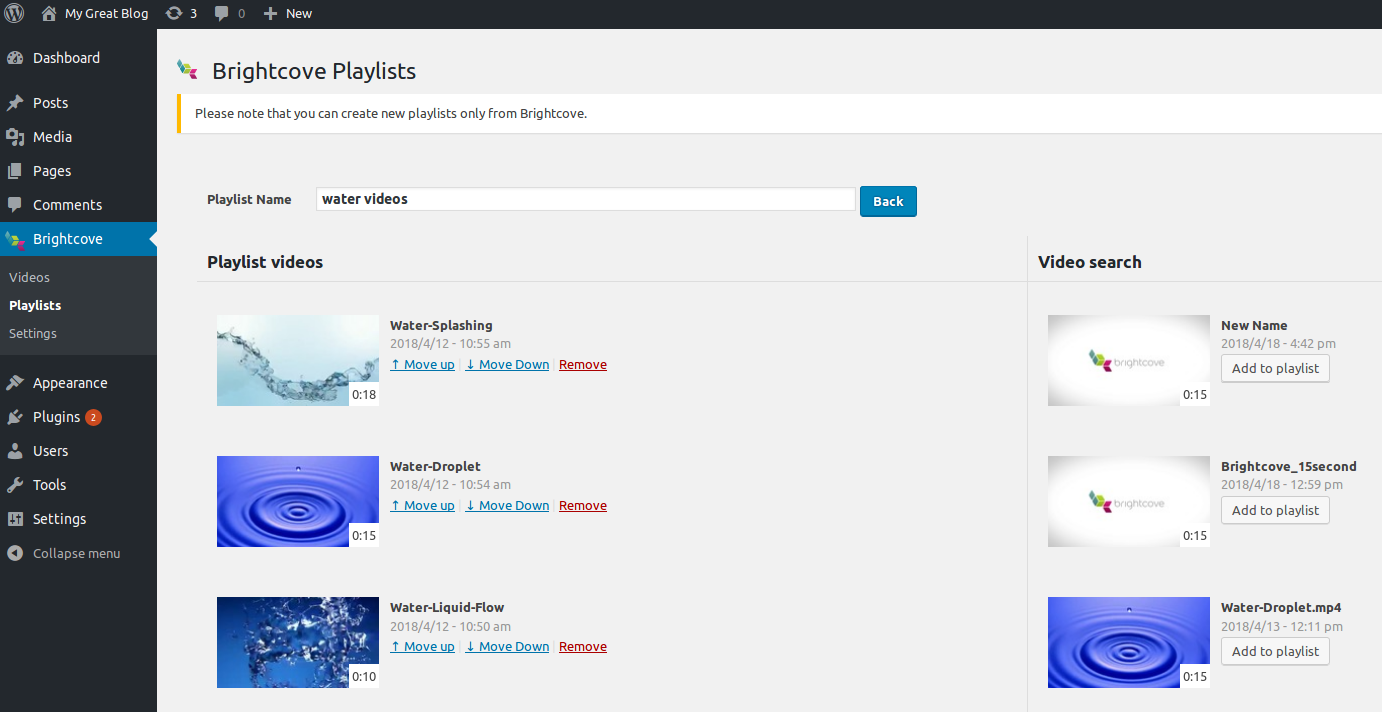
Playlist Management
Playlists cannot be created from WordPress, but once they exist, they can be edited. Videos can be added or removed, or moved up or down in the list.
Players
Players can also only be created or edited in Brightcove Studio, but some aspects, such as size, can be changed for the specific video when it is being published. Please be advised that a playlist player must exist already before you can publish playlists.
In-Page Experience
The Brightcove plugin supports In-Page Experiences. While the option will be visible for everyone, the option must be available for the specific account, or it will not work. Only accounts that have access to in-page experience can use it in Wordpress.
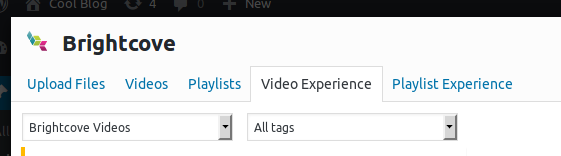
There are two ways to integrate in-page experiences through wordpress: video experience and playlist experience. Through video experience, you first select the experience you'd like to include. In the side-bar there's a drop down with the available experiences listed.
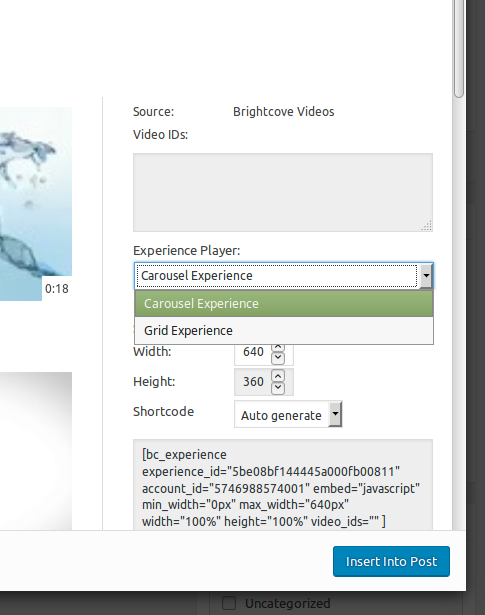
Hitting "Insert Into Post" without selecting any videos will insert a previously created In-Page Experience. Alternatively, select some videos and then the In-Page Experience you would like to include to turn those videos into an experience. Similarly, through playlist experience, select a playlist and an experience, then insert into the post. The playlist will be converted into an experience.