Introduction
Shopify is a subscription-based software that allows anyone to set up an online store and sell their products. Shopify works by unifying all of a customer’s commerce requirements into a single central command center.
The Brightcove Video Connector for Shopify allows you to upload, manage, and get the embed code for videos within the Shopify store dashboard, making it easy to include videos in your eCommerce solution.
Features
- Search for and install the Brightcove Video Connector app from within the Shopify app store:
- Authenticate using your credentials and log into your Brightcove account from within your Shopify store
- Upload/delete your videos
- View a list of your videos
- Filter videos by name, description, tags, and other metadata
- Click a button under a video to generate an embed code (basic [iframe] or advanced [JavaScript]) to insert the video player on the landing page or product page
- Embed video into your PDP by choosing a template and clicking embed
- Preview your PDP after embedding
- Assign video(s) for each product
- Manage your video assignments
- Create a live stream to give away or introduce your new products or invite a KOL (key opinion leader) to promote your products
- Generate an embed code for live streams to embed live video on your landing page or other sites on Shopify
- Live chat with your customers
- Let customers order introduced and promoted products while watching the live stream
- View video and live stream analytics
- Uninstall the Brightcove app
Installation
To install the Brightcove app for Shopify, follow the instructions below.
- Login to Shopify.
- Go to the Shopify App Store.
-
Search for the Brightcove App:
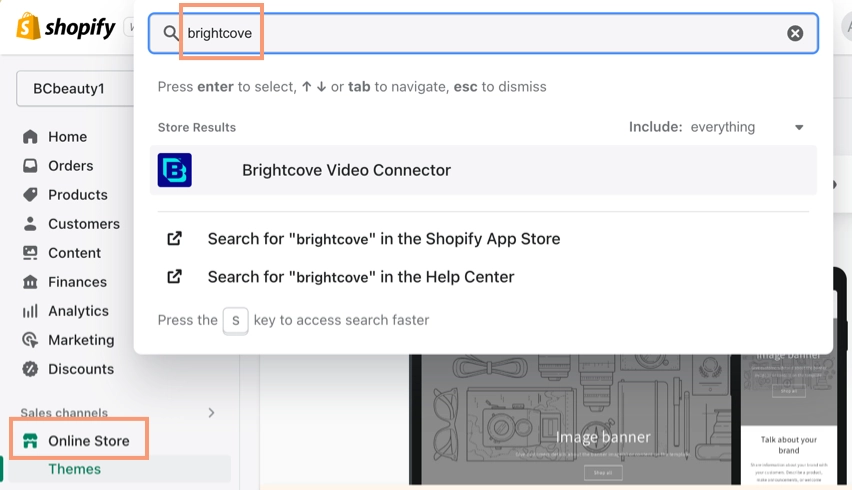
Brightcove Video Connector App - When you find the Brightcove App, install it.
-
Authenticate the connection by entering your Brightcove account id and client credentials (client id and client secret):
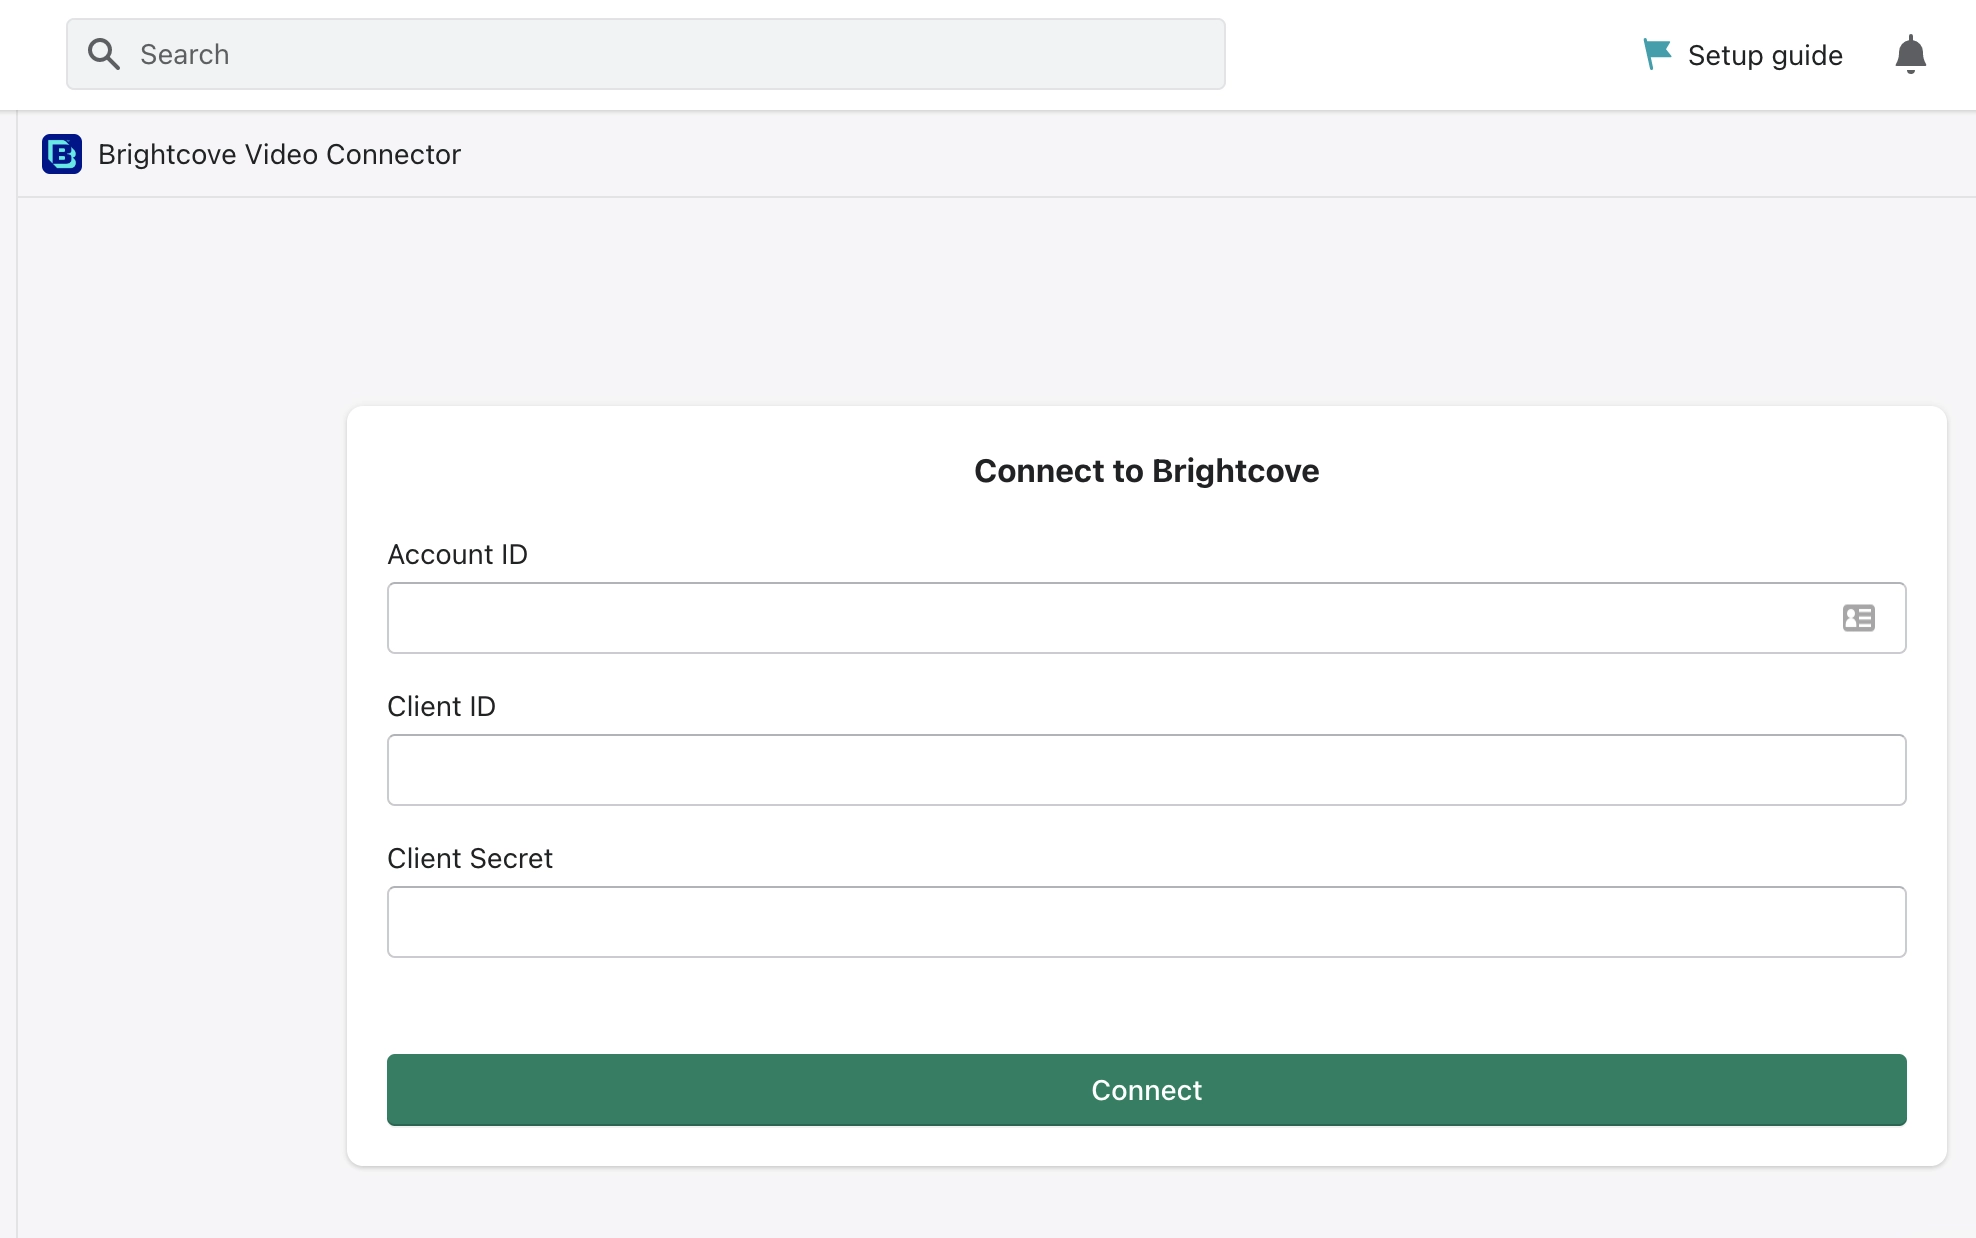
Enter Account Credentials If you do not know how to create client credentials, see Managing API Credentials. You will need to enable the following API permissions for these credentials:
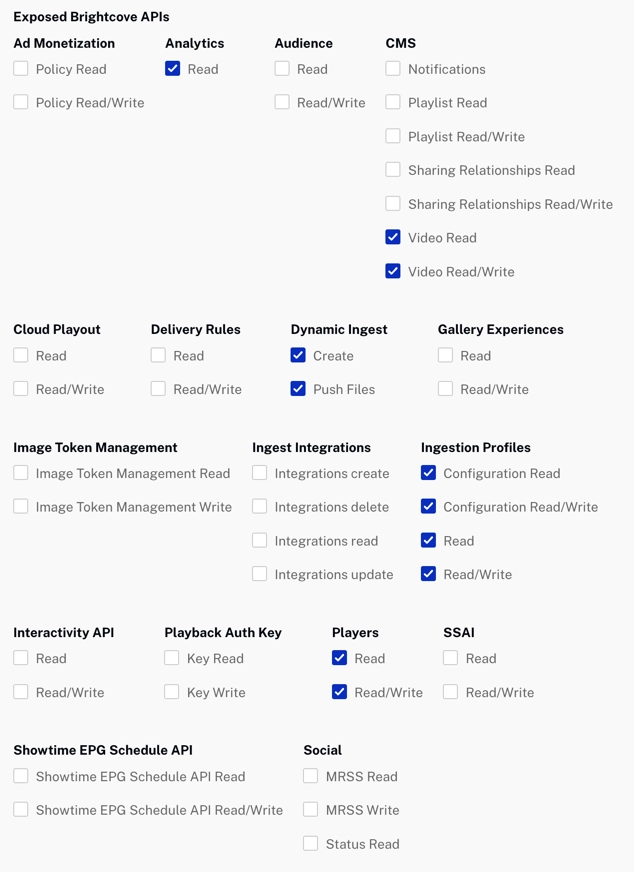
Required API Permissions -
Once you have connected your Brightcove account, you will be able to click Apps in the left-side menu to get to the Brightcove Video Connector:
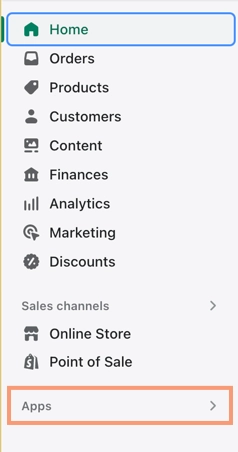
Apps Item in the Left Menu This will open a dialog at the top of the screen where you can select the Brightcove Video Connector:
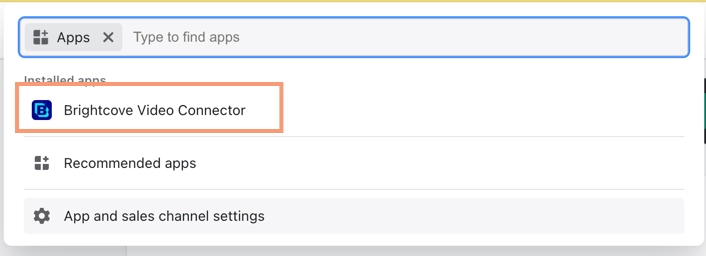
Select Brightcove Video Connector -
At this point the Brightcove Video Connector will appear in the left menu under Apps (and there is an option to pin it there):
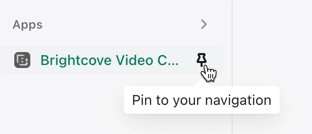
Brightcove App in Left Menu Whether or not you pin it, you can click it to see see Campaigns, Videos and other items from your account:
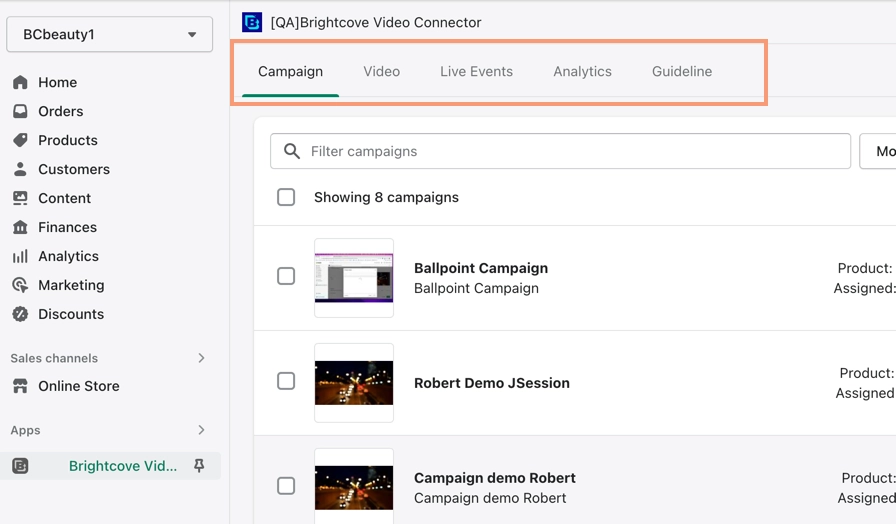
Brightcove Connector Installed -
If you are using themes with your store, you will also need to ensure that Brightcove app is enabled for each theme. To start this, click Online Store in the left menu and select Themes:
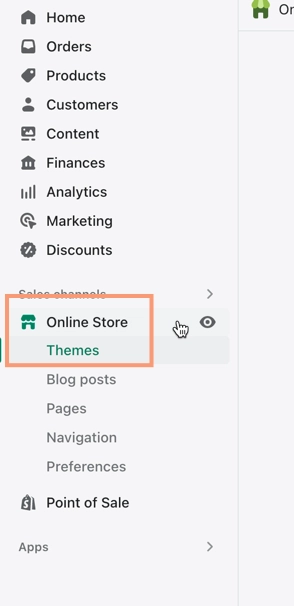
Select Themes -
A list of any themes you have associated with your store will appear. For each one, click the Customize button:

Customize Theme On the customize theme screen that appears, click the Embed Apps icon in the left menu:

Embed Apps Icon Make sure the Brightcove Video Connector app is toggled on:
App Toggled On Be sure to click in the upper right corner to save your changes.
Repeat this step for each theme if you have multiple ones.
Once you have the app installed and connected, see Using the Brightcove Video Connector.