-
Login to Magento Commerce:
Magento Login -
Note the Brightcove Module link in the left-side navigation:
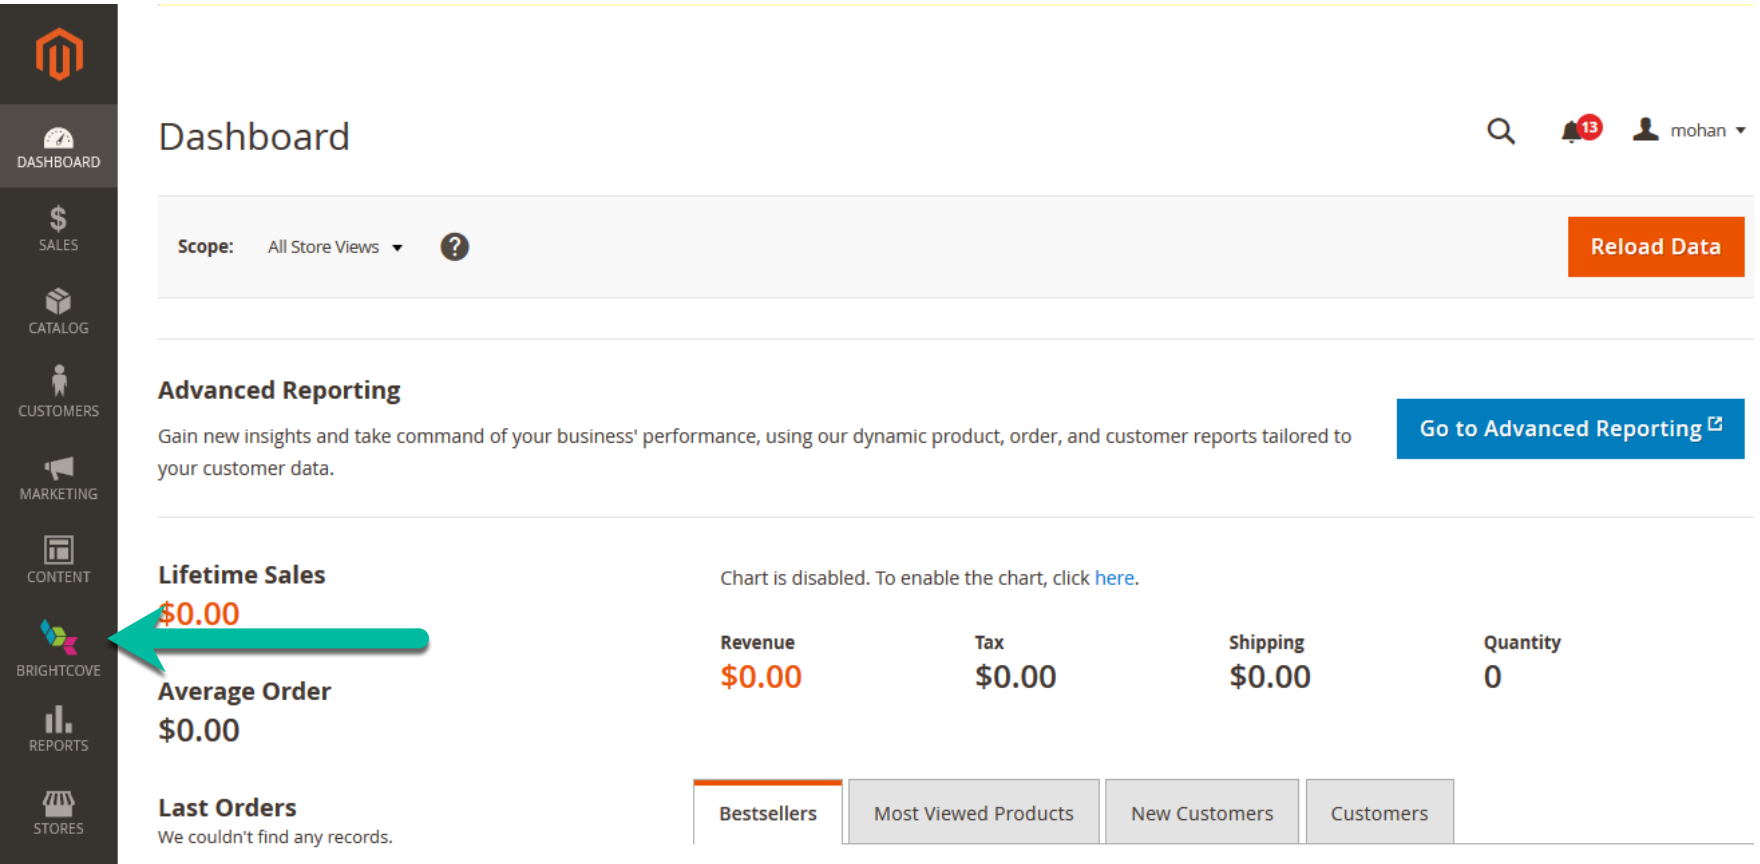
Magento Navigation -
Click the Brightcove icon to reveal the Brightcove Module menu:
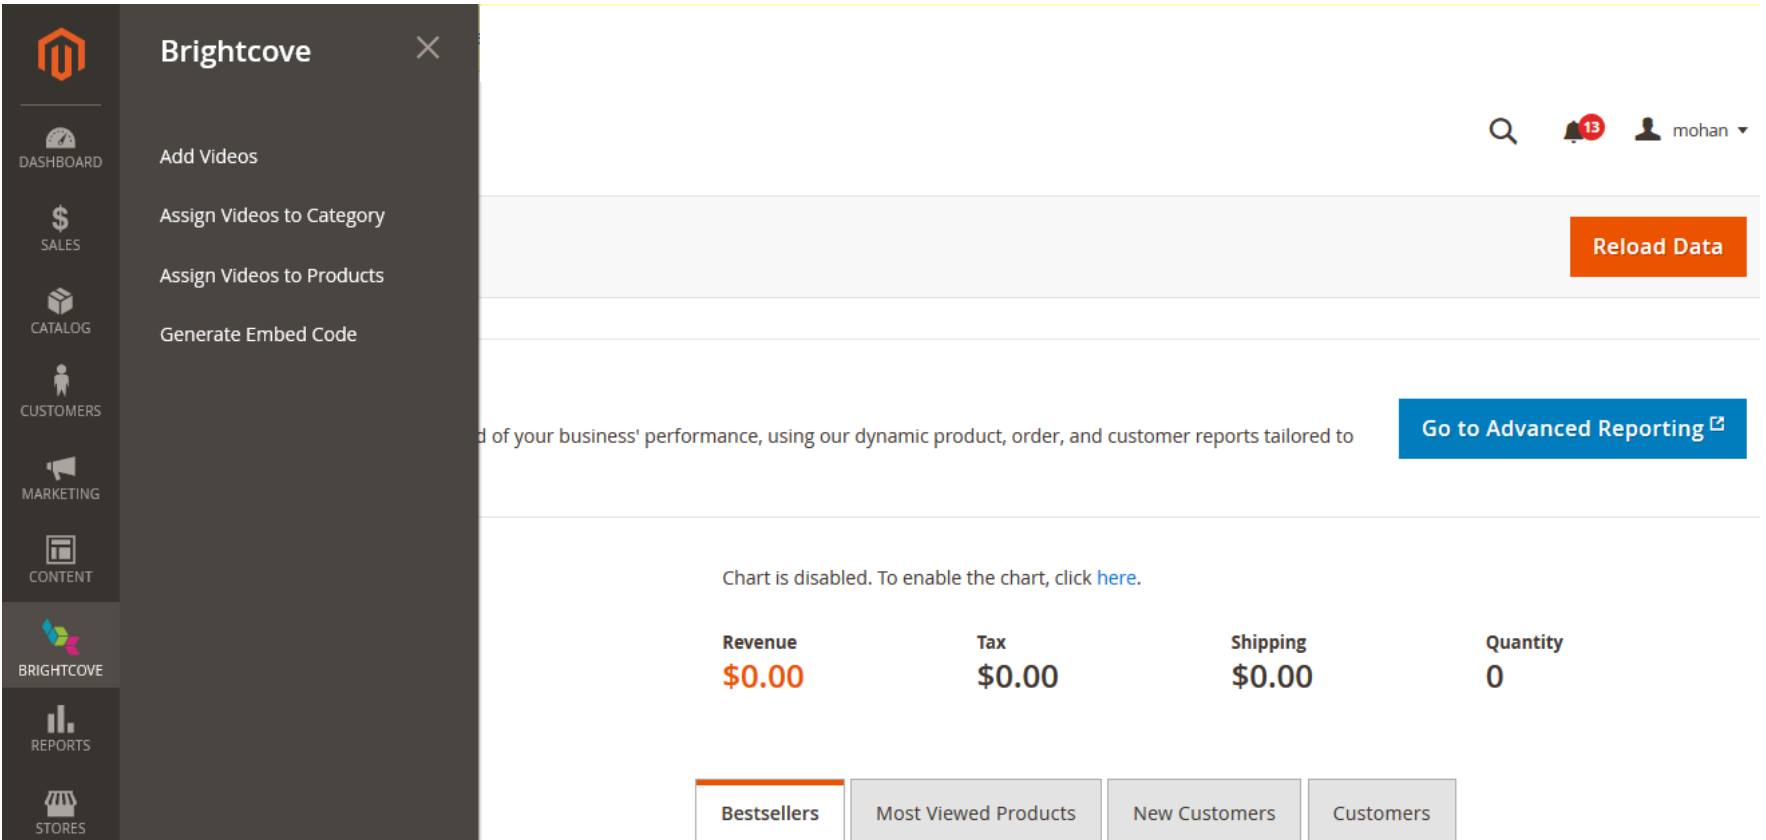
Brightcove Module Menu
Uploading Videos
-
From the Brightcove Module Menu, open the Add Videos page.
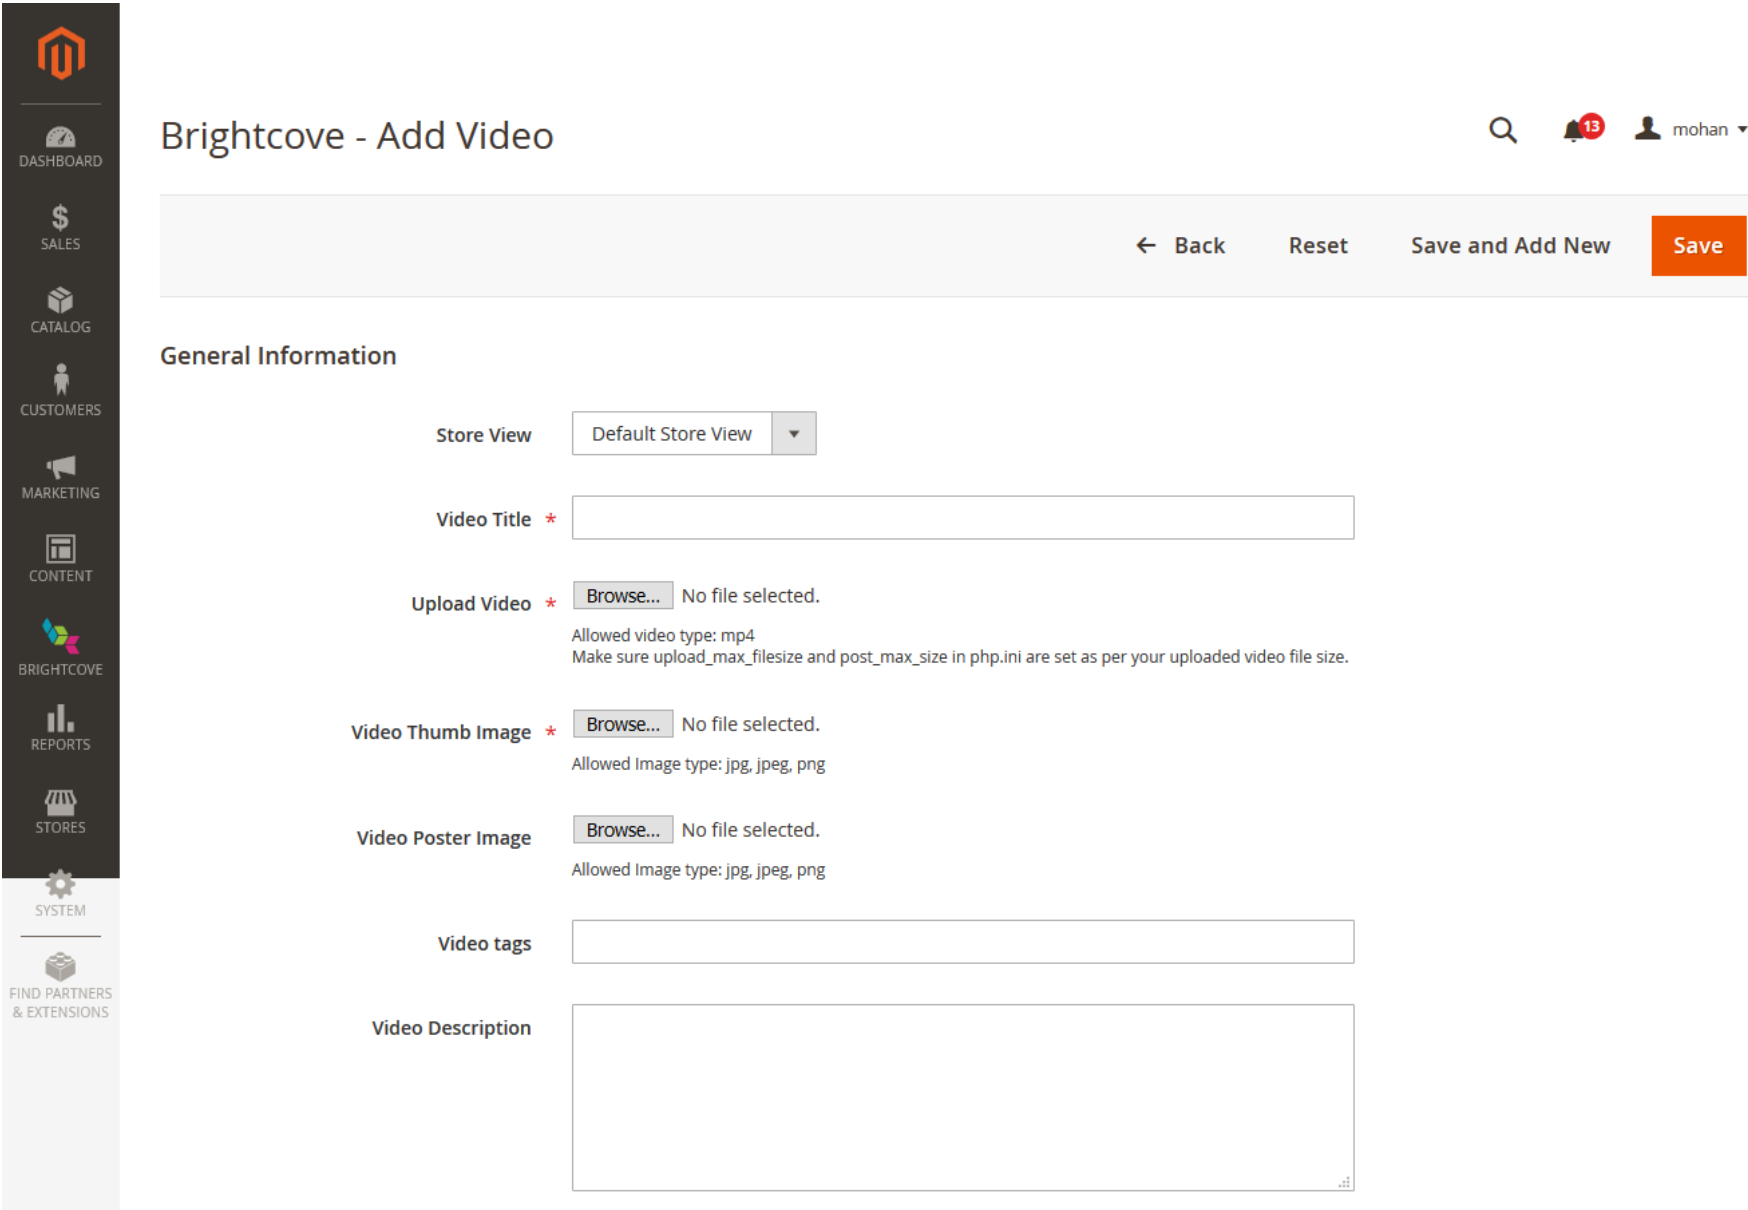
Add Videos Page - Select the Store View to add the video to.
- Add the Video Title (required).
- Browse to find the local video file (required).
- Browse to find the local thumbnail image file (required).
- Browse to find the local poster image file (optional).
- Enter comma-separated tags for the video (optional).
- Enter a description for the video (optional).
- Click Save.
Note: the Store View will be stored in the video metadata as a tag. This tag will be used for implementing Localization in the Assign page.
Assign Videos to Categories and Products
Videos can be assigned to Categories and Products. In this section we will look at how to assign videos to Categories, and then how to assign them to Products in the following section.
Assigning to Categories
-
From the Brightcove Module Menu, open the Assign Videos to Categories page.
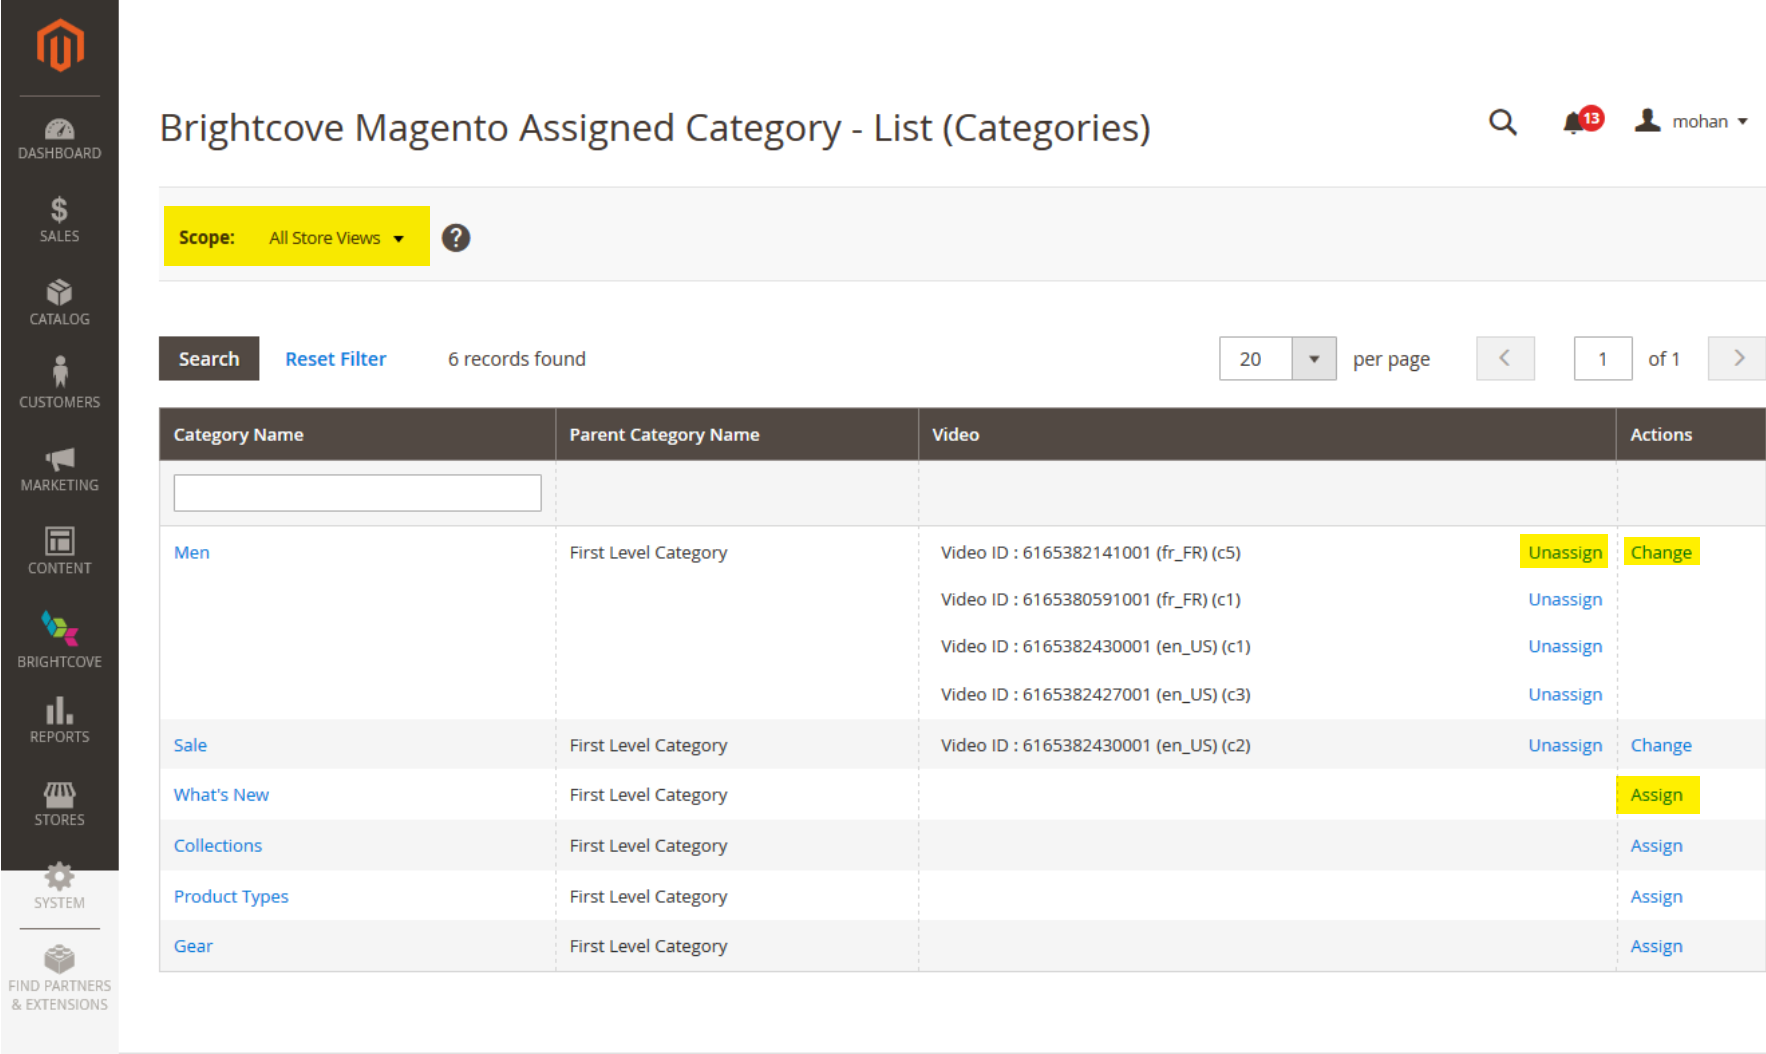
Assign Videos to Categories Page -
The initial page presents a list of categories, showing videos that are currently assigned to them, and there are links to Unassign or Change existing video assignments, as well as Assign videos to a category.
Also note:
- The Scope selector, allowing you to implement the localization filter
- When you hover over a video ID, a thumbnail image of the video will appear
-
Click Assign beside a category to assign to open a grid of videos to be assigned:
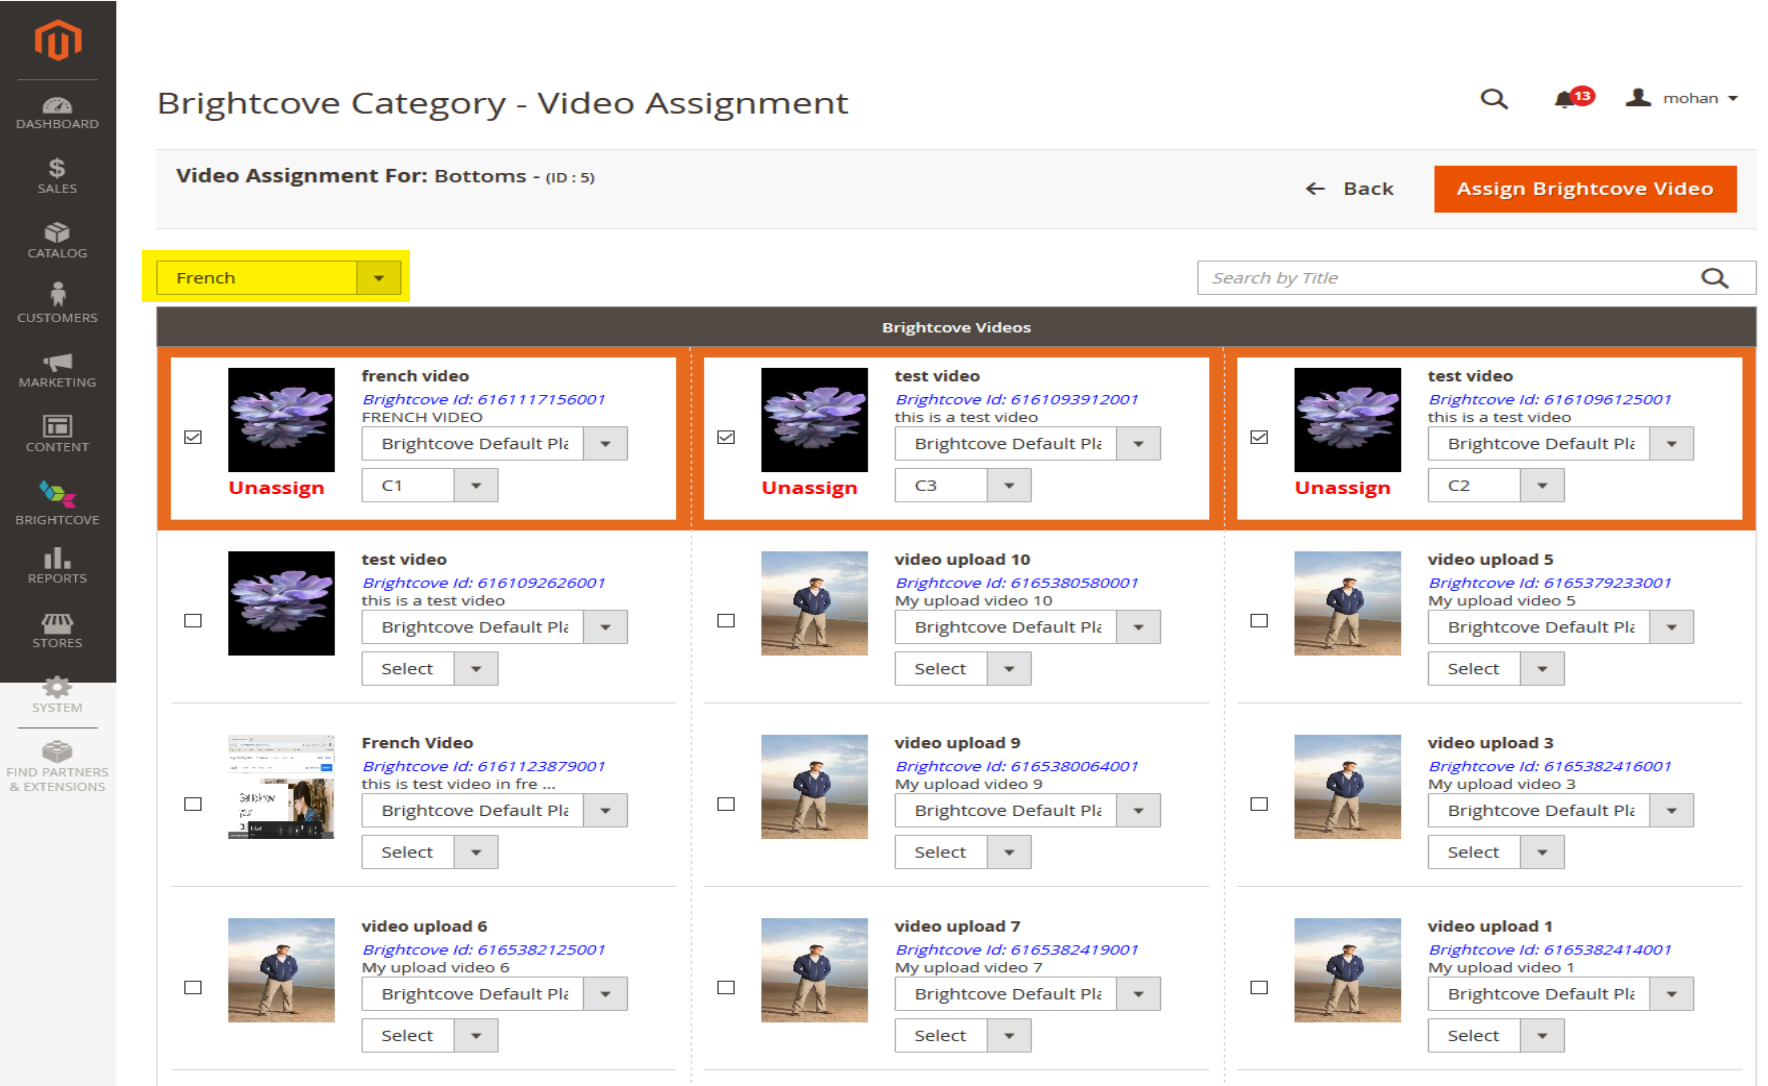
Video Grid for Category Assignment - If you don't see the video you are looking for, you can search by video title to find it.
- Use the localization dropdown menu to get the language you want.
-
In the Video column:
- Choose the player for the selected video
- Use the selector to choose the video slot
- If the video is already assigned to this category, it will display an orange border and an Unassign option.
Assigning to Products
-
From the Brightcove Module Menu, open the Assign Videos to Products page.
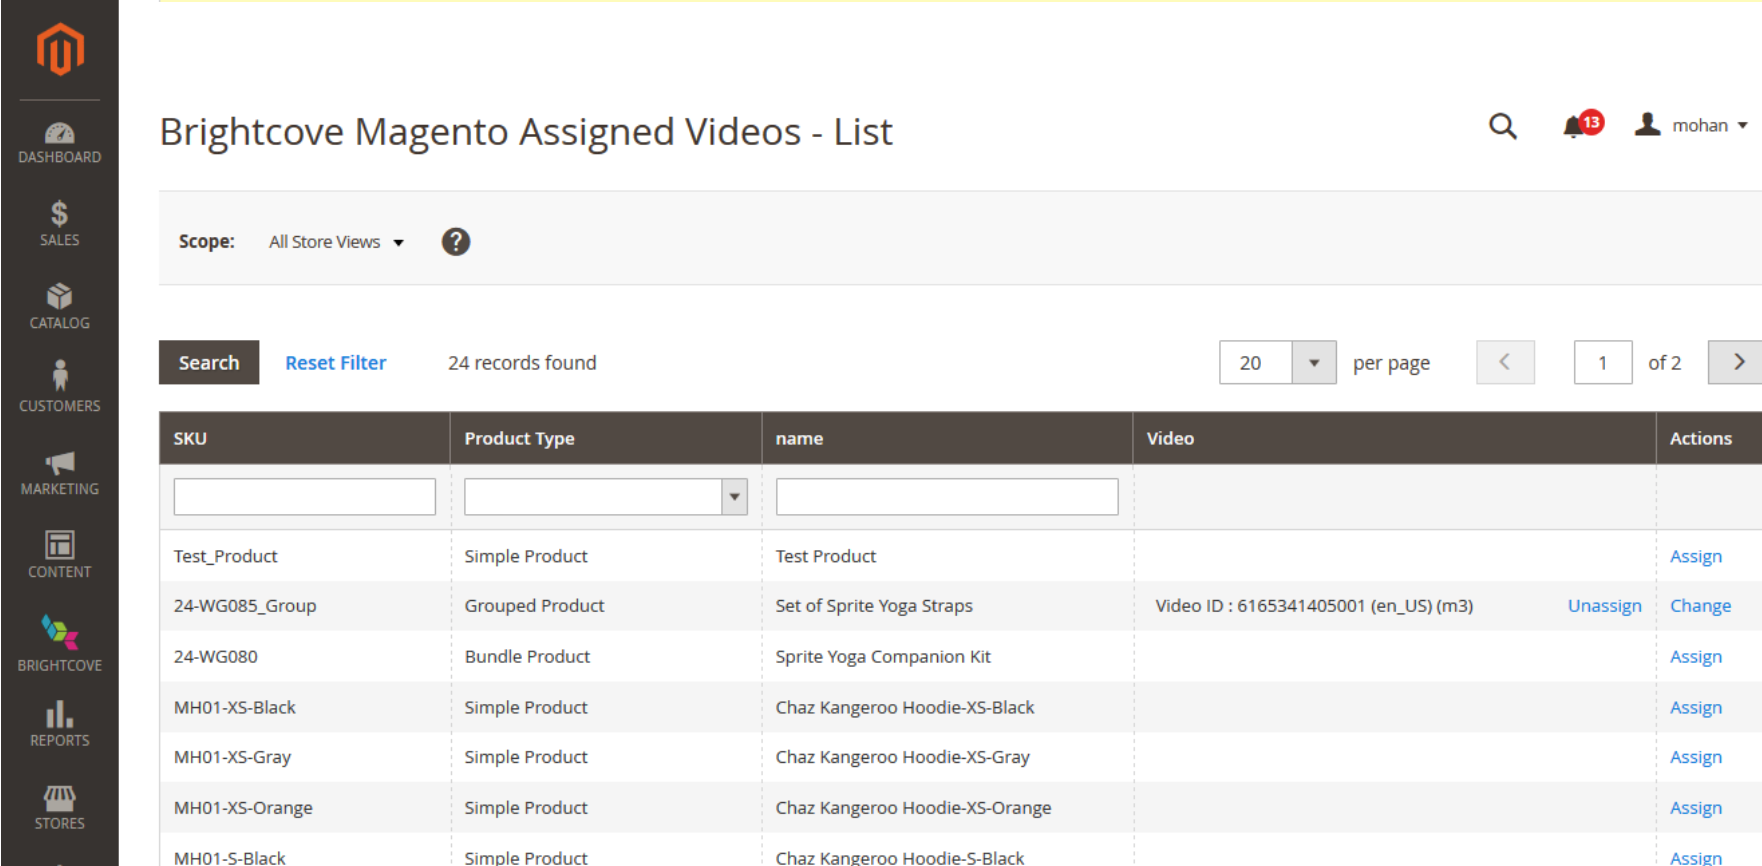
Assign Videos to Products Page - As with Categories, you can Assign videos, or Unassign or Change already assigned videos. You can also hover over a video ID to display the thumbnail.
-
Click of the Assign links to assign a video. This will bring up the video grid:
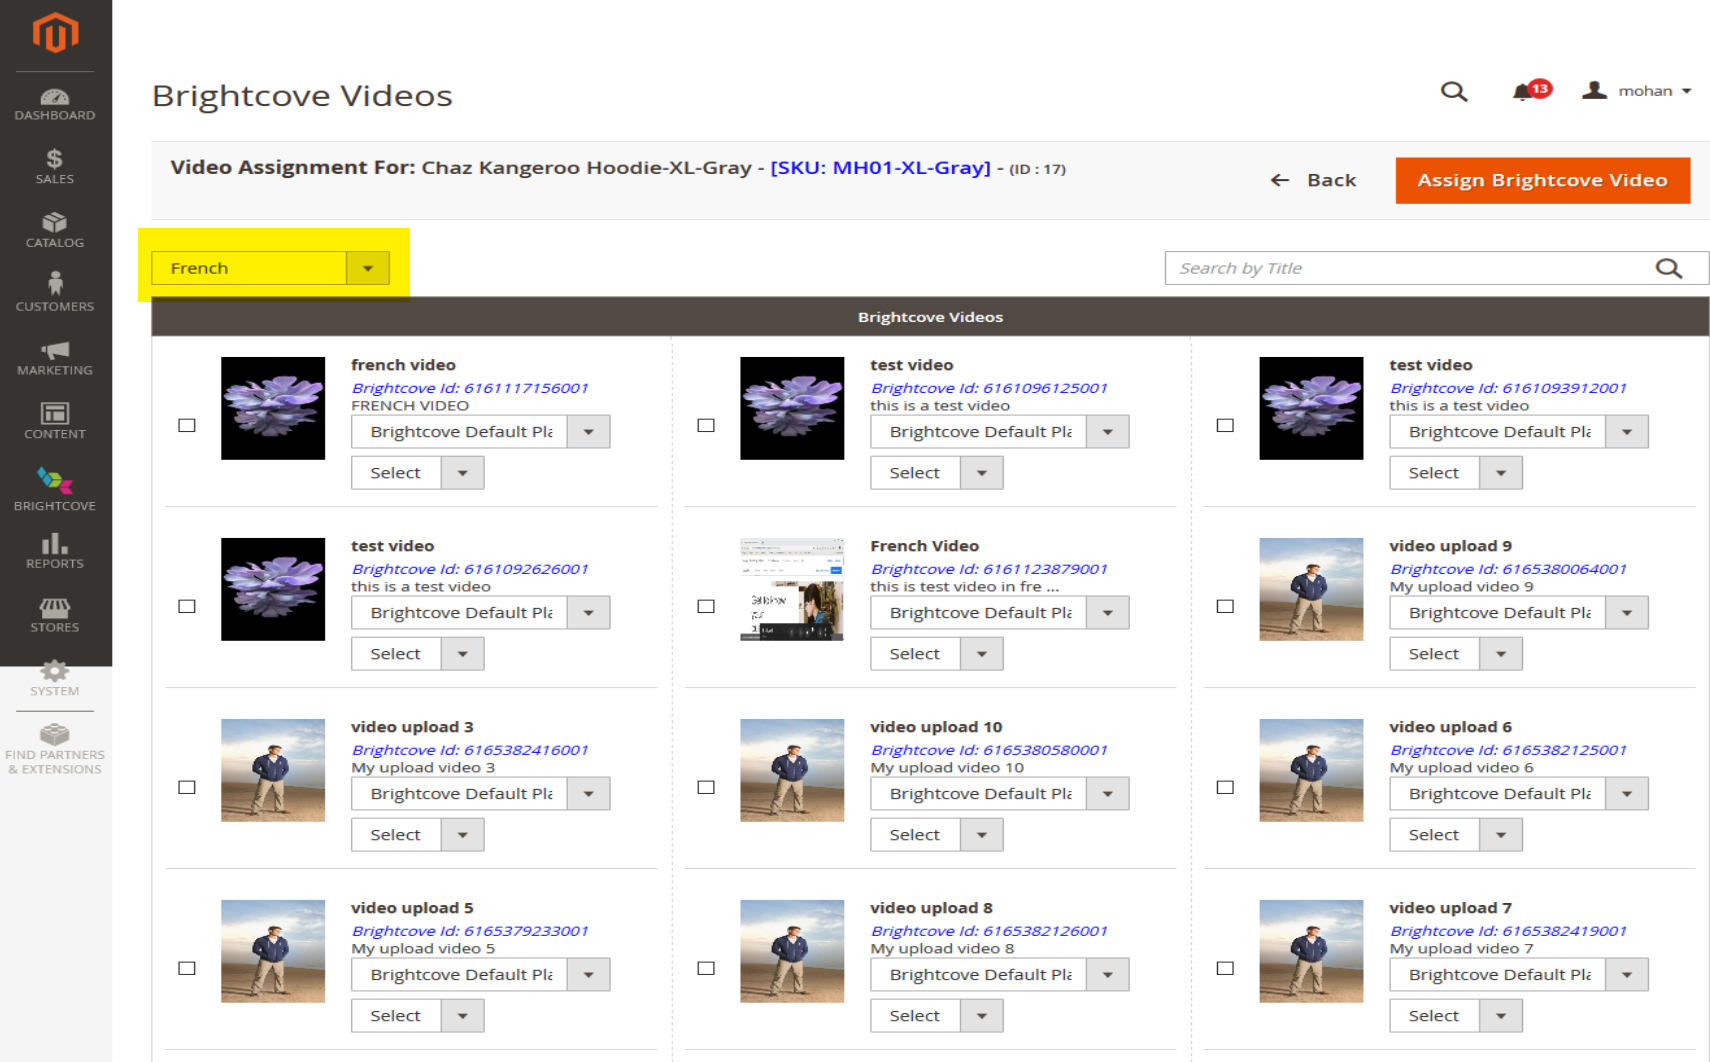
Video Grid for Product Assignment - If you don't see the video you are looking for, you can search by video title to find it.
- Use the localization dropdown menu to get the language you want.
-
In the Video column:
- Choose the player for the selected video
- Use the selector to choose the video slot
- If the video is already assigned to this product, it will display an orange border and an Unassign option.
Generate Embed Code
-
From the Brightcove Module Menu, go to the Generate Embed Code page:
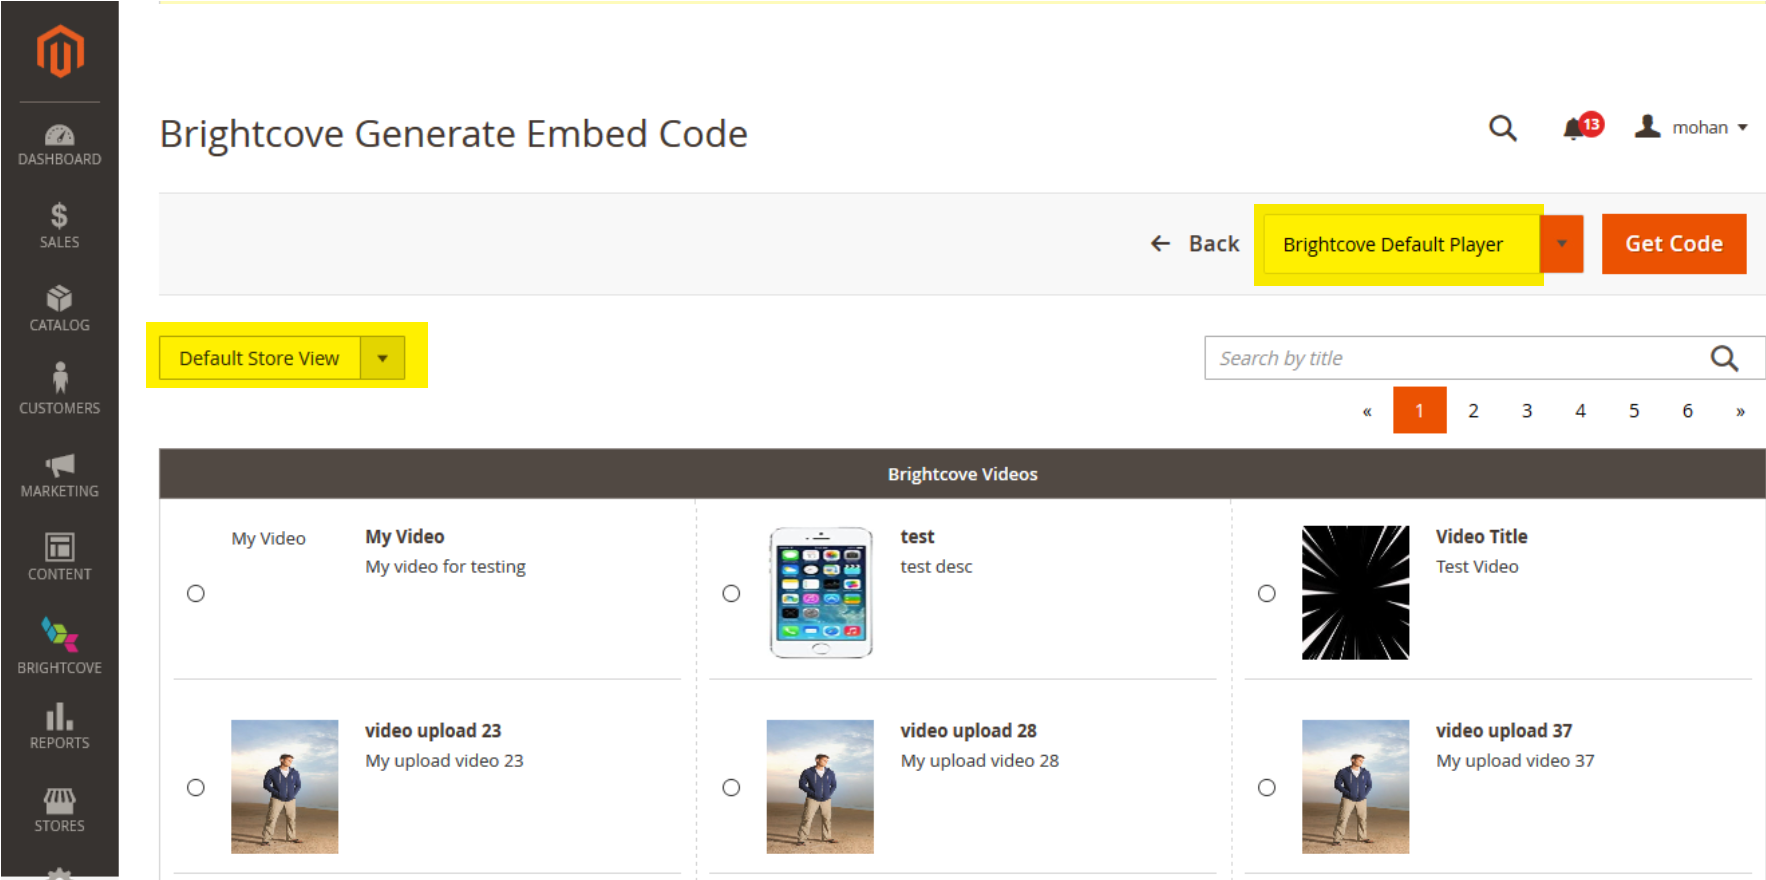
Generate Embed Code Page - Select the player you want to use and a video, and then click Get Code to see and copy either the Basic (iframe) or Advanced (in-page) code for the player.
- We recommend that you use the Basic embed code unless you are customizing the player in some way that requires and in-page script.
Brightcove Configuration
You can update or add to the Brightcove configuration.
-
Go to Stored -> Brightcove Video Configuration:
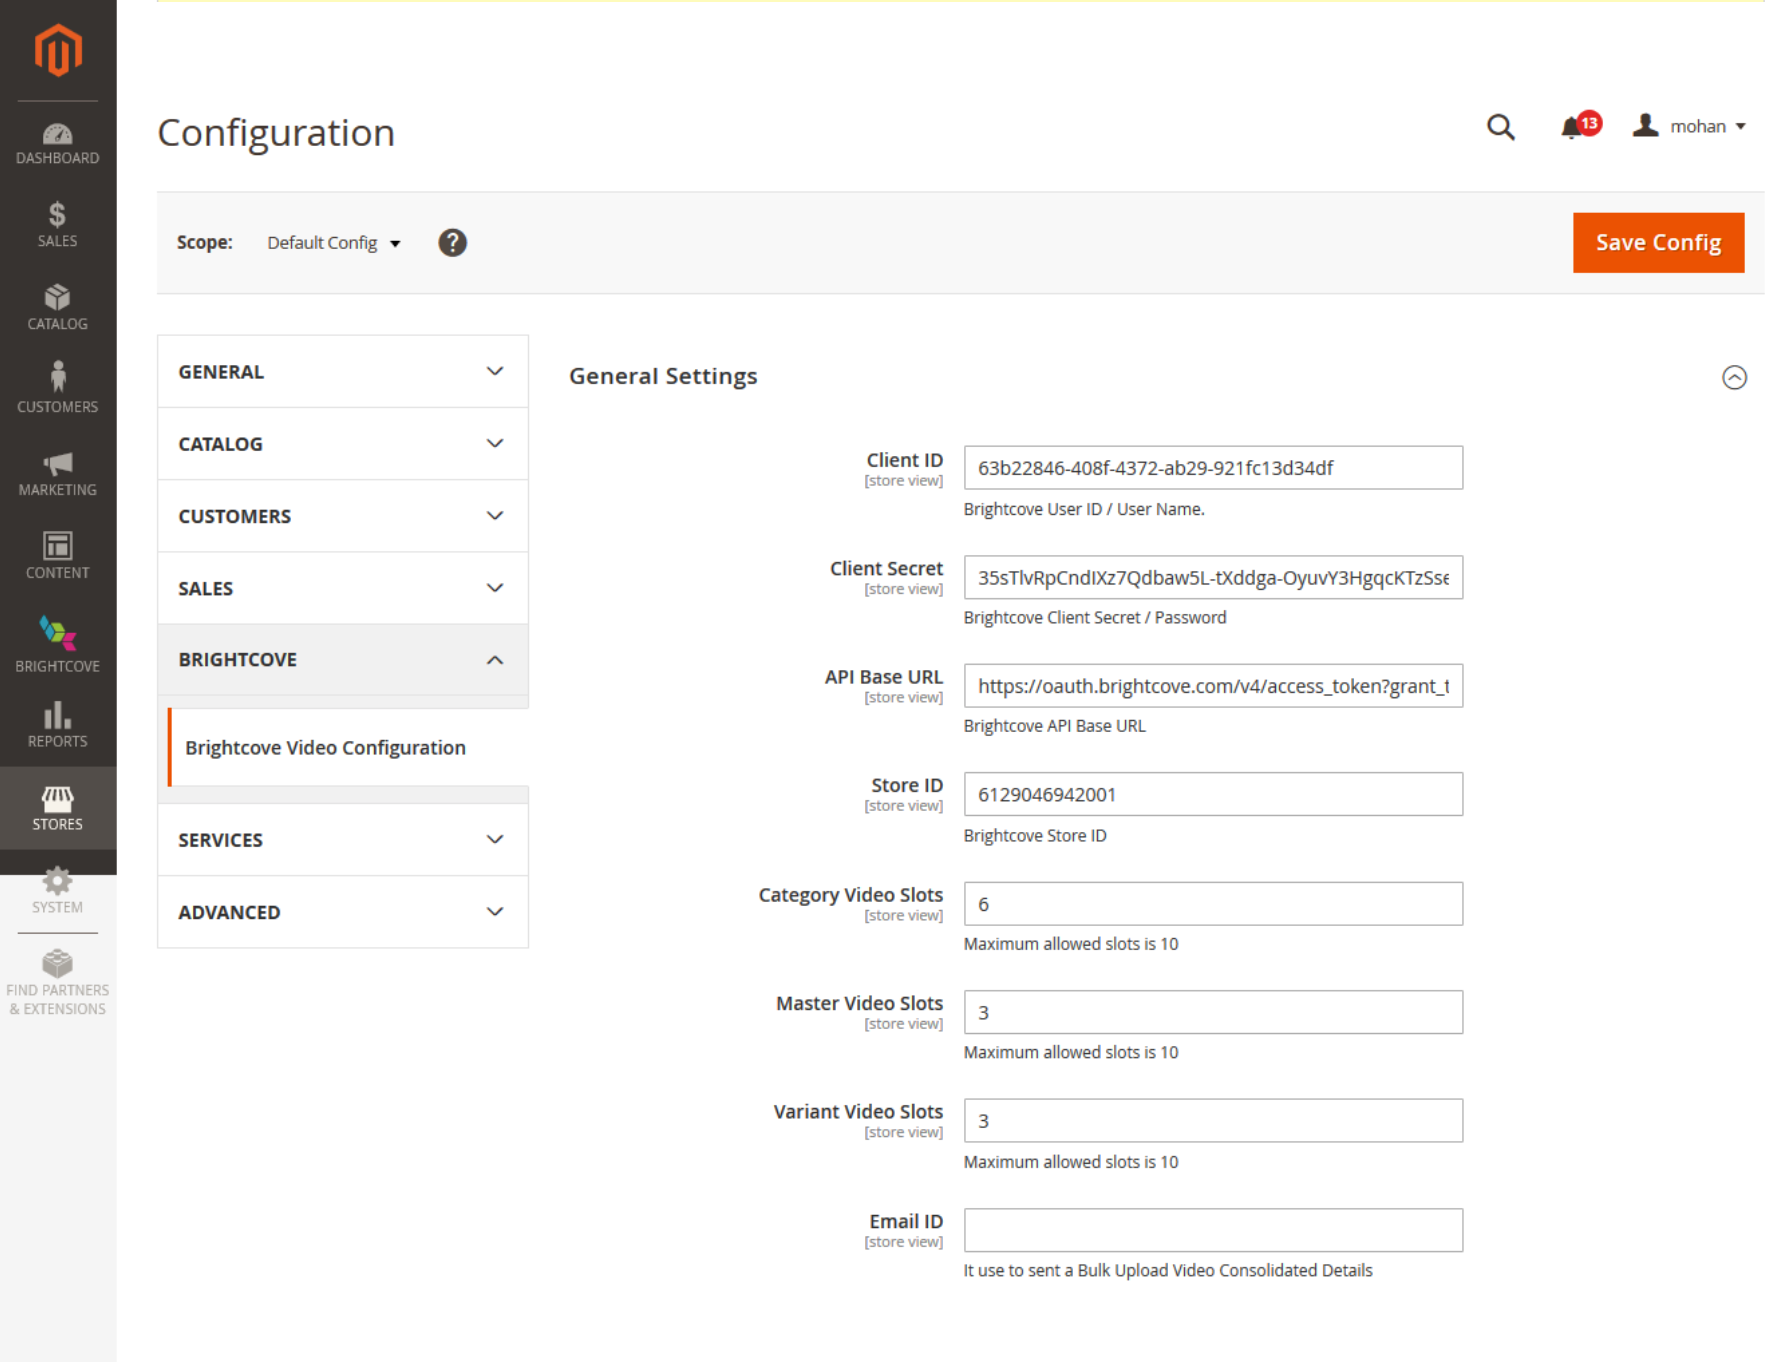
Brightcove Configuration Page - The client id, client secret, API Base URL (for getting access tokens), and the Store ID should already have been filled in during installation, but you can update these values if needed.
- You can also set the number of video slots for Categories, Masters, and Variants.
- Finally, if you want to use the Bulk Data Import option (descibed in the following section), enter a comma-separated list of email addresses to receive notifications related to bulk imports.
Bulk import data
There are several kinds of data you can bulk import, including a list of videos to upload to Brightcove, video Category assignments, and video Product assignments.
-
Go to System -> Import open the Bulk Import page:

Bulk Import Page - Select the kind of import you want to do.
-
Here is a sample of the Bulk Upload Videos to Brightcove page:
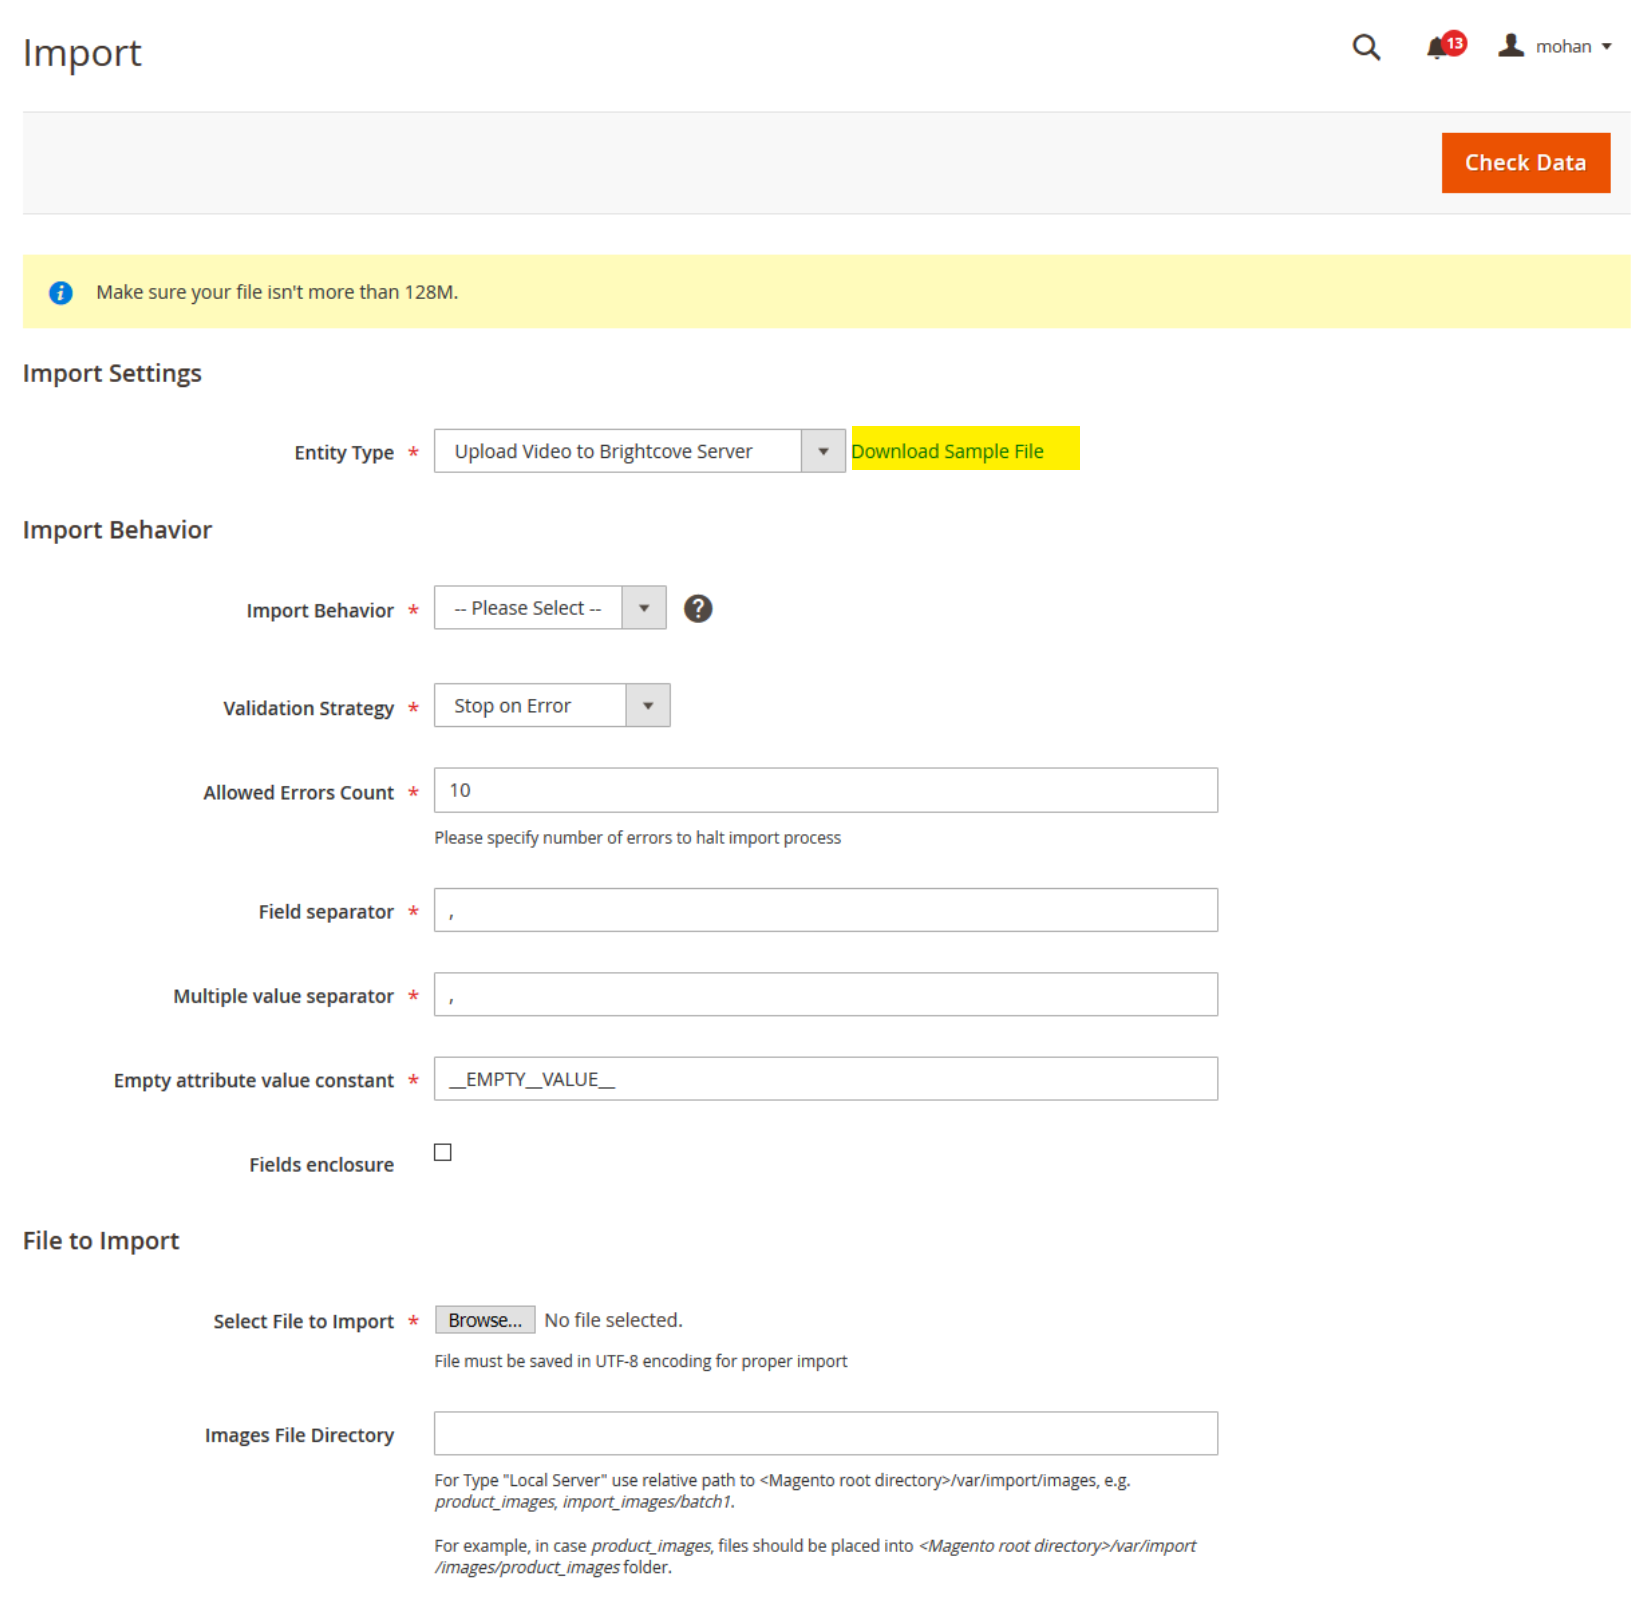
Bulk Upload Video Page - If you don't have a sample CSV file for the import, you can download one using the sample download link.
-
Select the Import Behavior:
- Add/Update - Add and replace existing records
- Replace - Replace the existing records
- Delete - Delete the existing records
- Using the Browse button, select your CSV file.
- Click Check Data to ensure the data is valid. (If the CSV file does not contain any valid records, the import option won't be shown).
- Click the Import button to import the data. You should see a success message.